

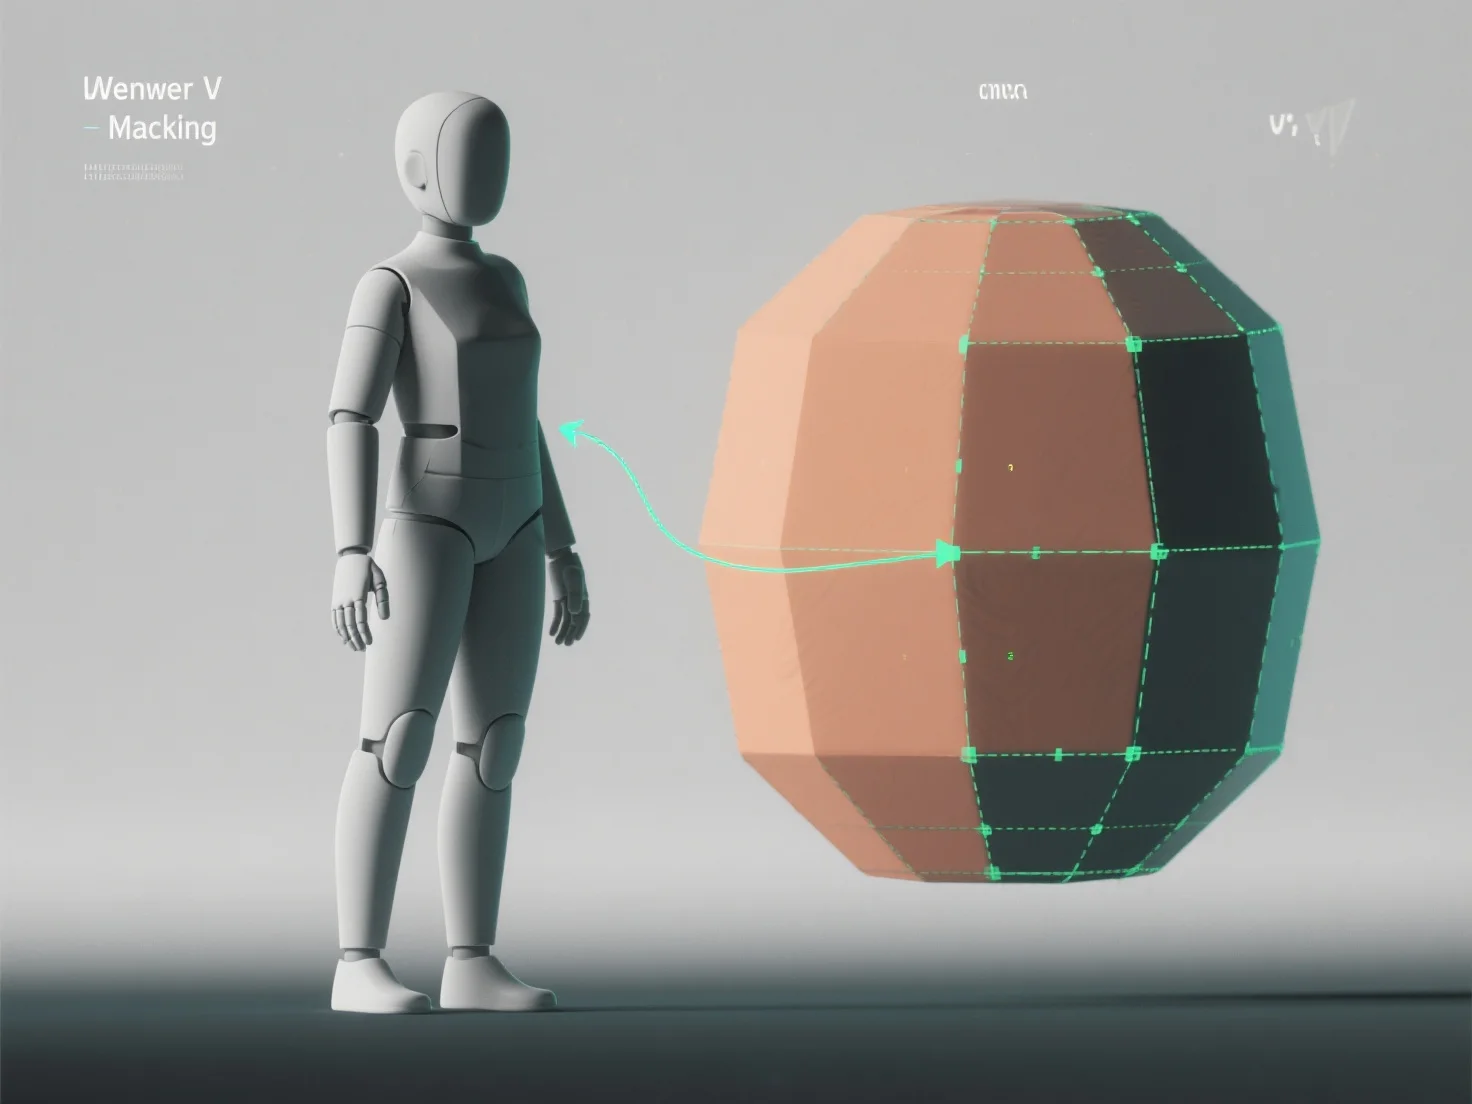
Um UV-Unwrapping auf 3D-Modelle zur Texturierung anzuwenden, glätten Sie die 3D-Oberfläche des Modells in eine 2D-UV-Karte und übersetzen 3D-Koordinaten in 2D, um sicherzustellen, dass die Texturen genau und ohne Verzerrung ausgerichtet sind. Dies ist entscheidend für eine realistische Texturierung in Spielen, Animationen oder Visualisierungen.
Zuerst identifizieren Sie UV-Nähte: Markieren Sie Kanten, um Modellabschnitte zu trennen.
Als nächstes entpacken Sie das Modell: Verwenden Sie Software-Tools (Blender, Maya), um ausgewählte Abschnitte in 2D zu flachen, und passen Sie die Einstellungen (winkelbasiert, konform) an, um Verzerrungen zu minimieren.
Dann layoutieren Sie UV-Inseln: Ordnen Sie unverpackte Abschnitte (UV-Inseln) effizient auf der UV-Karte an und vermeiden Sie Überlappungen, um den Texturraum für scharfe Details zu maximieren.
Zum Schluss testen Sie mit Schachbrett-Texturen: Tragen Sie ein Schachbrettmuster auf, um Dehnungen oder Fehlausrichtungen zu erkennen, und verfeinern Sie Nähte oder das Layout, bis die Quadrate einheitlich erscheinen.
Dieser Prozess erzeugt eine präzise UV-Karte, die es ermöglicht, Texturen auf natürliche Weise zu wickeln, und verbessert die Details des Modells in Texturierungs-Workflows.