

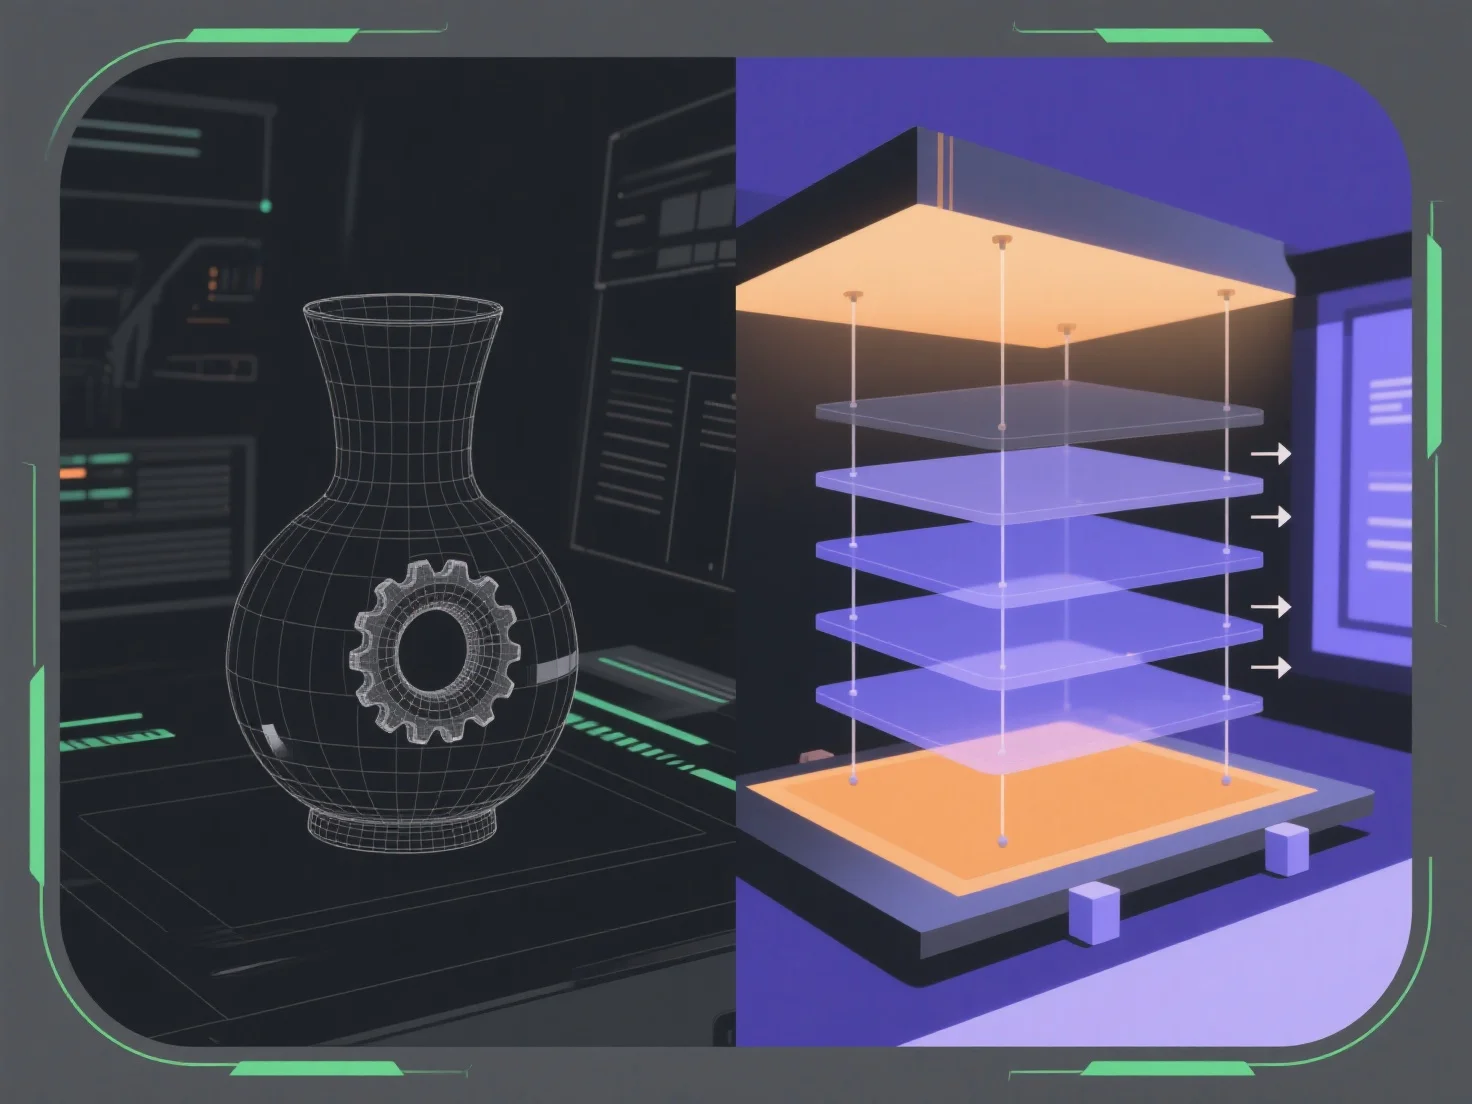
Preparing a 3D model for 3D printing generally involves model acquisition, error repair, slicing, parameter adjustment, and pre-print verification to ensure printability.
Key steps include: - **Model acquisition**: Obtain a 3D model file (e.g., STL, OBJ) via design software (e.g., Blender) or online libraries. - **Error repair**: Fix geometric flaws like non-manifold edges, holes, or intersecting faces using tools such as Meshmixer. - **Slicing**: Convert the model into layer-by-layer G-code with slicing software (e.g., Cura, PrusaSlicer). - **Parameter adjustment**: Set layer height, infill density, print speed, and temperature based on material (e.g., PLA, ABS) and model complexity. - **Pre-print verification**: Check for overhangs needing supports, ensure bed adhesion, and preview layers to avoid misprints.
For beginners, start with simple models and use free slicers to practice parameter tuning, reducing print failures.