

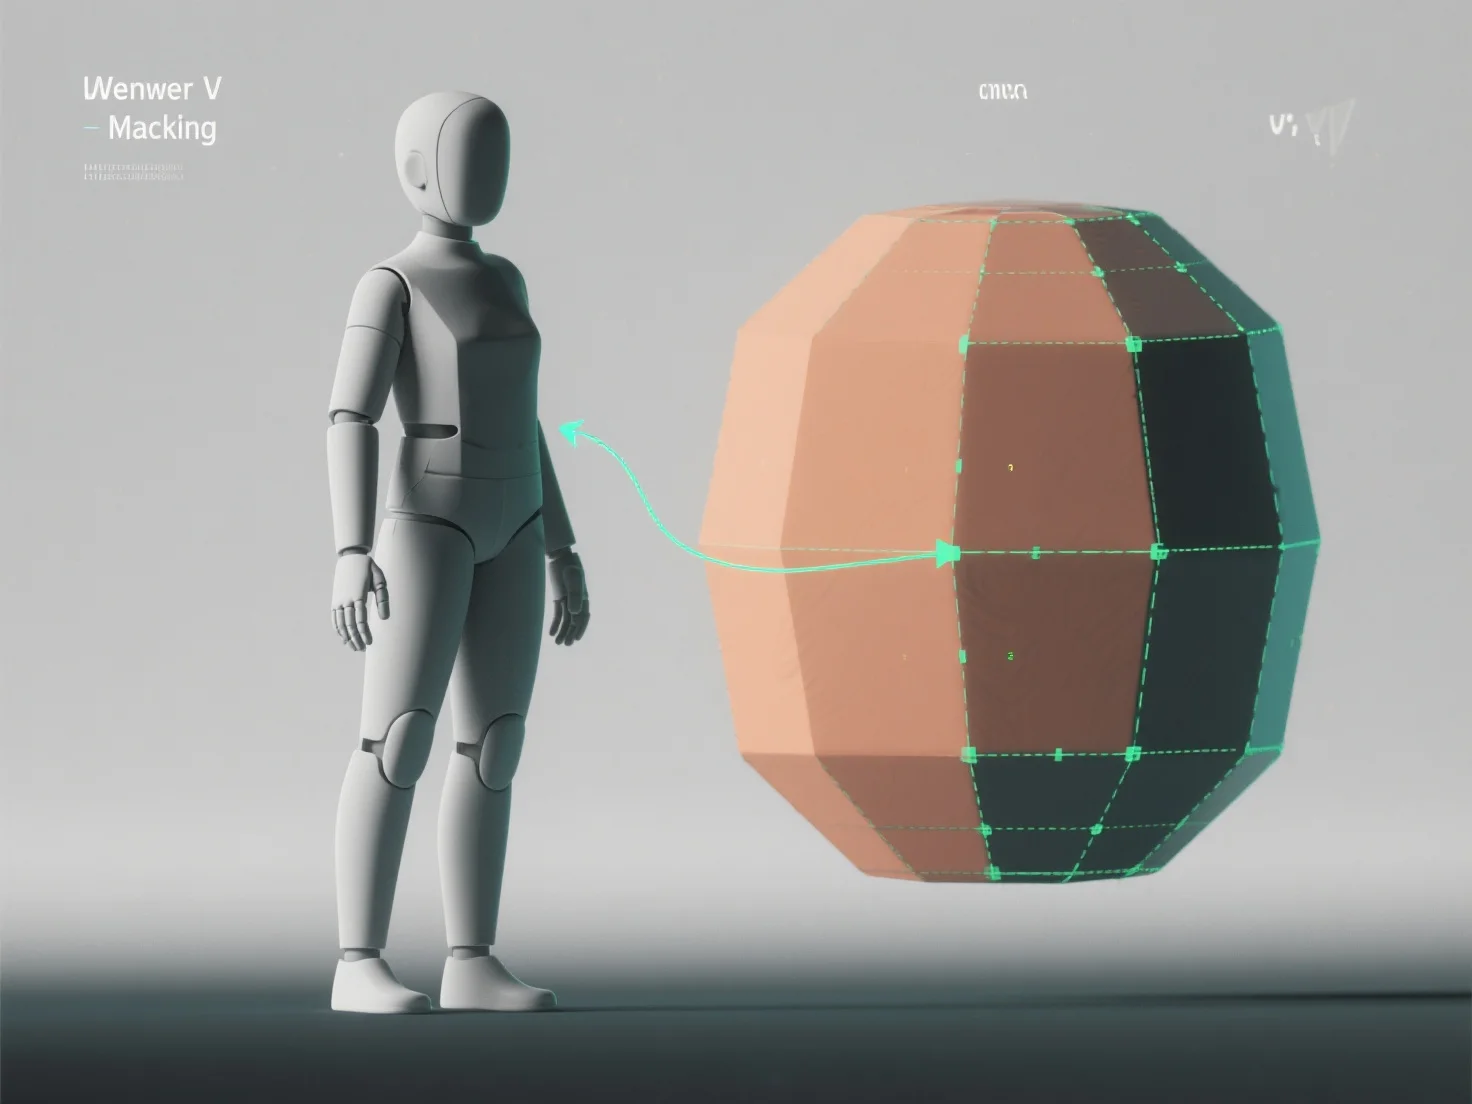
Para aplicar o desempacotamento UV a modelos 3D para texturização, você aplana a superfície 3D do modelo num mapa UV 2D, traduzindo as coordenadas 3D para 2D para garantir que as texturas se alinhem com precisão sem distorção. Isto é fundamental para uma texturização realista em jogos, animação ou visualização.
Primeiro, identifique as costuras UV: Marque as bordas para separar as secções do modelo.
Em seguida, desempacote o modelo: Use ferramentas de software (Blender, Maya) para aplanar as secções selecionadas em 2D, ajustando as definições (baseadas em ângulo, conformais) para minimizar a distorção.
Em seguida, organize as ilhas UV: Organize as secções desempacotadas (ilhas UV) de forma eficiente no mapa UV, evitando sobreposições para maximizar o espaço de textura para detalhes nítidos.
Por fim, teste com texturas de tabuleiro de xadrez: Aplique um padrão de tabuleiro de xadrez para detectar estiramento ou desalinhamento, refinando as costuras ou o layout até que os quadrados pareçam uniformes.
Este processo cria um mapa UV preciso, permitindo que as texturas se enrolam naturalmente e melhorando os detalhes do modelo nos fluxos de trabalho de texturização.