

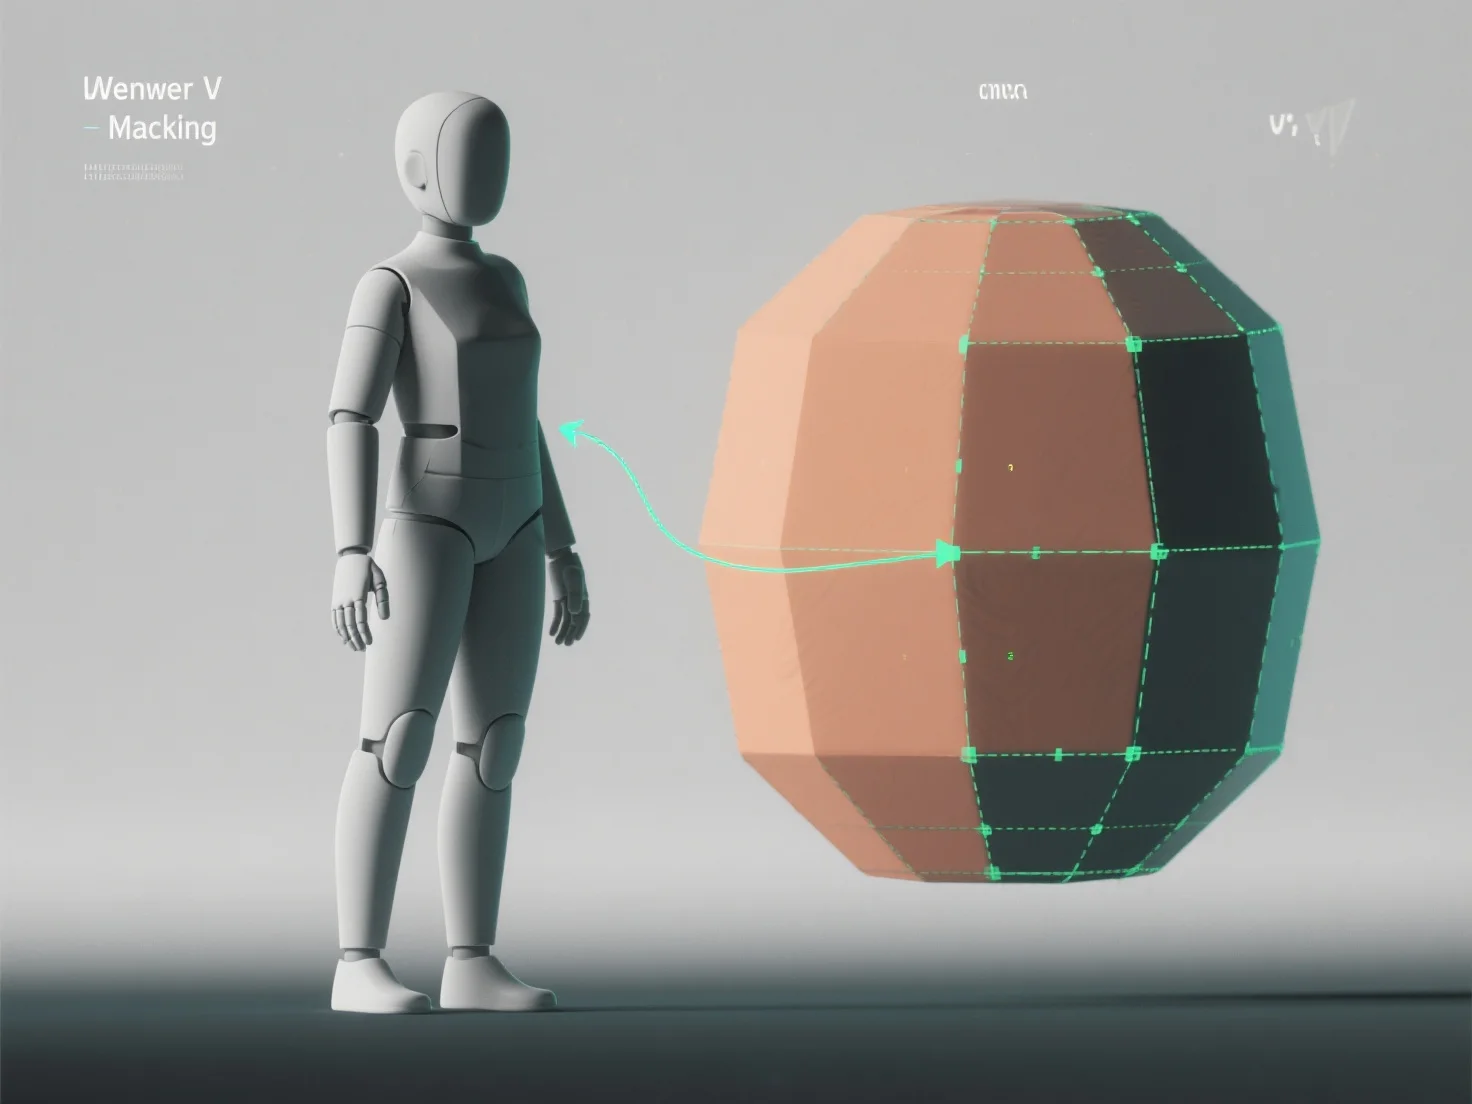
Untuk menerapkan UV unwrapping pada model 3D untuk tekstur, Anda meratakan permukaan 3D model menjadi peta UV 2D, menerjemahkan koordinat 3D ke 2D untuk memastikan tekstur sejajar secara akurat tanpa distorsi. Hal ini sangat penting untuk tekstur realistis dalam game, animasi, atau visualisasi.
Pertama, identifikasi jahitan UV: Tandai tepi untuk memisahkan bagian-bagian model.
Selanjutnya, bongkar modelnya: Gunakan alat perangkat lunak (Blender, Maya) untuk meratakan bagian-bagian yang dipilih menjadi 2D, sambil mengatur pengaturan (berdasarkan sudut, konformal) untuk meminimalkan distorsi.
Kemudian, tata pulau-pulau UV: Atur bagian-bagian yang belum dibungkus (pulau-pulau UV) secara efisien pada peta UV, hindari tumpang tindih untuk memaksimalkan ruang tekstur untuk detail yang tajam.
Akhirnya, uji dengan tekstur kotak-kotak: Terapkan pola kotak-kotak untuk menemukan peregangan atau ketidakselarasan, menyempurnakan jahitan atau tata letak sampai kotak-kotak terlihat seragam.
Proses ini menciptakan peta UV yang tepat, memungkinkan tekstur terbungkus secara alami dan meningkatkan detail model dalam alur kerja tekstur.