

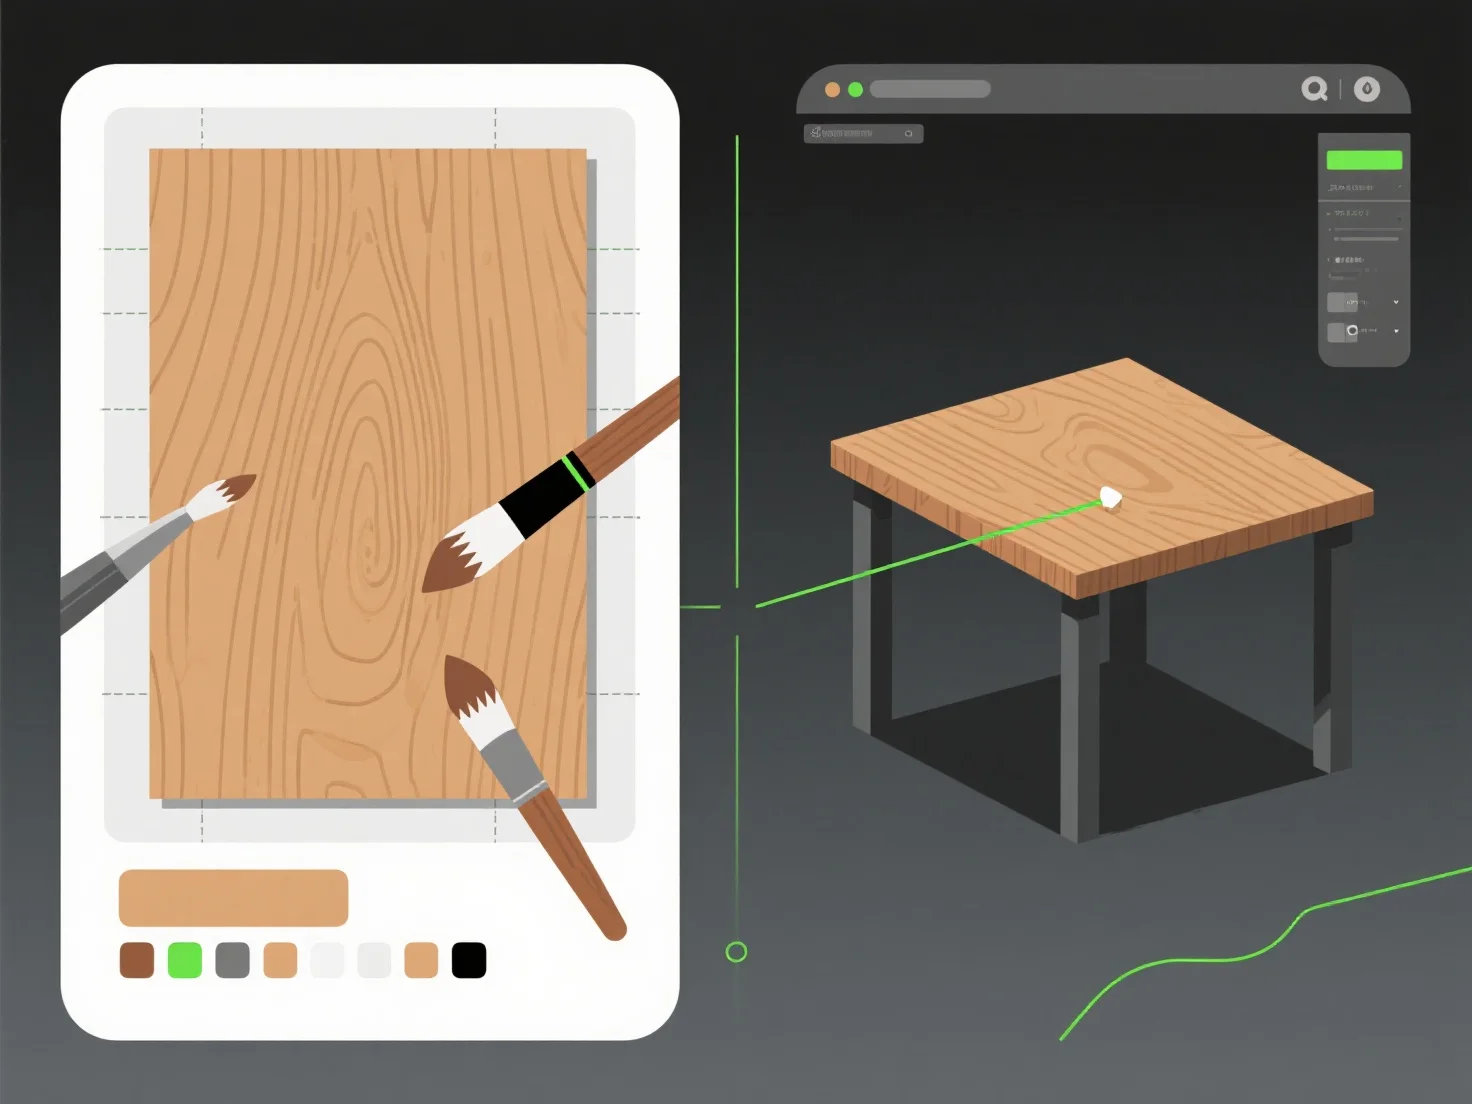
Die Kombination von Texturierungswerkzeugen mit Modellierungssoftware zur Verbesserung der Realität umfasst drei Hauptschritte: das Exportieren von UV-Karten aus der Modellierungssoftware, das Erstellen/Bearbeiten von Texturen in spezialisierten Werkzeugen und das erneute Importieren, um sie auf das Modell anzuwenden. Dieser Workflow verbindet 3D-Geometrie mit lebensechten Oberflächendetails.
Modellierungssoftware
Texturwerkzeuge
Zum Schluss werden die bearbeiteten Texturen in die Modellierungssoftware reimportiert, um diese Details anzuwenden, und das Modell erscheint visuell authentisch. Für Anfänger empfiehlt es sich, mit einem einfachen Objekt zu beginnen.