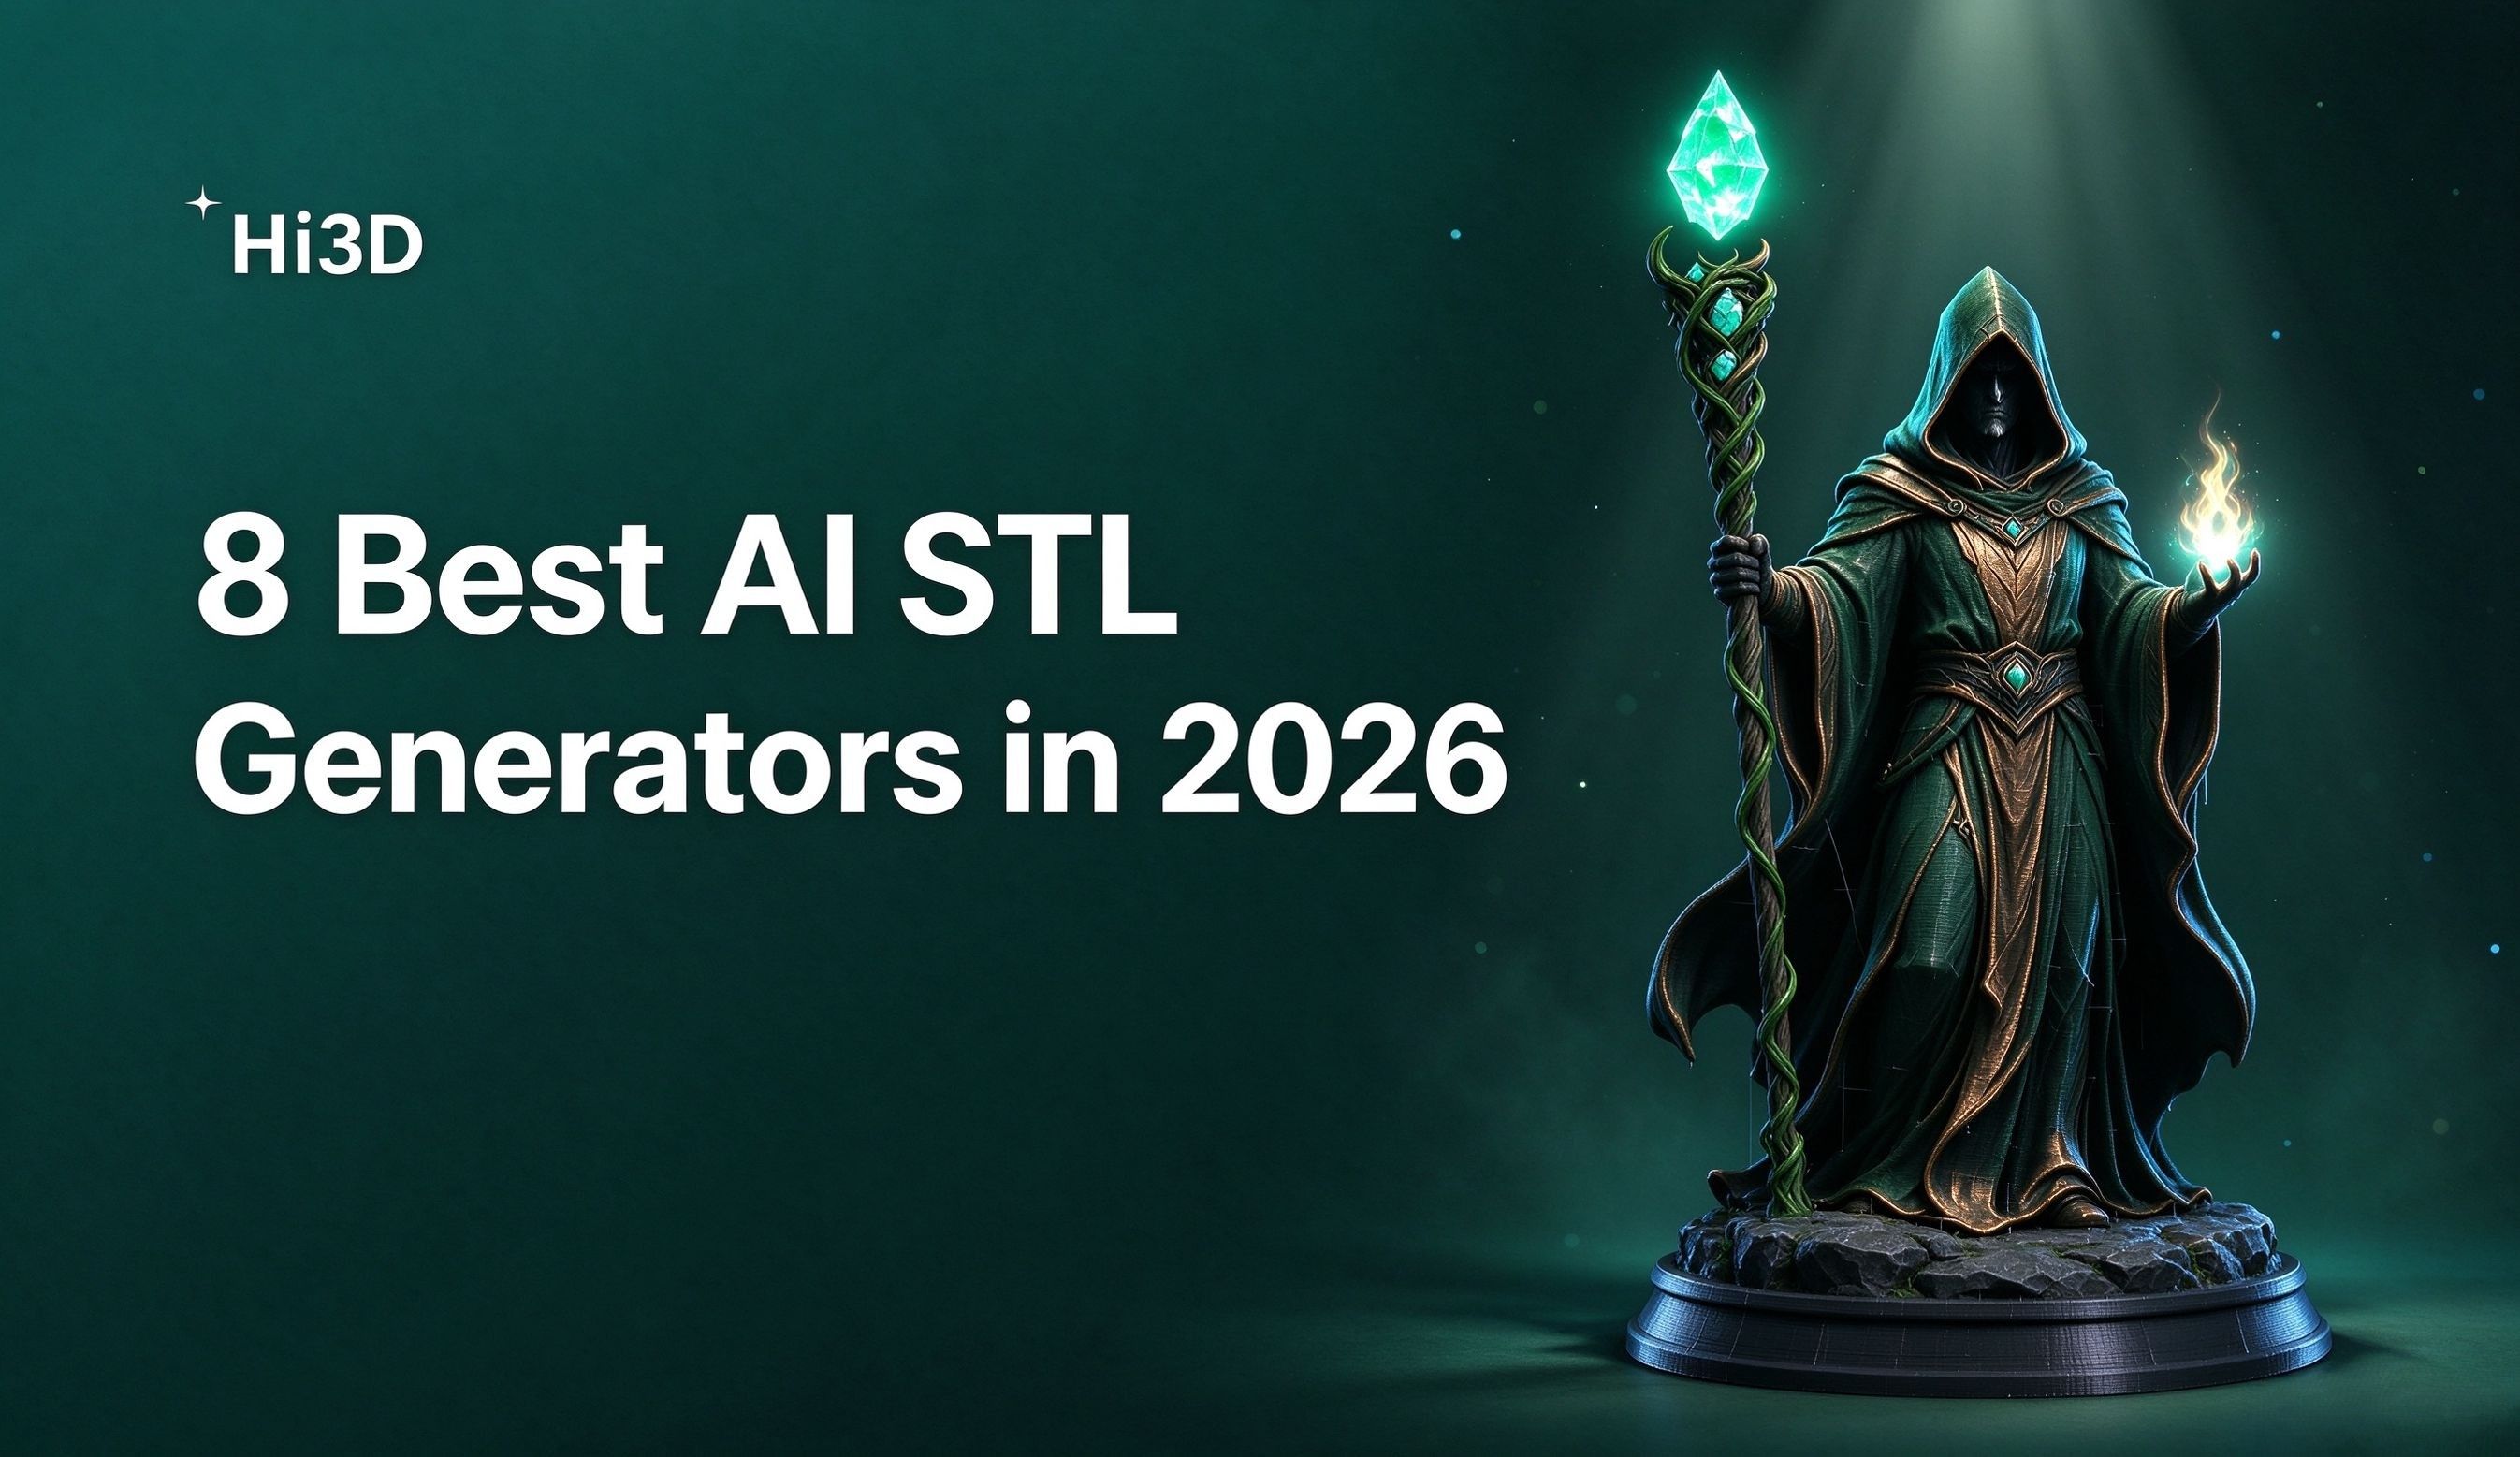
Search for an AI STL generator and you’ll run into a strange mix of tools. Some rebuild a full 3D object from a photo, some turn text prompts into rough models, and others are basically image-to-STL shortcuts for people who just want something they can drop into a slicer.
Those are very different jobs. For a flat logo or a basic desk ornament, almost any halfway decent STL generator may be enough. A character figure is another story: hair has to survive at print scale, fingers can’t melt into the hand, the back of the model still needs to exist even if the source image only shows the front, and larger pieces may need to be split before printing.
That is why I wouldn’t judge these tools by the little “STL supported” badge on their websites. The more useful questions are what you can feed into the tool, how much geometry it actually recovers, and how much cleanup is still waiting for you before the model is ready to print.
Here are eight tools worth looking at.
8 Best AI STL Generators
| Tool | Input | STL | Free Access | Best For |
|---|---|---|---|---|
| Hi3D | Single image / Multi-view | ✅ | ✅ | Detailed characters, sculptures, figurines, print prep |
| Sloyd | Text / Image | ✅ | ✅ | Editable assets and game-ready models |
| PrintPal | Text / Image | ✅ | ✅ | Everyday maker projects |
| Fast3D | Text / Single image / Multi-view | ✅ | ✅ | Testing several concepts quickly |
| AI3DGEN | Image | Paid ✅ | ✅ | Quick image-to-3D checks |
| SupaVoxel | Image | ✅ | ✅ | Easy image-to-3D generation |
| ImageToSTL | Image | ✅ | Trial / Paid | Straight image-to-STL work |
| Vondy | Text / Image | ✅ | Free to start | Simple prompt-based models |
1. Hi3D: Best for High-Detail Image-to-3D and Print Preparation
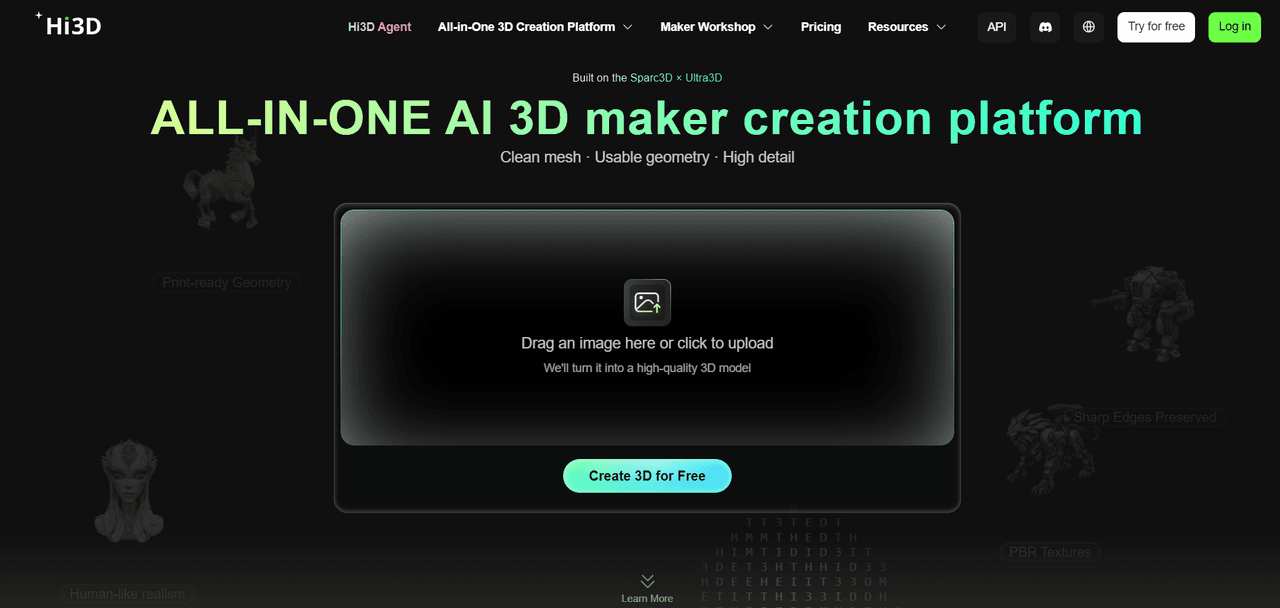
Hi3D is most interesting when STL export is only one step in the workflow. You can start with a character illustration, product photo, sculpture reference, animal image, or another visual source, generate the full 3D geometry, and keep working on the model before it ever reaches a slicer. If you want to see that process end to end, Hi3D also has a complete AI-to-3D printing workflow guide.
Hi3D V3.0 supports both single-image and multi-view generation, with 2048³ quality and 2048³ master modes. Master is aimed at more detailed geometry and can target models with up to roughly five million faces. That extra density matters most on subjects where AI-generated meshes usually begin to break down: hair strands, armor edges, clothing folds, engraved lettering, thin accessories, and other details that look fine in a thumbnail but fall apart as soon as you zoom in.
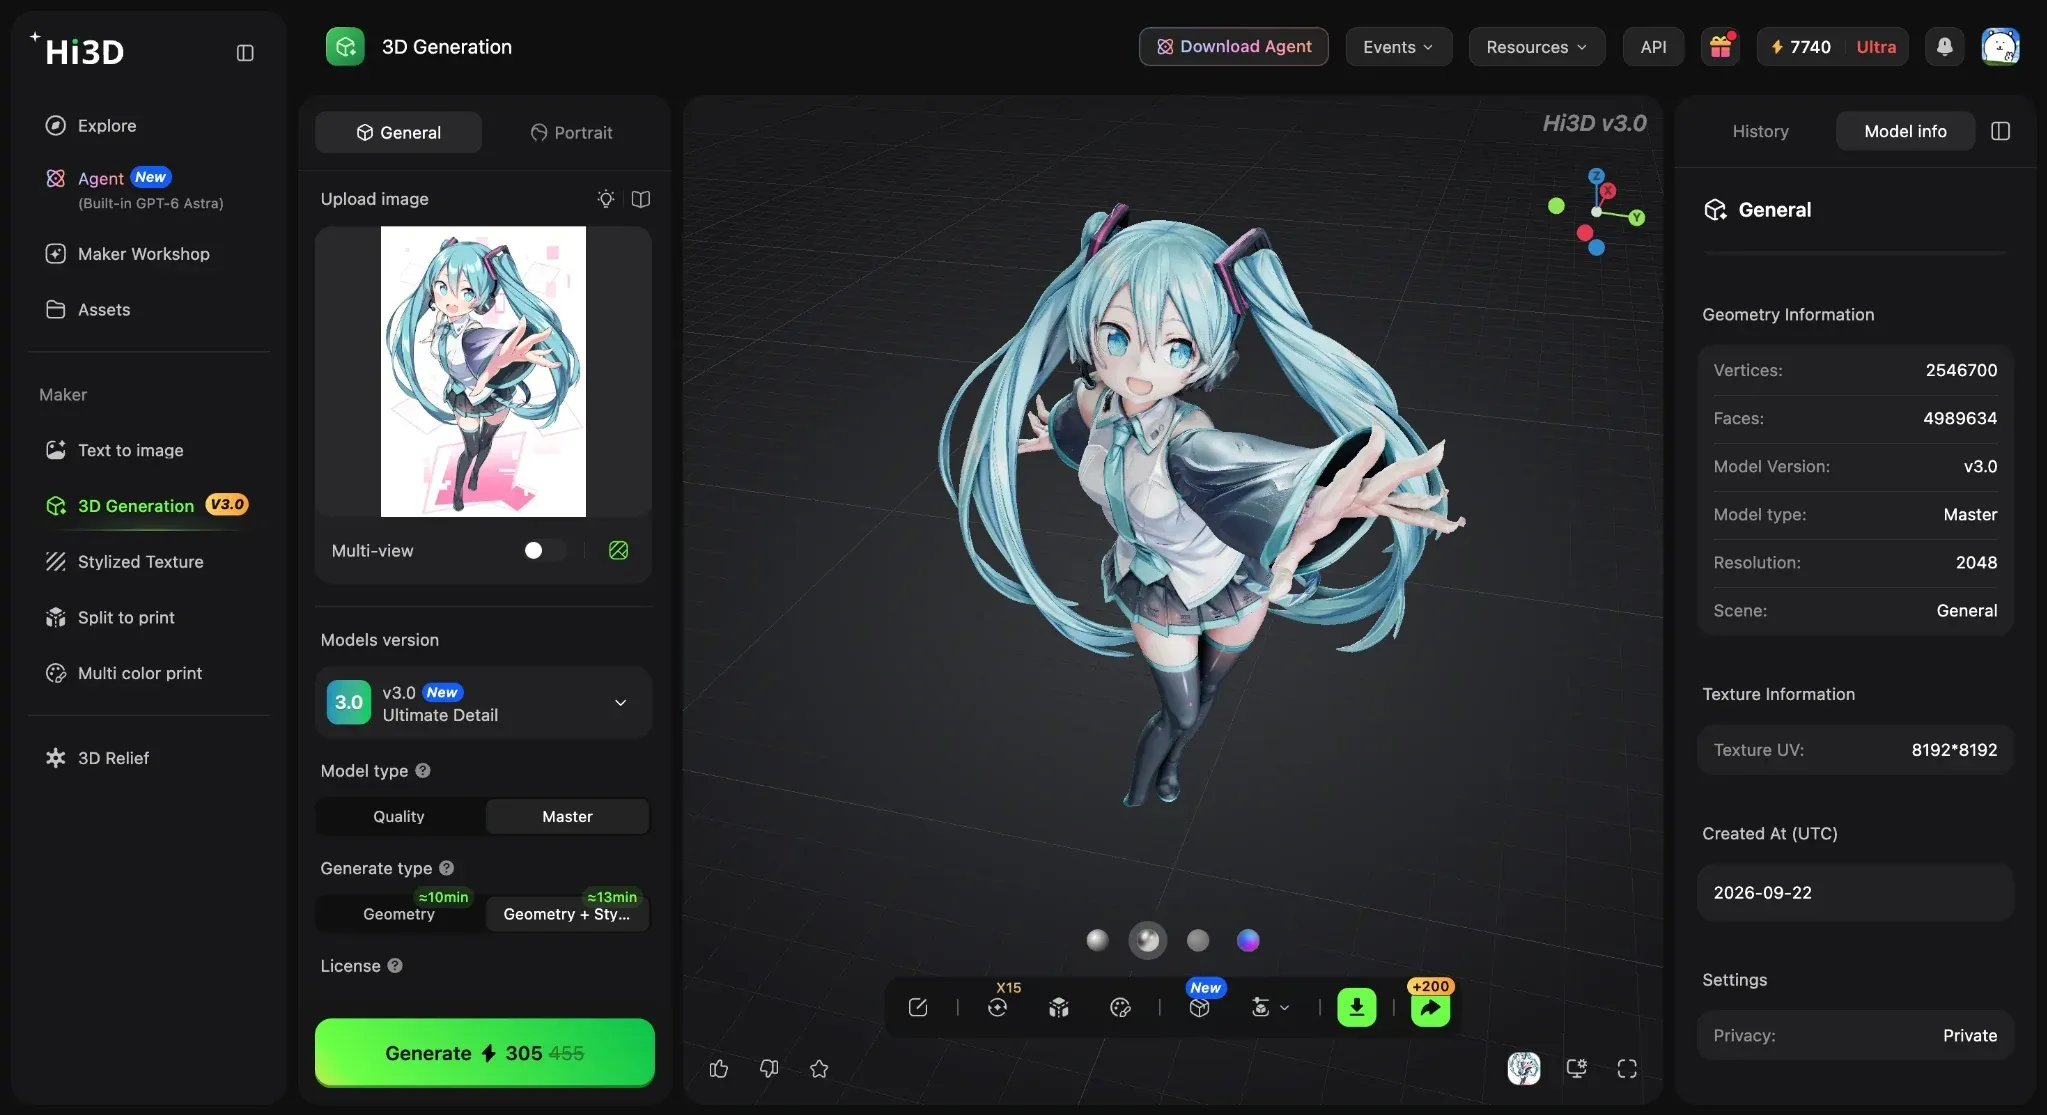
V3.0 also supports an 8K PBR texture workflow, although for STL printing the geometry is obviously more important than how nice the surface looks in the viewer. Looking at the back of the generated model is especially useful because it shows how much structure the AI had to infer from the source image.
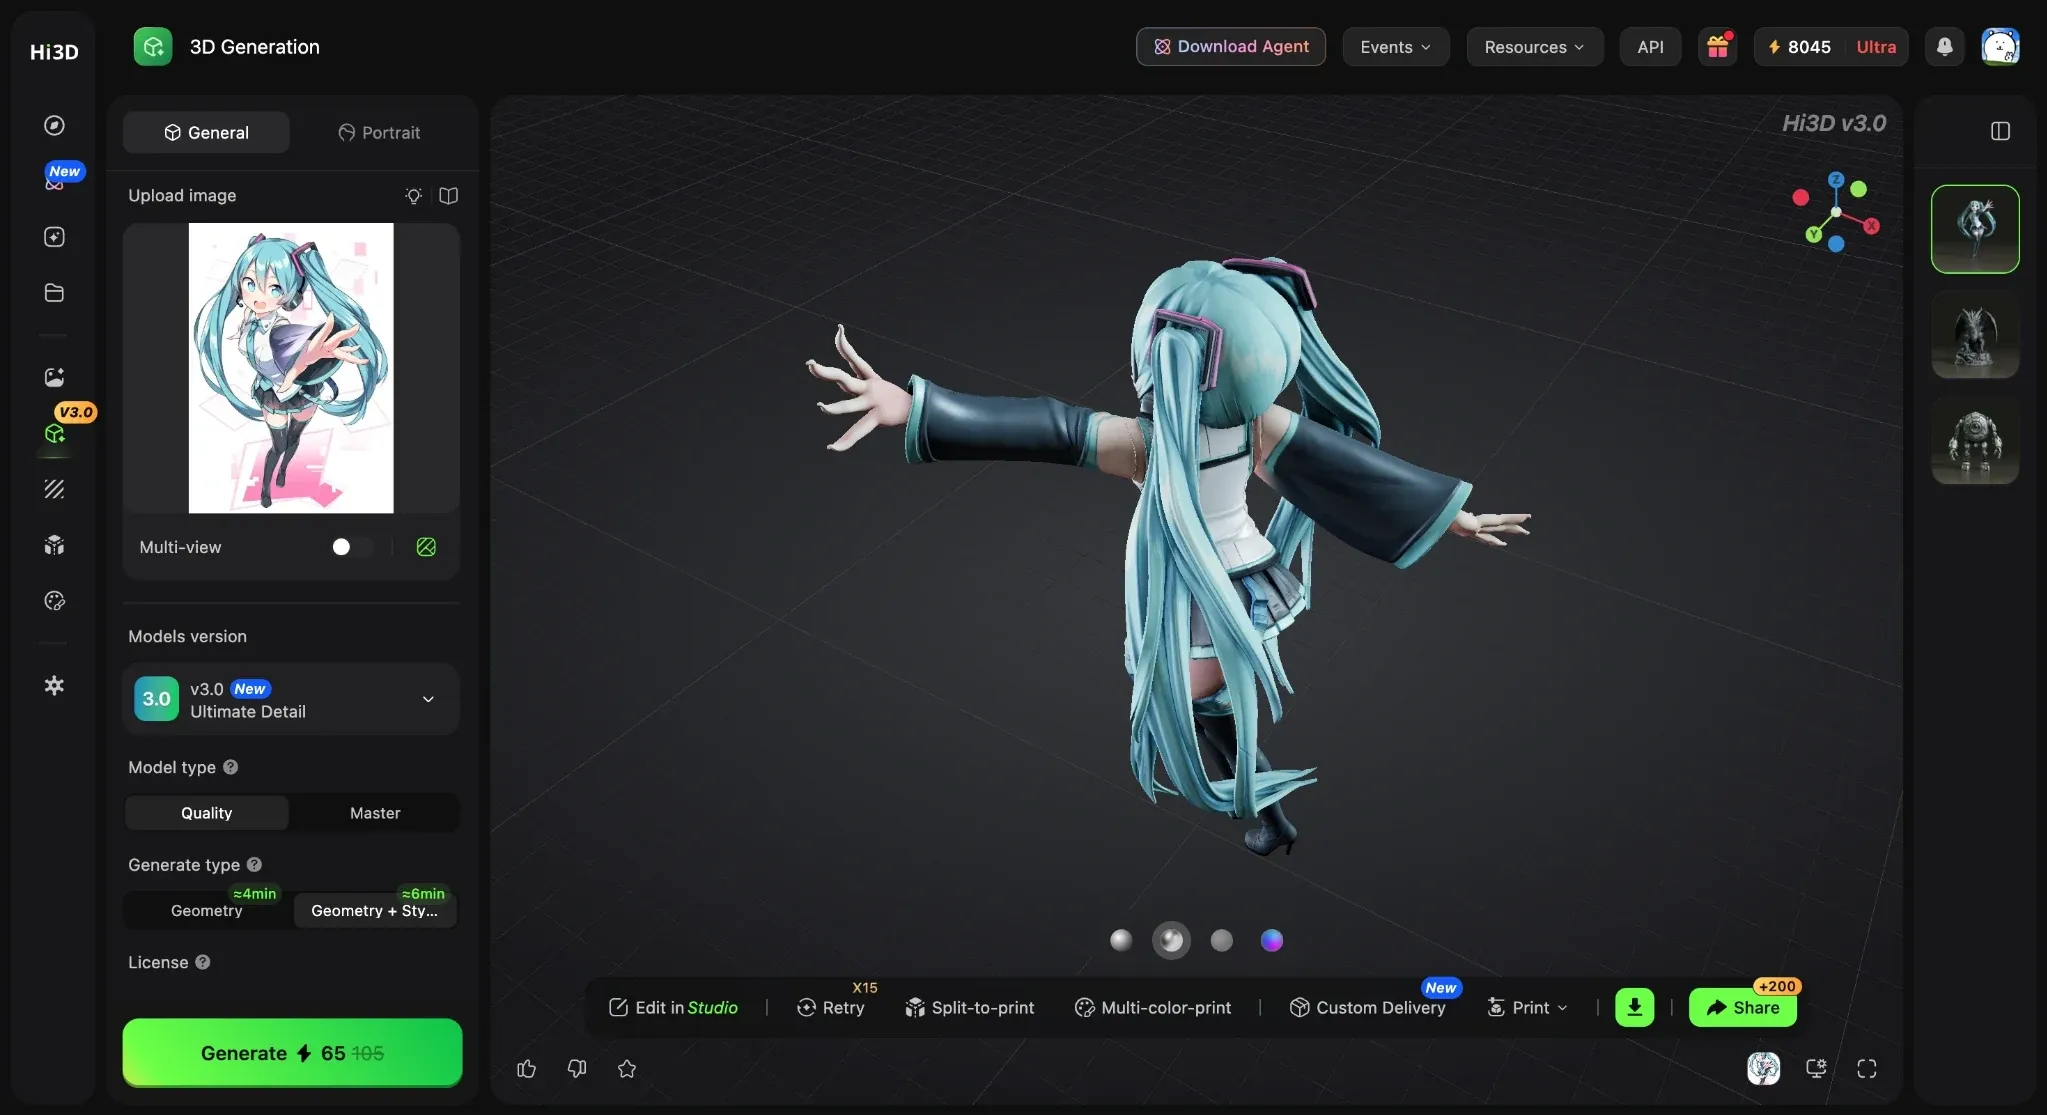
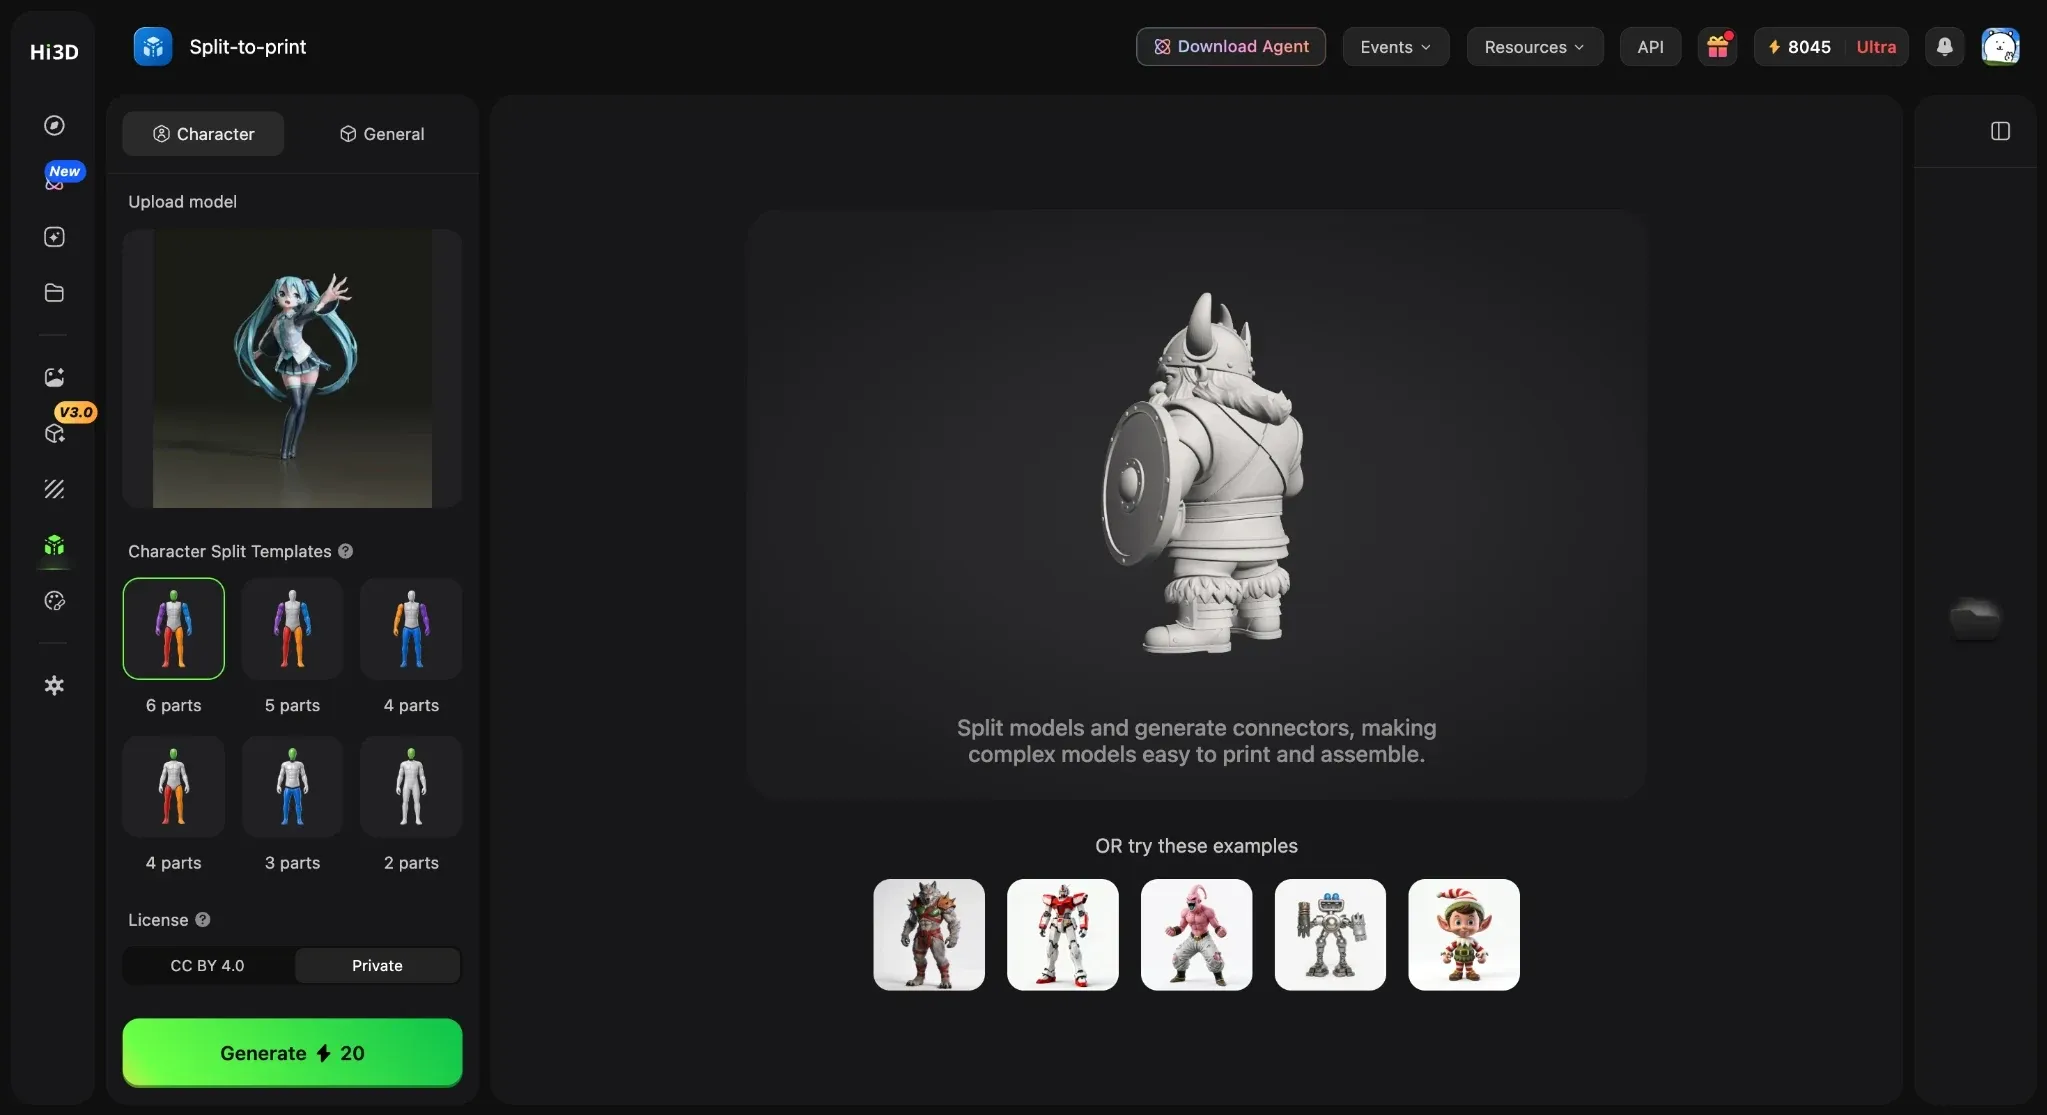
The more practical advantage is what happens after generation. A large figurine rarely prints well as one giant piece, and Hi3D’s Split-to-Print tool can divide the model into several sections and add connectors for assembly. Character models can currently be split into 2–6 parts.
Multi-Color Print handles color-region separation for multi-material workflows, so a textured model can move into a color-printing setup without manually rebuilding every color region from scratch.
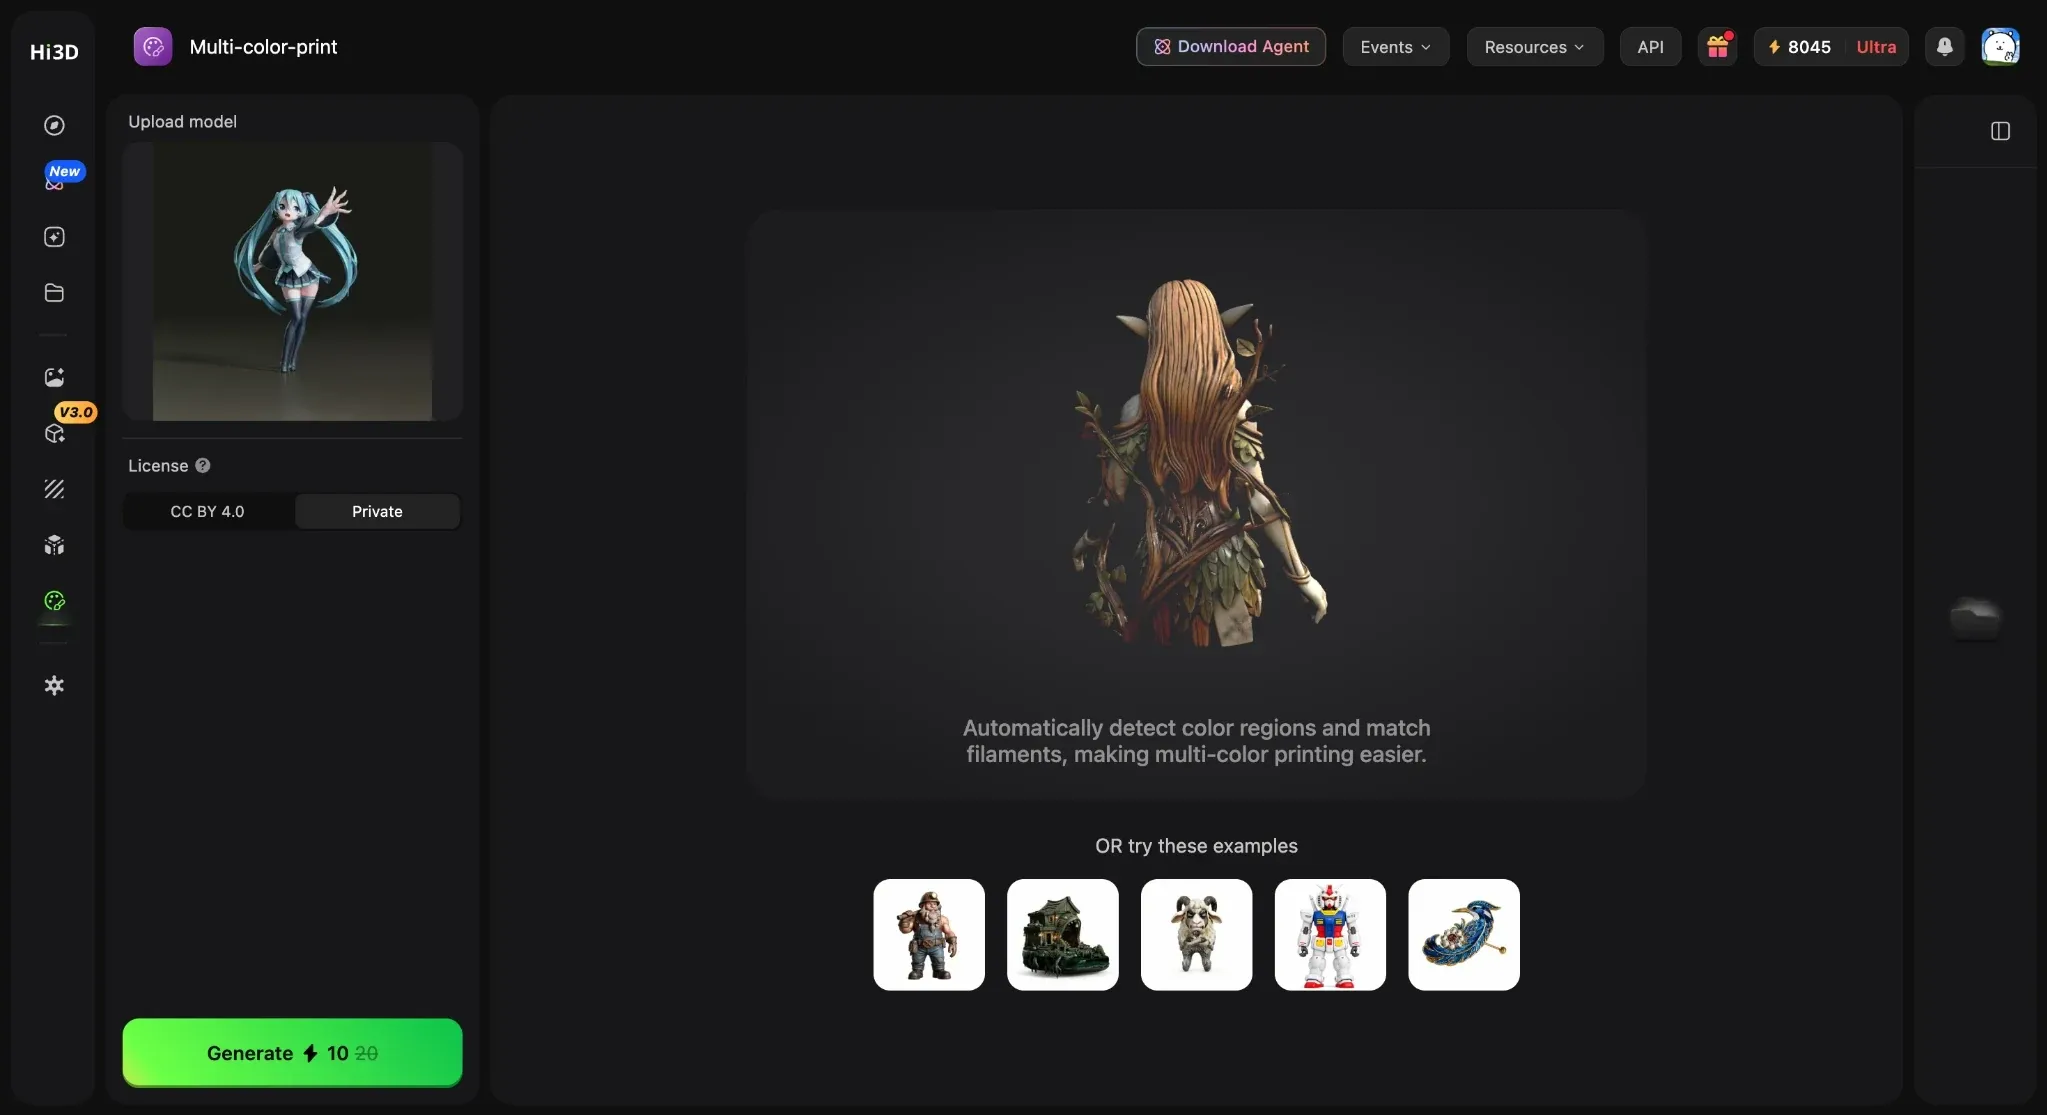
That can save a very annoying detour into Blender or another mesh editor just to cut an arm off cleanly and add a peg.
Main Features:
- V3.0 image-to-3D: Works from one image or multiple views. Extra views are especially useful when the back and side structure actually matters.
- 2048³ Master mode: Higher-detail geometry for characters, sculptures, clothing, lettering, and more complex surfaces.
- OBJ, GLB, STL, FBX, USDZ, and 3MF: The model is not locked into STL if it later needs editing elsewhere. Hi3D’s export format guide breaks down where each format fits.
- Split-to-Print: Breaks larger models into printable sections and adds assembly connectors.
- Multi-Color Print: Separates model colors for multi-material or multi-color printing.
Price
Hi3D has a Free plan at $0. Pro costs $19.90 per month, or $119.40 per year when billed annually ($9.95/month equivalent). Max costs $39.90 per month, or $239.40 per year when billed annually ($19.95/month equivalent). Ultra costs $129.90 per month, or $779.40 per year when billed annually ($64.95/month equivalent).
The plans include different monthly credit allowances, generation limits, concurrency, storage, download rights, and feature access. Higher-detail generation and print-preparation tools consume credits, so rough tests should use the least expensive mode that can answer the design question. Promotional first-month prices may appear for new subscribers; check the current Hi3D subscription page before choosing a plan. These web-app subscriptions are separate from Hi3D's API pricing.
Pros:
- Handles fine geometry better than lightweight image-to-STL tools
- Multi-view input helps with hidden surfaces
- Includes proper print-oriented splitting tools
- Offers STL and 3MF alongside production formats such as FBX and GLB
- Works well for figurines, sculptures, and detailed character models
Cons:
- Master generation can get expensive quickly
- Five-million-face models are not exactly lightweight
- A single photo still leaves the AI guessing about the back
- Animation-ready topology still needs work elsewhere
Best For
Character figures, collectible models, sculptures, detailed decorative pieces, and anything that will probably need to be split before printing.
2. Sloyd: Better When You Want to Keep Editing the Model
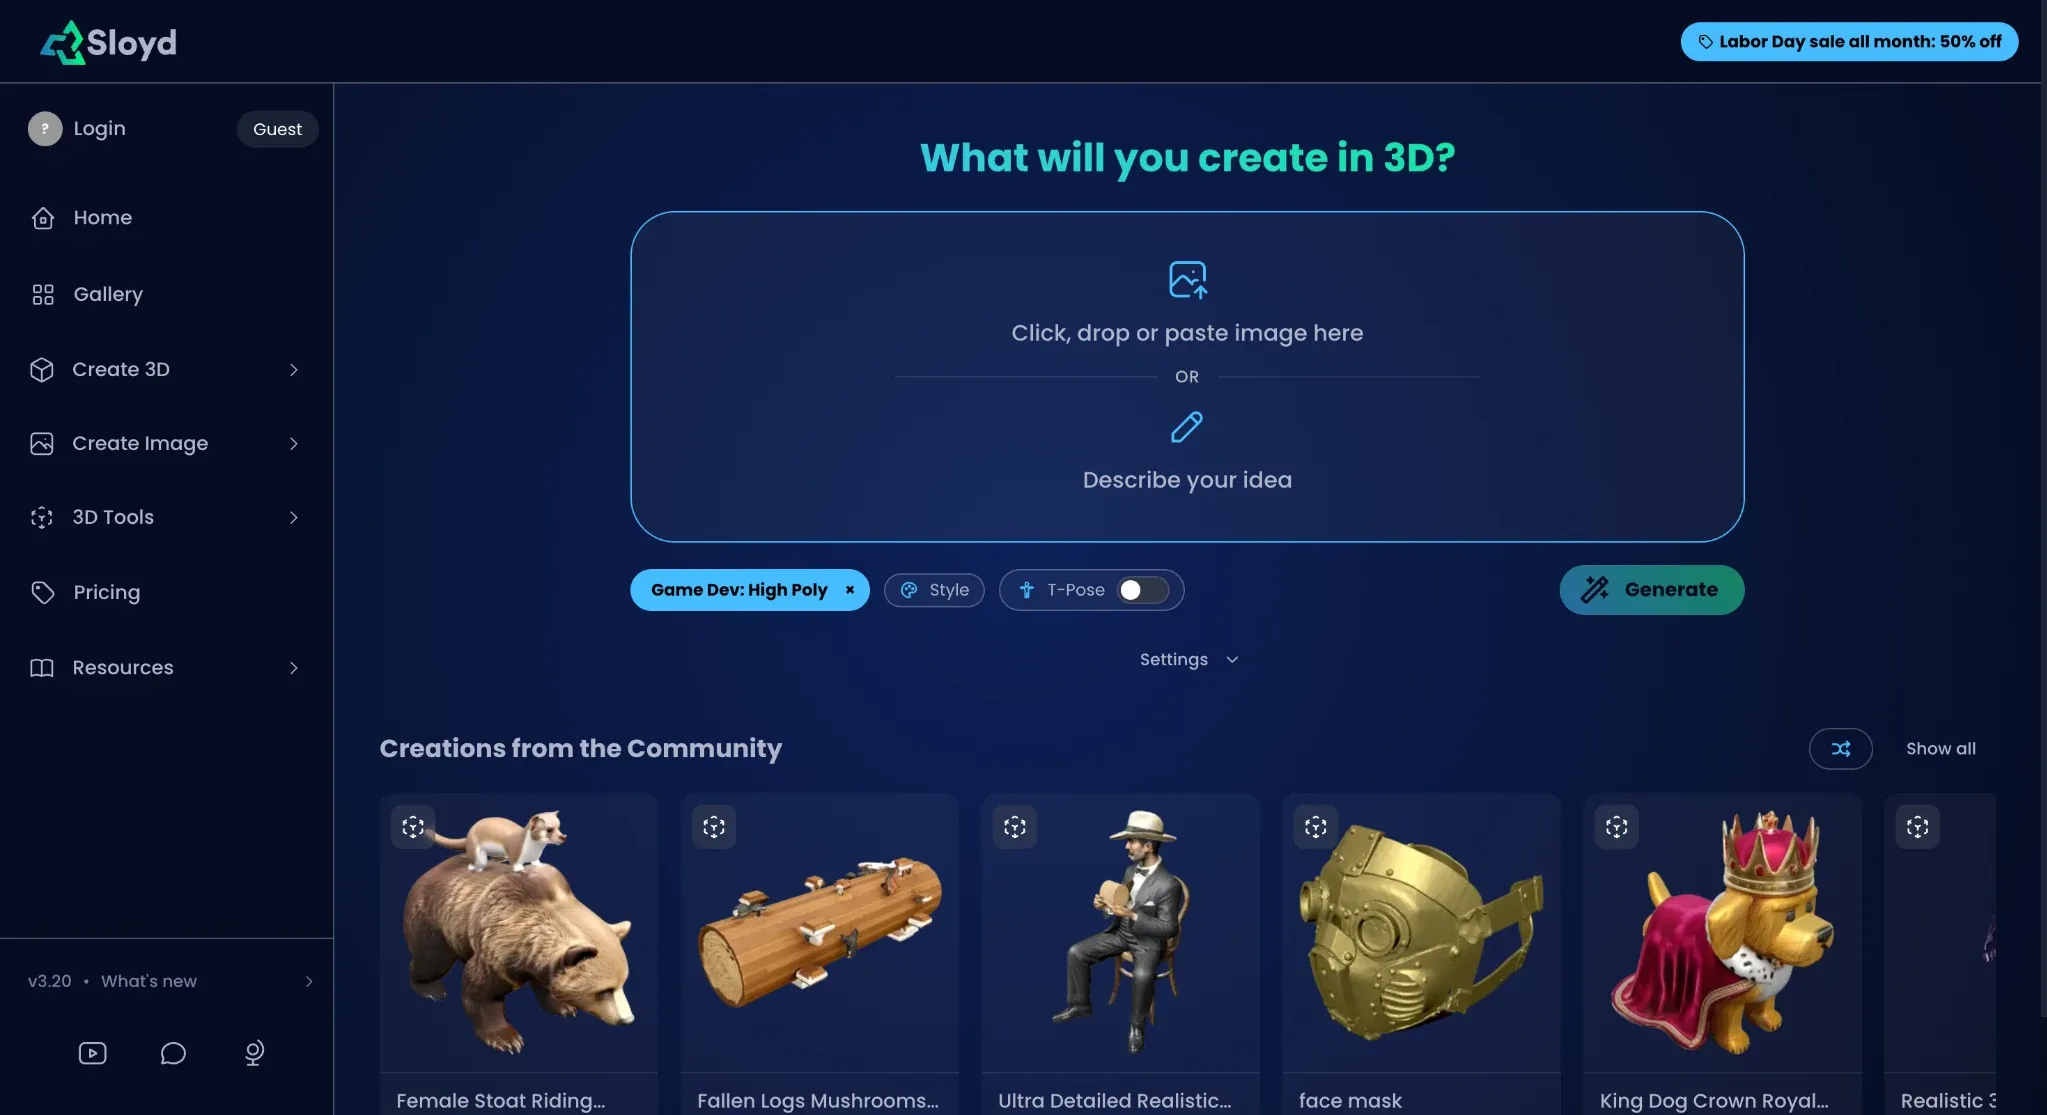
Sloyd makes more sense when the STL is only one possible destination. You can start from text or an image, generate a model, and continue using it in Blender, Unity, Unreal, or a printing workflow, so it fits props, furniture, weapons, crates, environment objects, and other fairly structured assets well.
One thing Sloyd does differently is mix AI generation with parametric templates. With some assets, you can keep adjusting proportions instead of throwing the whole model away and regenerating it every time something looks slightly off. For printing, there is STL export and a dedicated 3D Print mode intended to produce watertight meshes.
That still does not mean every result is magically printer-ready. Complex figures can need cleanup, but if you want a model that may end up in a game today and on a printer tomorrow, Sloyd gives you more room than a one-purpose STL tool.
Main Features:
- Text-to-3D and Image-to-3D
- Parametric editing for supported template-based assets
- Dedicated 3D Print mode
- GLB, FBX, OBJ, and STL export
- Retexturing, splitting, and other downstream asset tools
Price:
Sloyd has a free entry point. The current Plus plan is around $15/month, with higher tiers aimed at heavier production.
Pros:
- Good mix of text and image generation
- Easier to keep editing than many one-click generators
- Useful beyond 3D printing
- Strong fit for props, furniture, and game assets
Cons:
- Printing is only one part of the platform
- Complex characters may still need repair
- Print splitting is not as deep as Hi3D’s workflow
Best For
Users who want STL today but may also need Blender, Unity, or Unreal tomorrow.
3. PrintPal: Made More for Makers Than 3D Artists
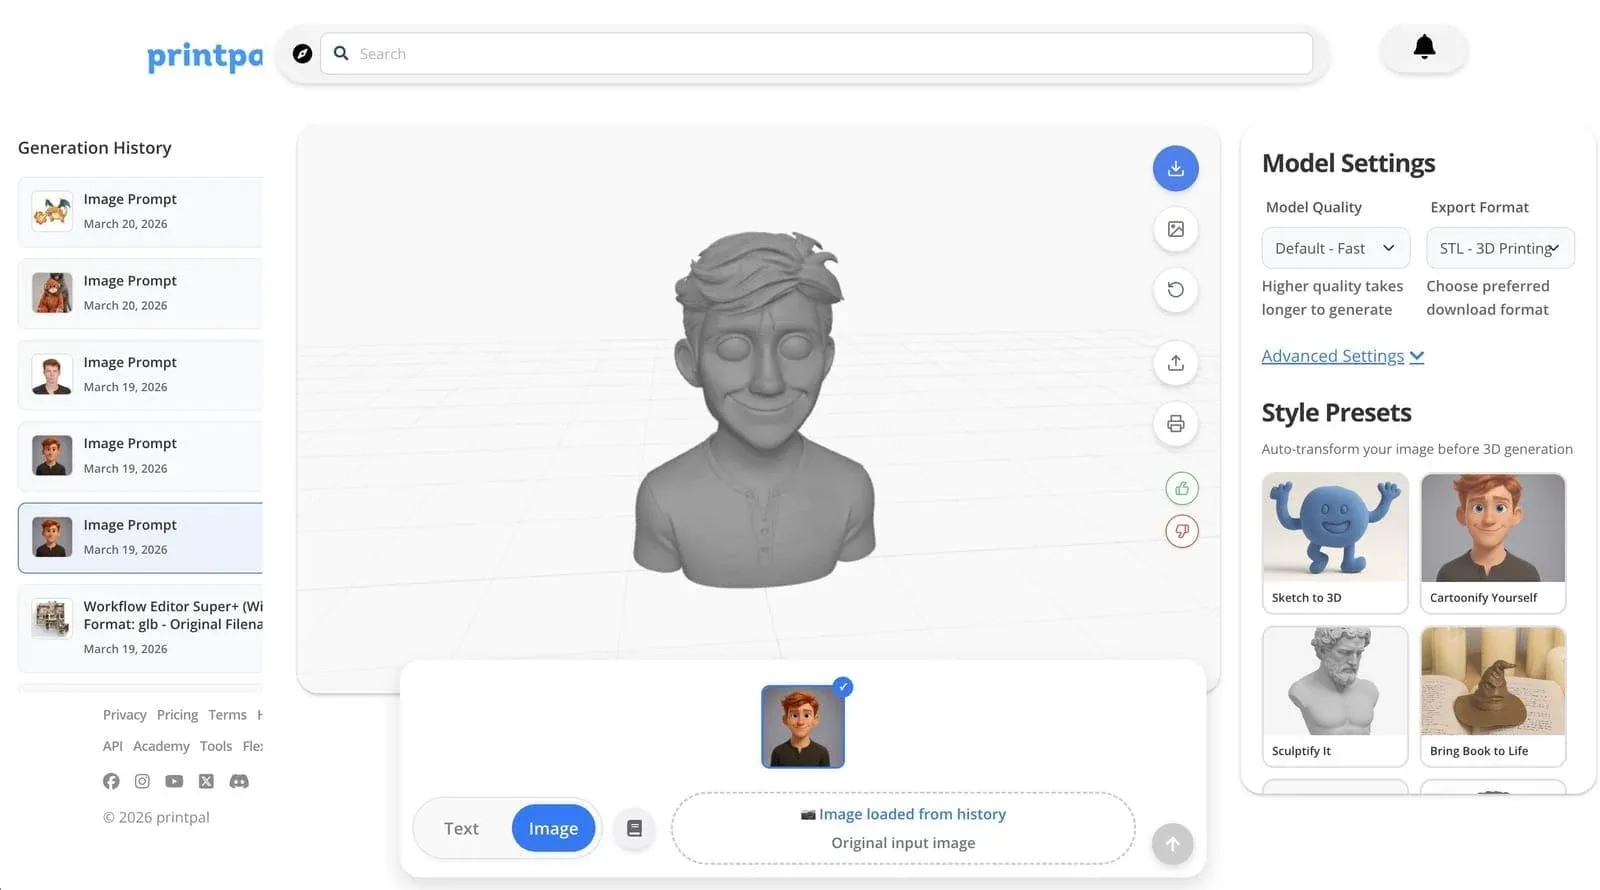
PrintPal feels much closer to a maker toolbox than a general AI 3D platform. Alongside text-to-3D and image-to-3D, you’ll find tools such as Flexi Model Creator, Puzzle, Brick, and Fidget generators. That gives you a pretty good idea of the intended audience: people making actual printable objects rather than cinematic assets.
For a desk toy, flexi model, simple ornament, puzzle, or Etsy-style printable, that focus is useful. You do not need a five-million-face mesh for everything; sometimes you just want a decent model, an STL, and a slicer.
The free tier currently gives 10 Basic AI Generations per month. That is enough to poke around and see whether the workflow suits you, although anyone burning through ideas all day will hit the limit pretty quickly.
Main Features:
- Text and image generation
- AI model editing
- Dedicated 3D printing design tools
- Maker tools for puzzles, bricks, fidgets, and flexi models
- STL, OBJ, and GLB export on higher plans
Price:
- Free: $0, 10 Basic AI Generations per month
- Pro: $10/month, 200 generations
- Studio: $25/month, 500 generations
Pros:
- Clearly aimed at real printing projects
- Cheap enough for casual makers
- Useful tools beyond basic AI generation
- Easy to understand without a 3D background
Cons:
- Free usage disappears fast
- Detailed character work is not its specialty
- Advanced export options require paid plans
Best For
Home printing, small maker projects, toys, ornaments, and other models where speed matters more than extreme geometric detail.
4. Fast3D: Good for Burning Through Ideas Quickly
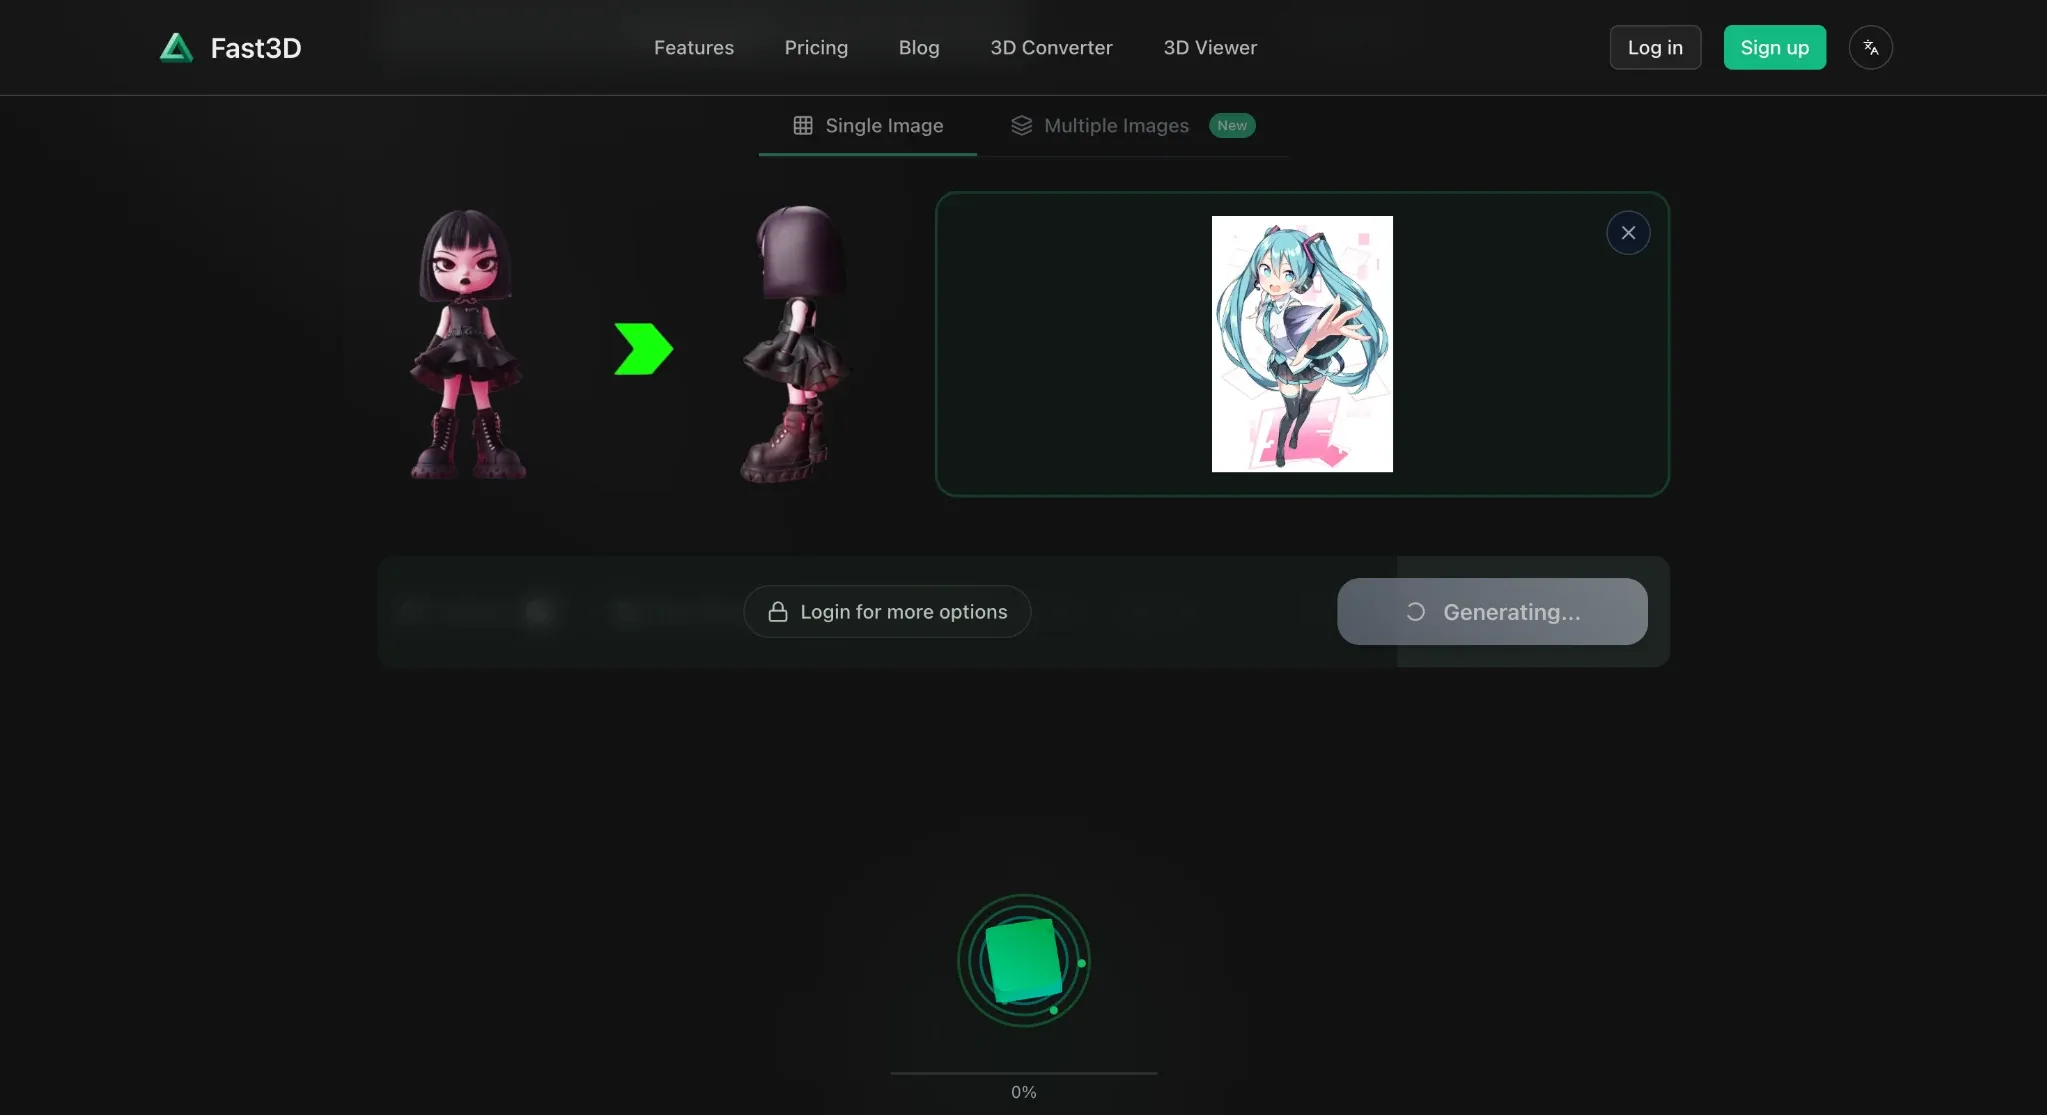
Fast3D is useful when you have several ideas and do not yet know which one deserves a high-quality generation. It supports text, single-image, and multi-view input, with different quality levels depending on how much time and credit you want to spend.
Say you have five product concepts. Running all five at the highest setting is a waste if four of them produce awkward geometry anyway. A better approach is to do the cheap pass first, check the silhouette, spin the model around, and see whether the back looks believable. If the AI has invented a completely different object back there, move on.
Once you find the promising one, then it makes sense to spend more credits on a better version. Multi-view generation helps here too, because a front image tells the AI almost nothing about the back. Give it several angles and at least it has something real to work from.
Exports include GLB/GLTF, FBX, OBJ/MTL, and STL.
Main Features:
- Text-to-3D, single-image, and multi-view generation
- Several quality levels for quick tests versus final output
- Multi-view reconstruction on supported plans
- PBR textures
- STL, OBJ, FBX, and GLB/GLTF export
Price
The free plan currently gives 300 credits per month and up to two downloads per day. That is perfectly fine for playing around, but if you are testing a dozen client concepts before lunch, the daily limit will feel very small very quickly.
Pros:
- Fast way to screen several concepts
- Multi-view support
- Good mix of print and general 3D formats
- Free tier is enough for testing
Cons:
- Two daily downloads is restrictive
- Better reconstruction features sit behind paid tiers
- Not much built-in print preparation
Best For
Early concept testing, especially when you have several images and only want to spend high-quality generation credits on the promising ones.
5. AI3DGEN: Handy for a Free First Look
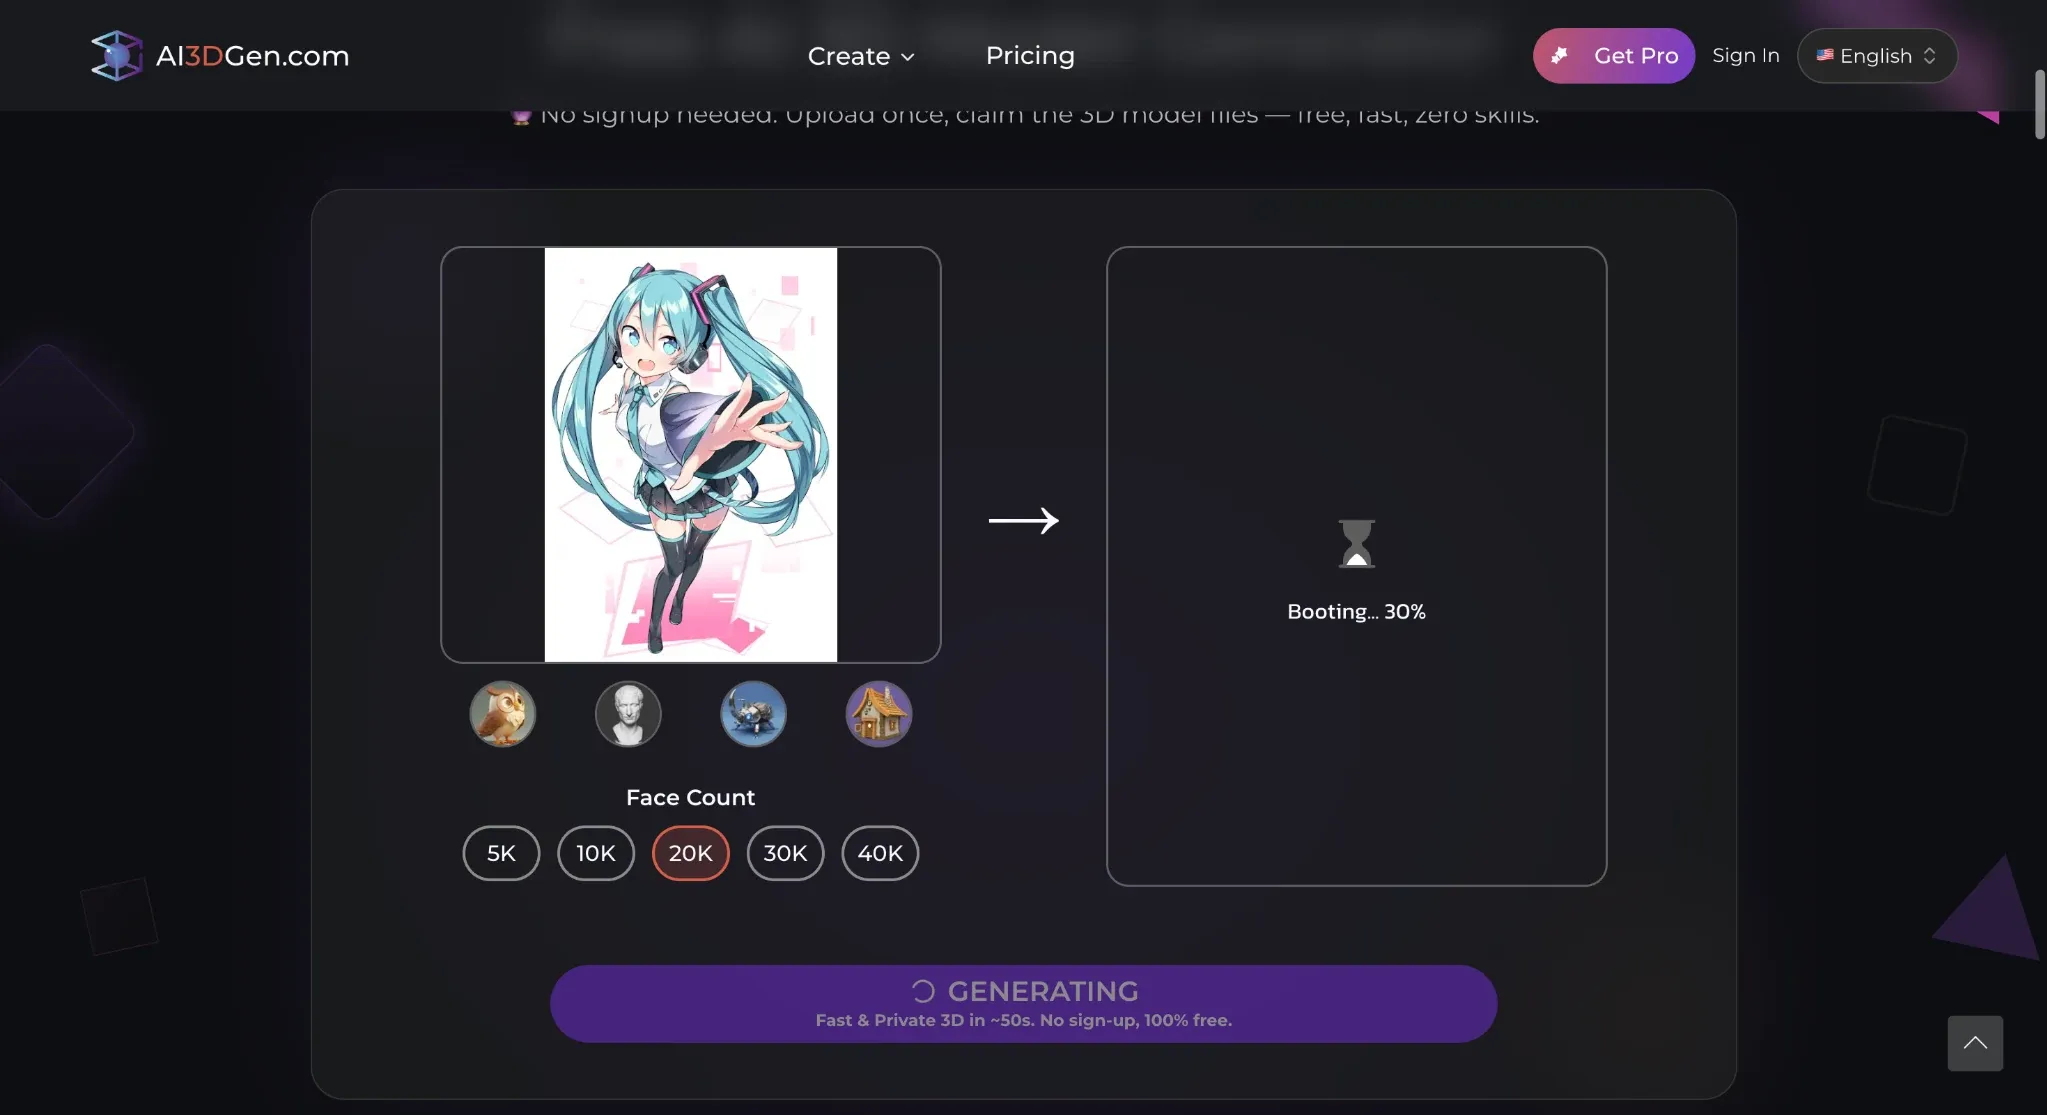
AI3DGEN is useful for one very specific moment: you have an image and want to see whether turning it into 3D is even worth pursuing. Upload a JPG or PNG, choose some basic settings, and let the Lite model produce a preview. No account and no credit card are required for that first test.
You can also adjust face count, which is handy because not every preview needs a huge mesh. The paid tiers move through Base, Pro, and Ultra models with better geometry and PBR support.
There is one catch worth knowing before you get excited by the phrase “free AI STL generator”: the free Lite mode mainly gives you OBJ. STL and GLB are paid export options. In other words, the free tool is better for checking the reconstruction than for getting a completely free print-ready STL.
Main Features:
- Single-image 3D generation
- Adjustable face count
- Lite, Base, Pro, and Ultra generation tiers
- PBR support on higher tiers
- OBJ, GLB, and STL export depending on plan
Price
Lite can be tested for free without registration. Better models and STL export require paid access.
Quick Take
Useful for checking whether a reference image works at all. Less interesting if your only goal is a free STL download.
6. SupaVoxel: Easy Image-to-3D Without Much Setup
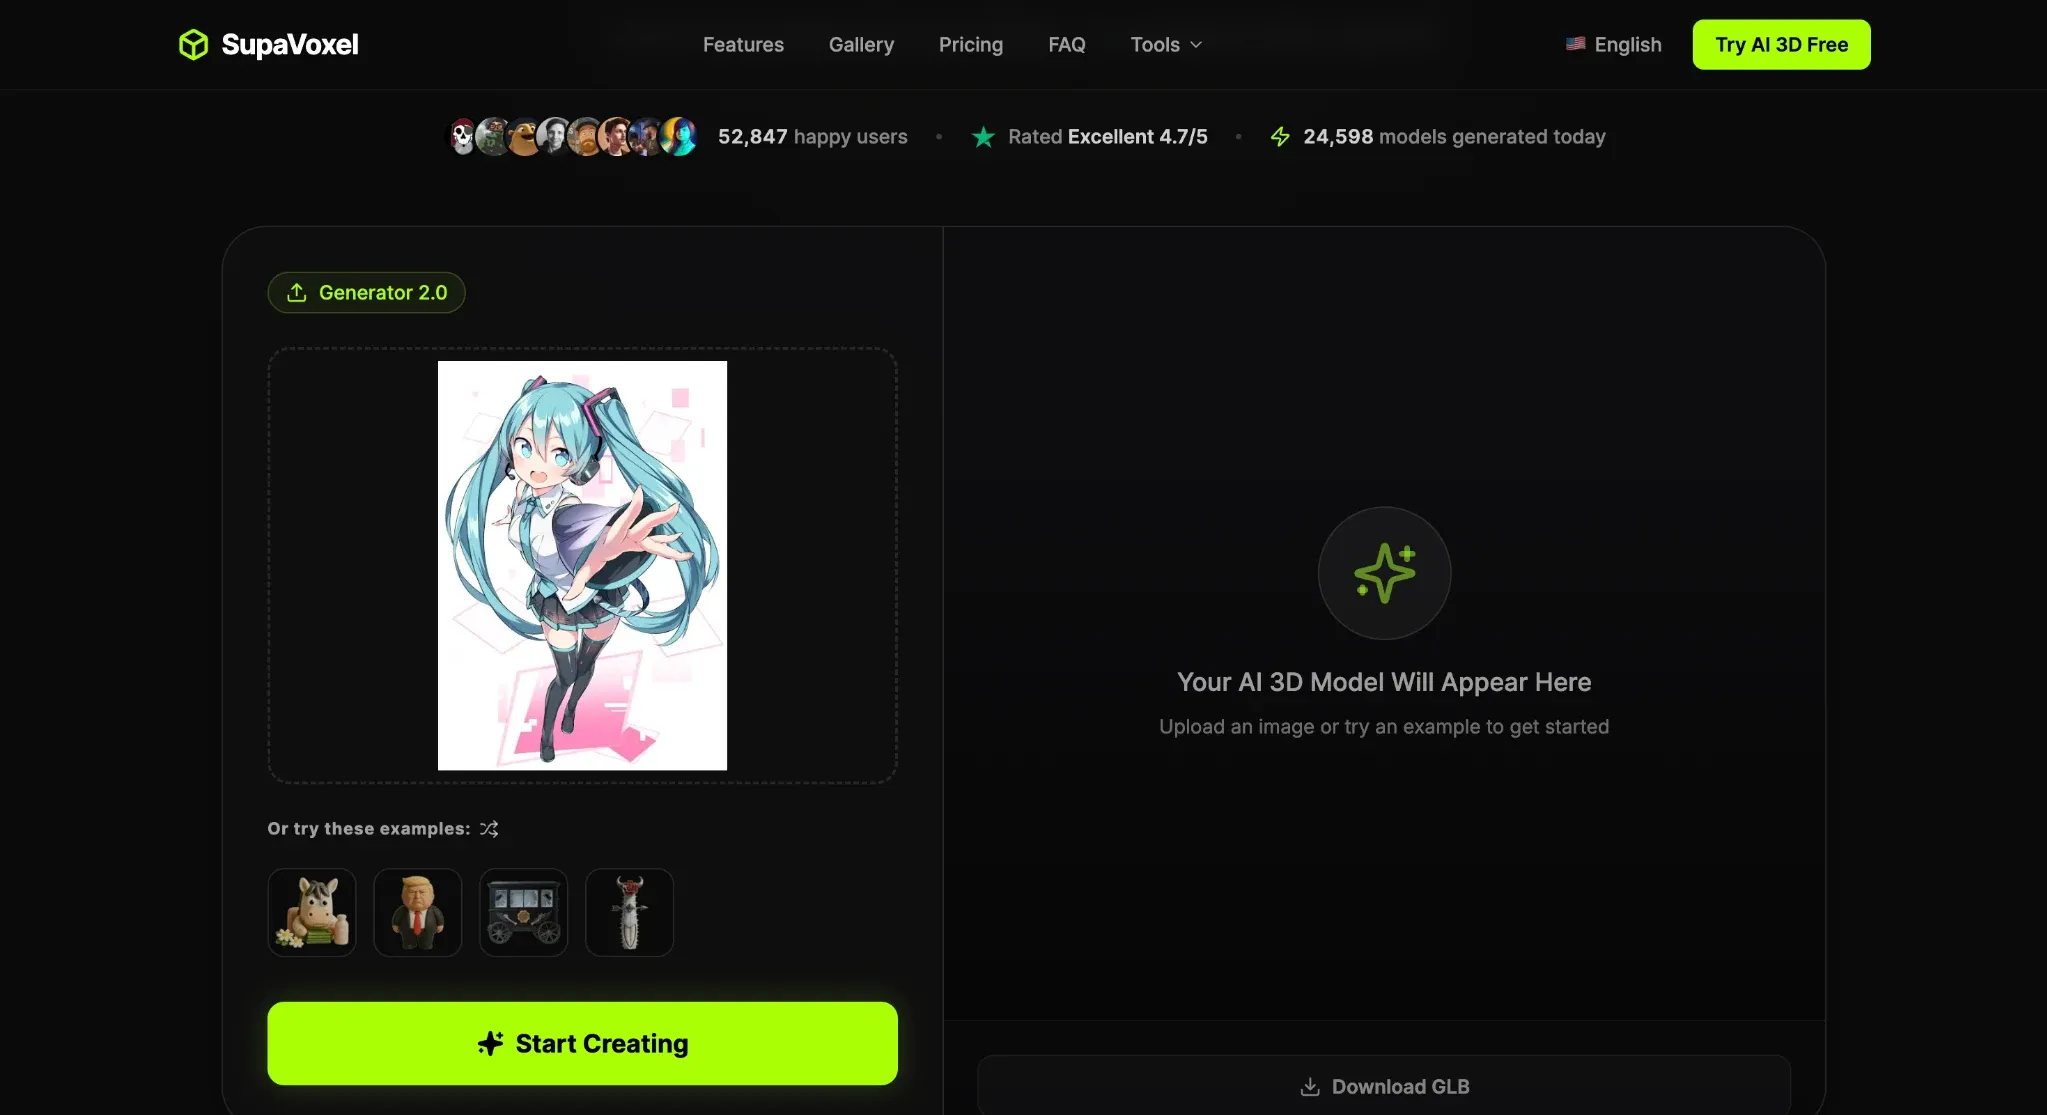
SupaVoxel keeps the workflow short: upload an image, wait for the model, spin it around, and download it. It supports PNG, JPG, JPEG, and WebP, while current exports include GLB, GLTF, FBX, OBJ, USDZ, and STL, so despite the name you are not being trapped inside some strange voxel-only format.
Free users currently get three model generations per day. That is enough for casual testing and is a little more forgiving than a tiny one-time trial because the allowance resets daily.
The trade-off is control. If you want deep print repair, splitting, or detailed geometry adjustments, you will probably need another tool afterward.
Main Features:
- Image-to-3D from common image formats
- Fast browser-based generation
- GLB, GLTF, FBX, OBJ, USDZ, and STL
- Texture and material support
- Three free models per day
Good For
People who want to go from “I have a picture” to “I have something I can open in a slicer” without spending half an hour figuring out settings first.
7. ImageToSTL: When You Already Know the Answer Is STL
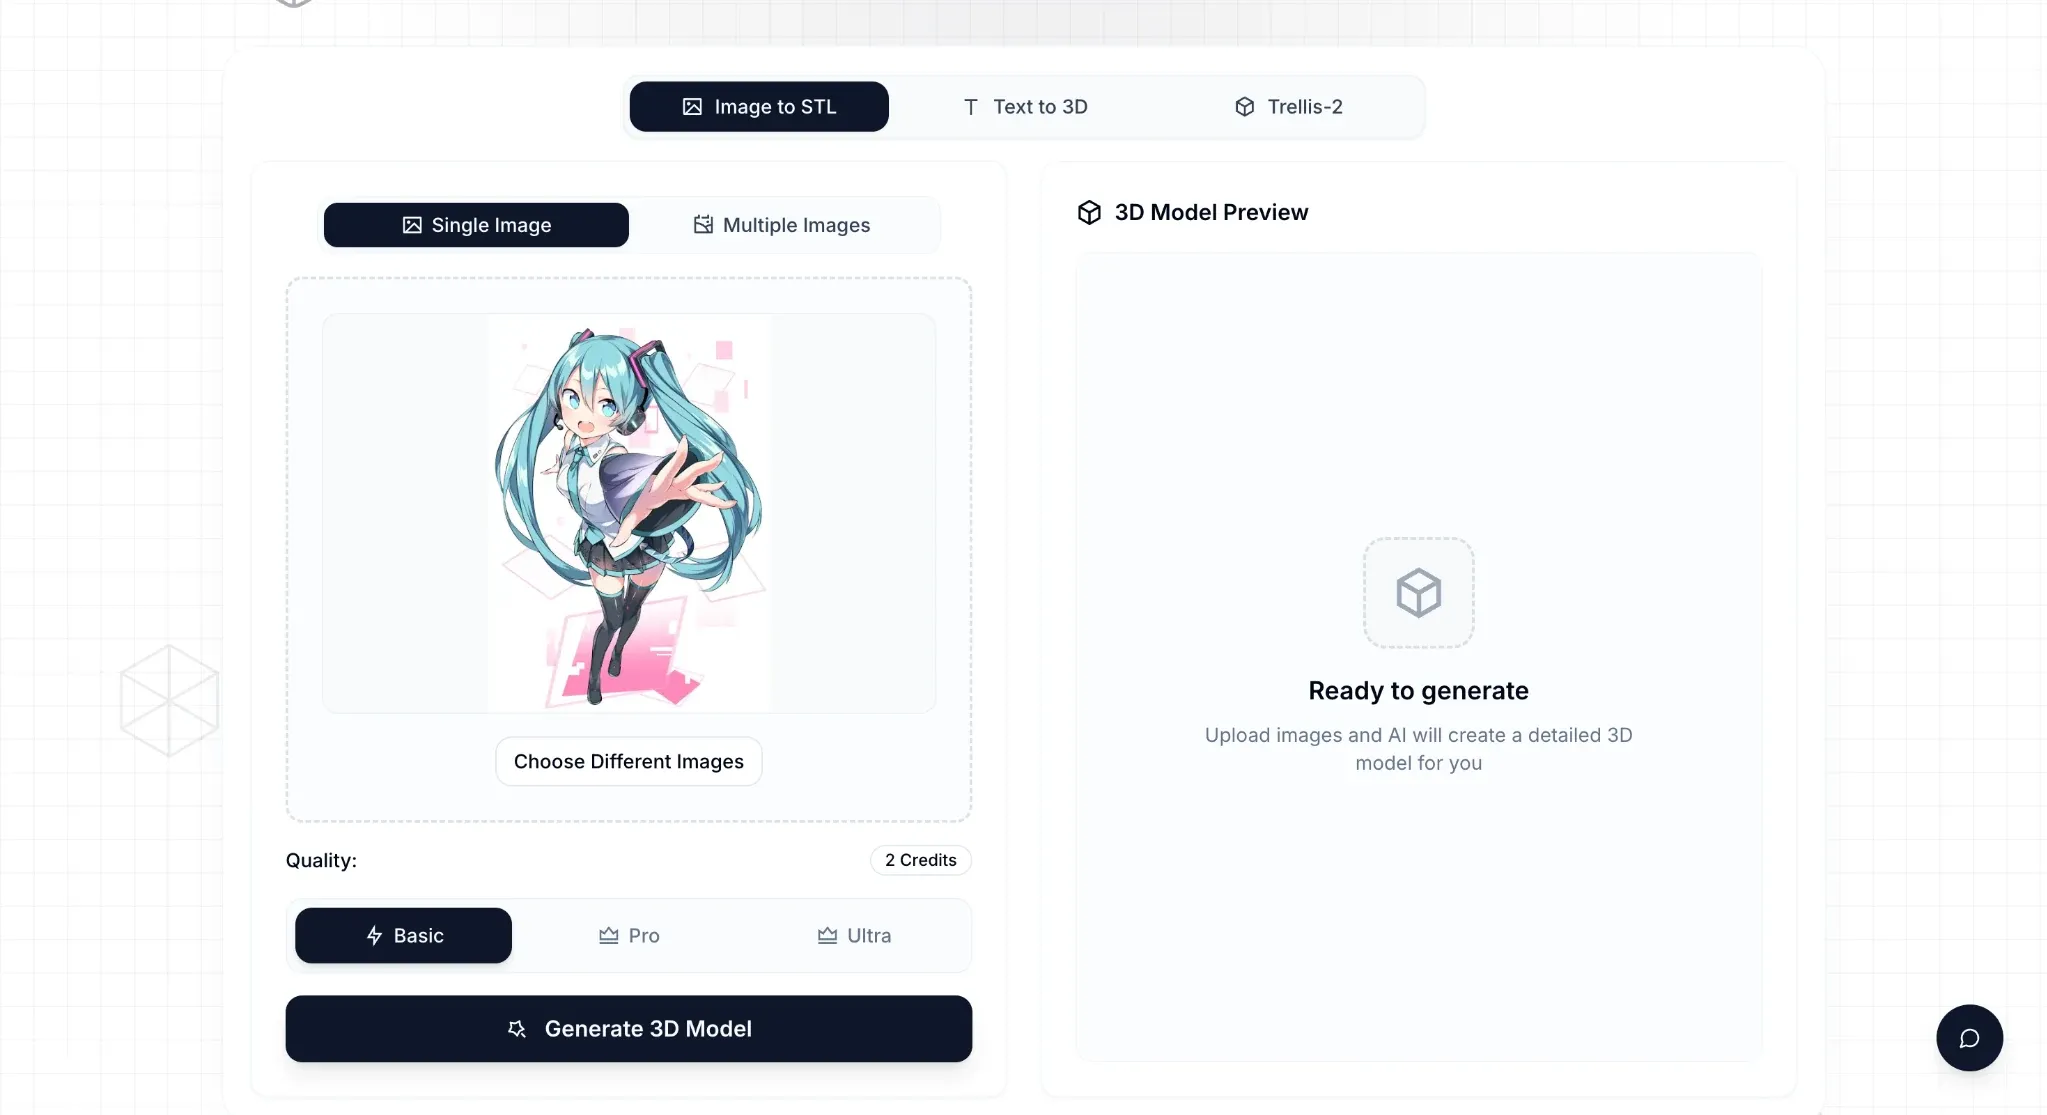
ImageToSTL is easy to understand because the job is right there in the name: you have a 2D image and you want a 3D STL.
That narrower focus is useful. There is no need to drag in animation tools, game-engine integrations, rigging, or ten different asset formats if you are working with a logo, decorative design, simple object, or basic printable reference. You upload the source, generate the model, preview it in the browser, and download the STL.
The limits are just as easy to understand. The moment you want to rebuild a complicated character, correct the back of the model, work from several camera angles, edit topology, or preserve sophisticated materials, you have moved beyond what a simple image-to-STL pipeline is good at.
Main Features:
- Direct image-to-STL conversion
- Browser-based 3D preview
- No Blender or CAD setup required
- Credit-based usage tiers
- Workflow centered on 3D printing rather than animation or games
Price:
With annual billing, pricing is currently around:
- Basic: $10/month, 300 Credits
- Premium: $13/month, 600 Credits
- Pro: $21/month, 1000 Credits
Pros:
- Very clear workflow
- Little learning curve
- Browser preview before download
- Good fit for straightforward printable models
Cons:
- Limited editing after generation
- Not built for complex characters or production assets
- Advanced repair usually means leaving the platform
Best For
Logos, decorative pieces, simple reference images, and anyone who already knows STL is the only output they care about.
8. Vondy: Fine for Simple One-Off Models
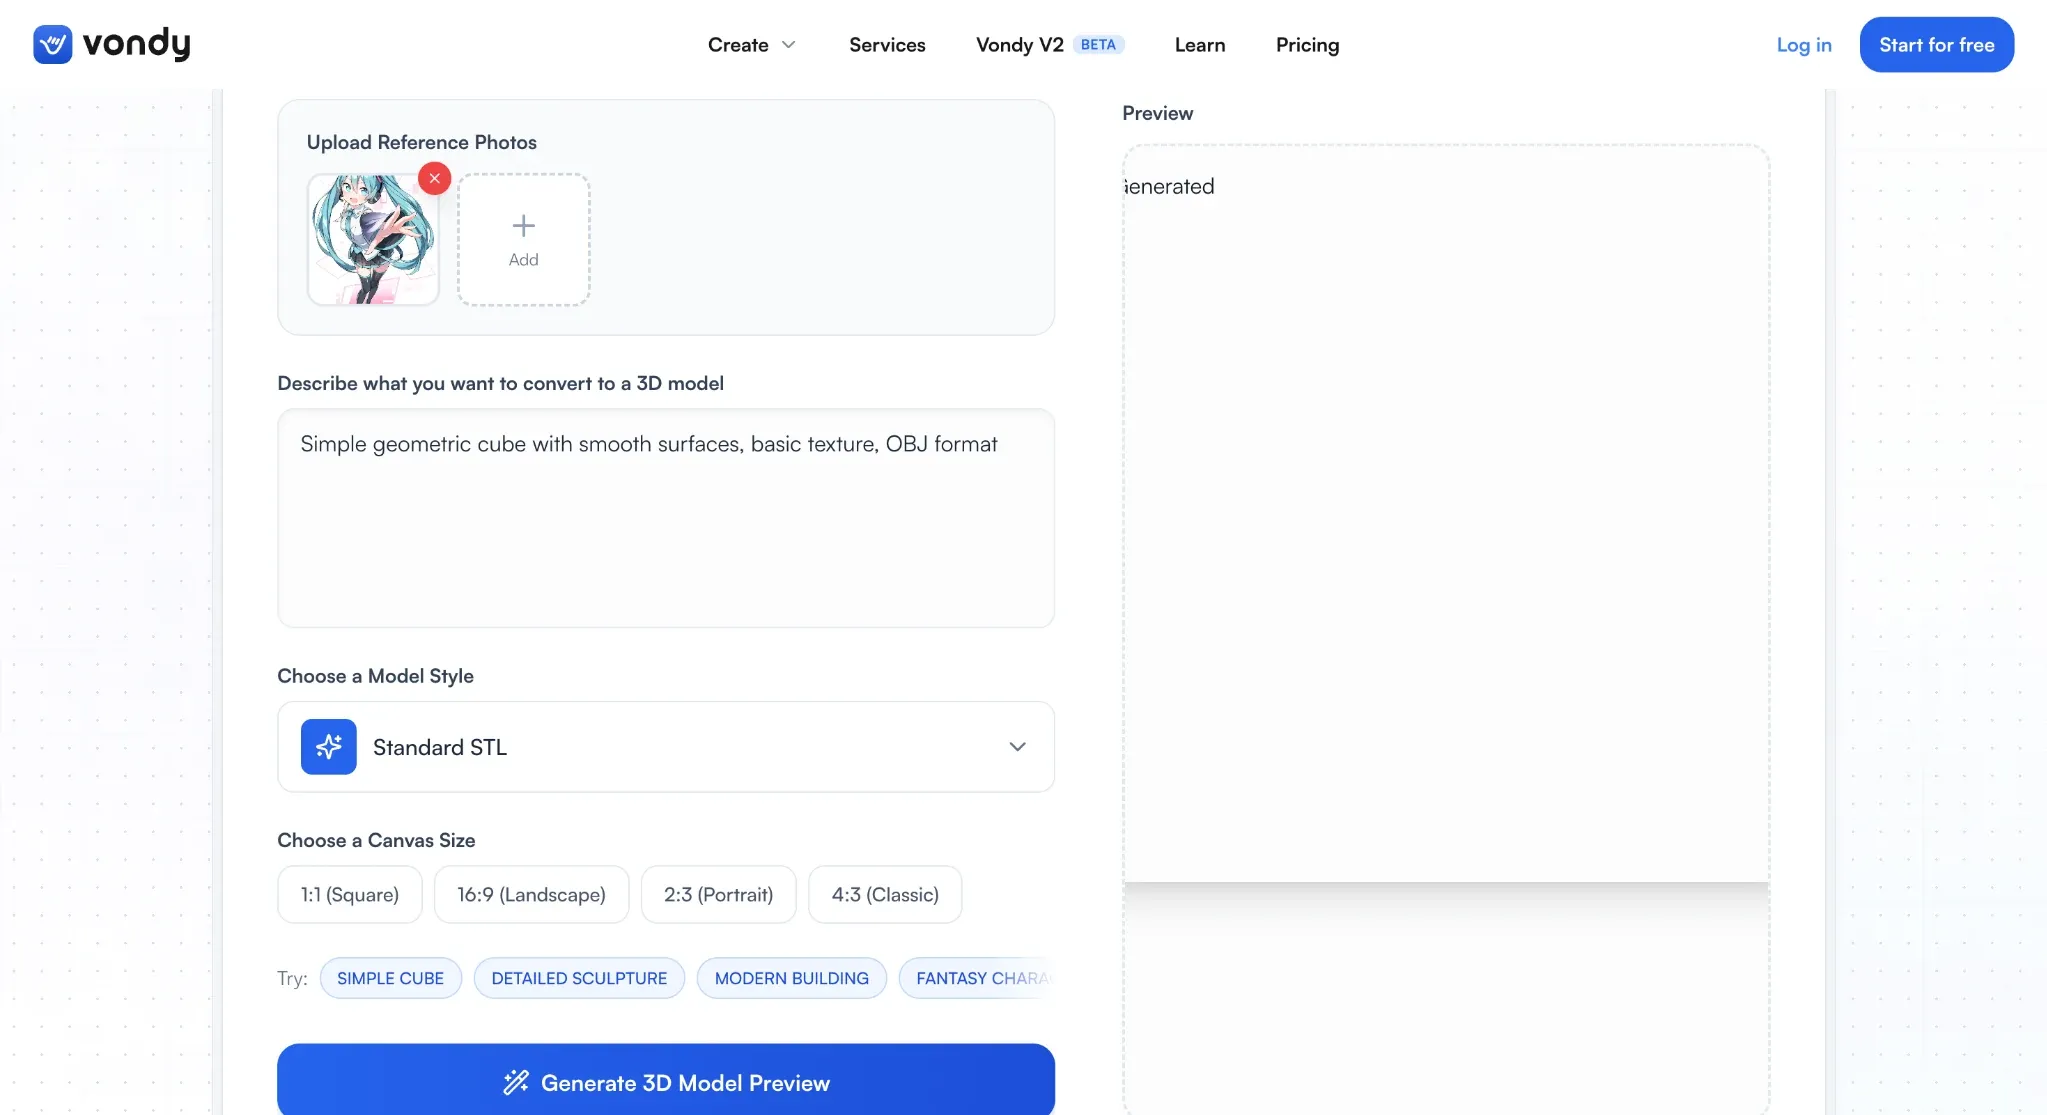
Vondy lets you start from either a prompt or an image and generate a basic 3D model for STL or OBJ output. It works best when the model itself is not especially demanding: decorative objects, rough prototypes, simple shapes, and early concepts are all sensible use cases for a browser-based generator.
Once dimensions become critical, or you need mechanical fits, tiny wall thicknesses, clean character anatomy, or predictable topology, the simplicity starts working against you. At that point, you need more control rather than fewer buttons.
What You Get:
- Text-to-3D
- Image-to-3D
- STL and OBJ output
- Browser-based generation
- Quick concept testing
Vondy can be used for free to get started, although the public tool pages do not make the STL Generator’s standalone limits especially clear. For occasional use, that may be enough; for batch work, I would check the account limits before building a workflow around it.
How to Tell If an AI-Generated STL Is Actually Ready to Print
Getting an .stl file is the easy part. Getting one that survives the slicer is where the fun starts.
1. Make Sure the Mesh Is Watertight
A render can hide a shocking amount of bad geometry. Clothes may look attached to a character while actually floating 0.2 mm away from the body, a bottom surface may be completely open, or two parts may overlap without being joined at all.
Import the model into your slicer and slice it before you spend time arranging supports. If chunks disappear, hollow areas suddenly fill in, or random holes appear, the mesh needs repair.
2. Zoom In on Fingers, Hair, Weapons, and Thin Parts
This is where nice-looking AI models love to betray you. A finger may look fine at full screen and turn into a waxy lump once the character is scaled down to 100 mm tall. Hair strands disappear, a sword edge becomes thinner than the printer can reproduce, or a tail snaps because the connection to the body is tiny.
Check the actual print scale, not just the attractive viewer preview. Pay particular attention to:
- Fingers and toes
- Hair tips
- Weapon edges
- Clothing trim
- Horns and tails
- Narrow joints
A slightly thicker detail that survives the print is better than a perfectly proportioned detail that never makes it off the build plate.
3. Look Under the Model Before You Slice
Seriously—rotate it and look underneath. AI-generated feet, clothing, capes, and bases are frequent trouble spots, and something that looks fine from the hero angle can have a bizarre floating surface underneath.
Then look at overhangs. An outstretched arm, horizontal sword, cape, or long hair section may technically be printable, but only after the slicer fills half the model with supports. At that point, splitting the model may be cleaner. Hi3D’s Smart Arrangement tutorial is a useful reference for part placement and print-bed layout after splitting.
4. Do Not Be Afraid to Cut the Model Apart
A big figure does not have to exceed your print bed before splitting makes sense. Separate arms, weapons, heads, capes, and bases often print better because each piece can be rotated independently.
The important part is the joint. A raw plane cut looks neat on screen and becomes annoying the moment you have to align two slippery resin pieces by hand. Pegs, sockets, ball joints, or mortise-and-tenon connectors make assembly much easier.
This is where Hi3D’s Split-to-Print tool saves real setup time.
5. Layer Preview Is the Final Judge
Before printing, run the model through your actual slicer. Cura, OrcaSlicer, Bambu Studio, PrusaSlicer, Lychee—it does not matter which one you use. Slice the model and scrub through the layers.
Watch for:
- Missing layers
- Floating islands
- Walls that vanish
- Ridiculous support clusters
- Tiny connectors
- Bad bed contact
- Important surfaces covered in support scars
If the layer preview already looks wrong, changing speed or infill is not going to rescue broken geometry.
FAQ
Can AI generate STL files directly?
Yes. Hi3D, Sloyd, Fast3D, SupaVoxel, and several other tools can export STL, but the file extension itself tells you very little about model quality. Two services can both say “STL” and still produce very different geometry.
What is the best free AI STL generator?
For quick experiments, use whichever tool gives you enough free generations to test your source image properly. For detailed characters, free tiers get restrictive fast because resolution, downloads, export formats, and generation credits are usually where the limits show up.
Also check the fine print. A free 3D generator is not always a free STL generator; AI3DGEN’s Lite mode, for example, mainly gives you OBJ unless you upgrade.
Can I print an AI-generated STL immediately?
Sometimes. A simple decorative object may print with little or no cleanup, but for a character model I would still check the mesh, thin parts, overhangs, joints, and layer preview first. Hi3D’s image-to-3D printing guide walks through the handoff from generated model to slicer and final print.
Five minutes in the slicer is cheaper than discovering a bad hand or floating cape six hours into the print.
Final Thoughts
Do not trust the words “STL supported” by themselves. Download the model, open it in your slicer, rotate it underneath, check the fingers and feet, and scrub through the layer preview.
That five-minute check can save far more time—and a lot more filament or resin—than comparing another ten feature tables.