For architecture students and budding designers, the leap from 2D floor plans to immersive 3D environments can feel daunting. However, mastering 3D visualization is a critical step in effectively communicating your design intent to clients, professors, and stakeholders. Enter SketchUp for architecture—an intuitive, powerful, and accessible platform that has revolutionized how architects conceptualize space.
Whether you are designing a cozy residential cabin or a sprawling commercial complex, this SketchUp for beginners guide will walk you through the interface, essential tools, and the ultimate architectural workflow. By the end of this guide, you will have a solid foundation in SketchUp 3D modeling and know exactly how to populate your scenes with next-generation AI assets.
What is SketchUp?
SketchUp is an intuitive, surface-based 3D modeling software widely used in architecture, interior design, and landscape architecture due to its user-friendly interface and rapid push-and-pull modeling capabilities.
Unlike complex parametric software that requires steep learning curves, SketchUp operates on a simple principle of drawing lines and shapes on a 2D plane, then extruding them into 3D forms. This flexibility makes it the industry standard for early-stage conceptualization and spatial planning.
Getting Started: The SketchUp Interface and Essential Tools
Before diving into complex architectural modeling SketchUp workflows, it is crucial to familiarize yourself with the foundational tools. SketchUp’s interface is famously uncluttered, allowing you to focus purely on your geometry.
The Core Modeling Tools
To build architectural forms efficiently, you will rely heavily on these primary functions:
- Push/Pull Tool: The defining feature of SketchUp. This tool allows you to click on any flat 2D surface and extrude it into a 3D volume. It is perfect for raising walls, creating floor slabs, and carving out window openings.
- Follow Me Tool: Essential for creating complex extrusions along a path. Architects use this to model crown molding, roof gutters, railings, and curved pathways.
- Rotate and Scale Tools: Once your geometry is created, these tools allow you to manipulate orientation and size. The Scale tool is particularly useful for adjusting imported assets to fit your spatial requirements.
The Golden Rule: Groups and Components
If there is one concept every beginner must learn immediately, it is isolating geometry. If you leave your geometry “sticky” (ungrouped), intersecting lines will merge, making future edits a nightmare.
- Groups: Use groups for unique objects in your model (e.g., a specific custom wall or a unique floor plate). It protects the geometry from sticking to adjacent surfaces.
- Components: Components are linked duplicates. If you create a window component and copy it 20 times across a building façade, editing one window will automatically update all 20. This saves massive amounts of time and computer memory.
The Architectural Modeling SketchUp Workflow
Creating a professional architectural model requires a structured, step-by-step approach. Moving from macro to micro ensures your model remains organized and easy to navigate.
1. Site Context and CAD Import
Most architectural projects begin with a 2D CAD file (.dwg) containing topographical data and property lines. You can easily import these flat drawings into SketchUp to serve as your base. Always ensure your imported CAD lines are grouped and locked so they don’t accidentally merge with your new 3D geometry.
2. Massing and Spatial Planning
Before worrying about materials or fine details, focus on the overall volume of your building. Use the Push/Pull tool to extrude your floor plans into basic blocky shapes. This stage is all about understanding the building’s scale, proportions, and how it sits within the site context.
3. Detailing the Architecture
Once the massing is approved, begin carving out the details.
- Cut out openings for doors and windows.
- Add roof overhangs and parapets.
- Detail the exterior façade with balconies or brise-soleils.
- Pro Tip: Always organize your details using SketchUp’s Tags (formerly Layers) system. Keep structural walls, windows, and furniture on separate tags so you can toggle their visibility on and off.
4. Applying Materials and Textures
SketchUp comes with a native library of basic materials like brick, concrete, and glass. Using the Paint Bucket tool, you can apply these to your surfaces. For professional presentations, you will eventually want to import seamless, high-resolution PBR (Physically Based Rendering) textures to replace the default materials.
5. Setting up Scenes and Cameras
To present your design, use the Scenes panel. Scenes allow you to save specific camera angles, shadow settings, and tag visibilities. Whether you need a top-down isometric view or a dramatic human-eye-level perspective, saving scenes ensures you can quickly snap back to your best angles.
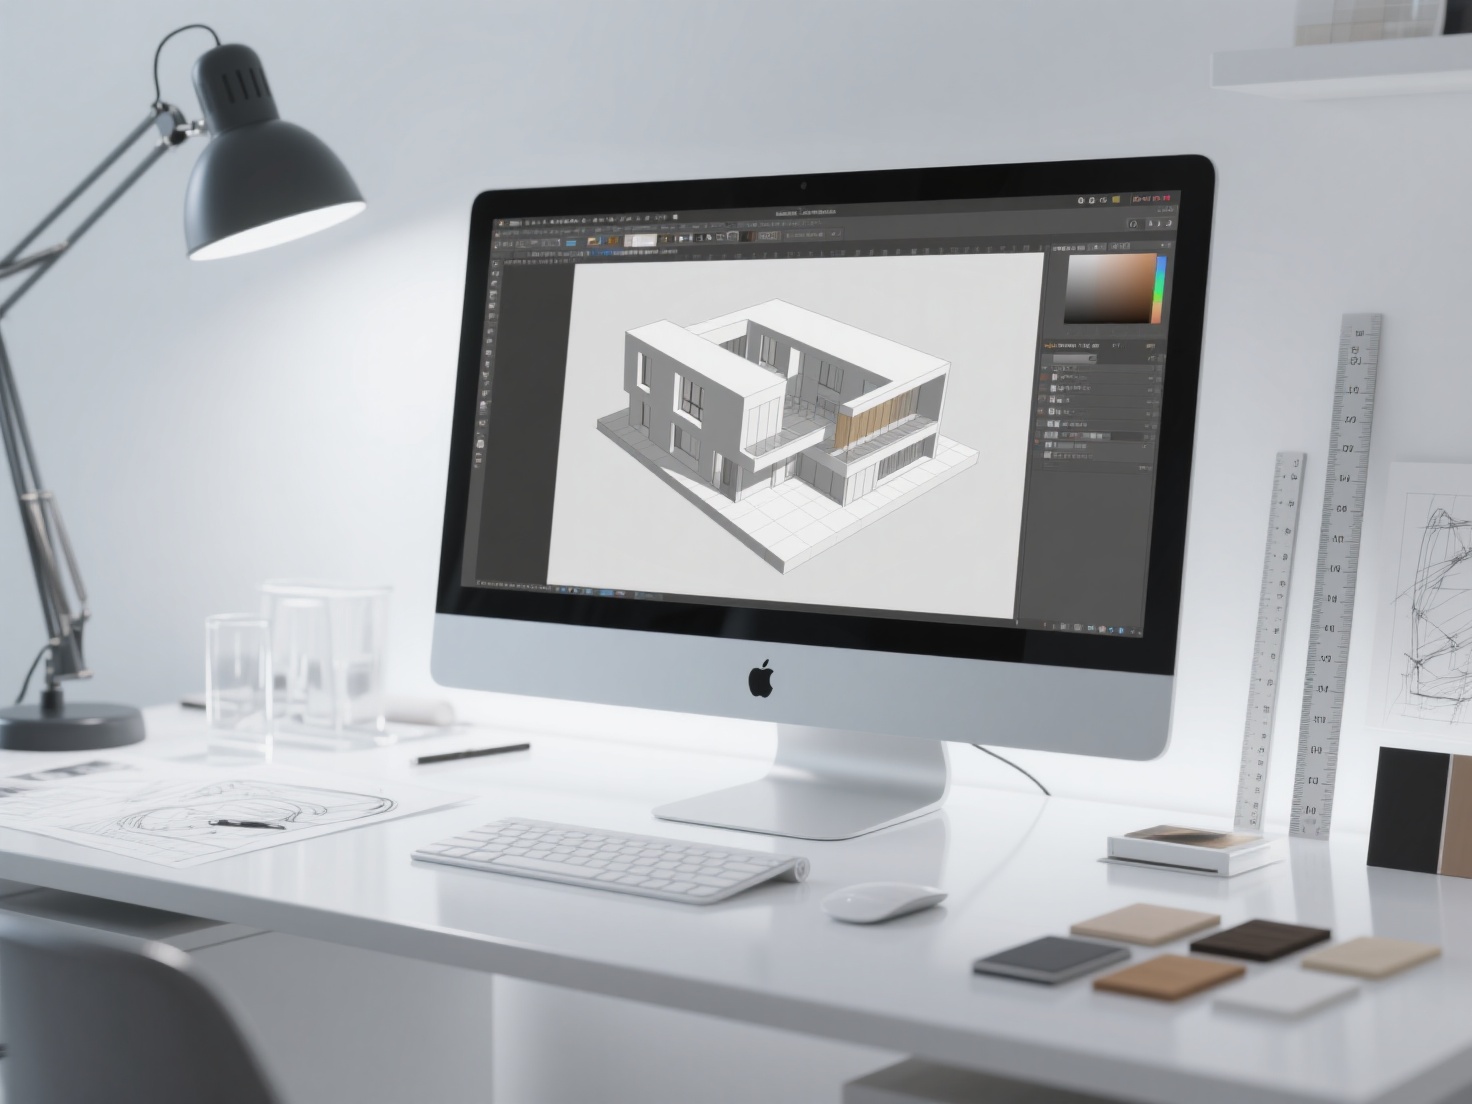
Bringing Your Models to Life: Rendering and Scene Population
A raw SketchUp model is excellent for studying proportions, but conveying the true atmosphere of a space requires rendering software and scene entourage.
Integrating with Rendering Engines
To achieve photorealism, architects export their SketchUp models to powerful rendering engines like V-Ray, Enscape, or Lumion. These plugins calculate realistic lighting, reflections, and atmospheric depth. However, even the best rendering engine cannot make an empty room look convincing.
The Scene Population Challenge
To make architectural visualizations look lived-in, you must populate your scenes with “entourage”—furniture, people, plants, and bespoke props.
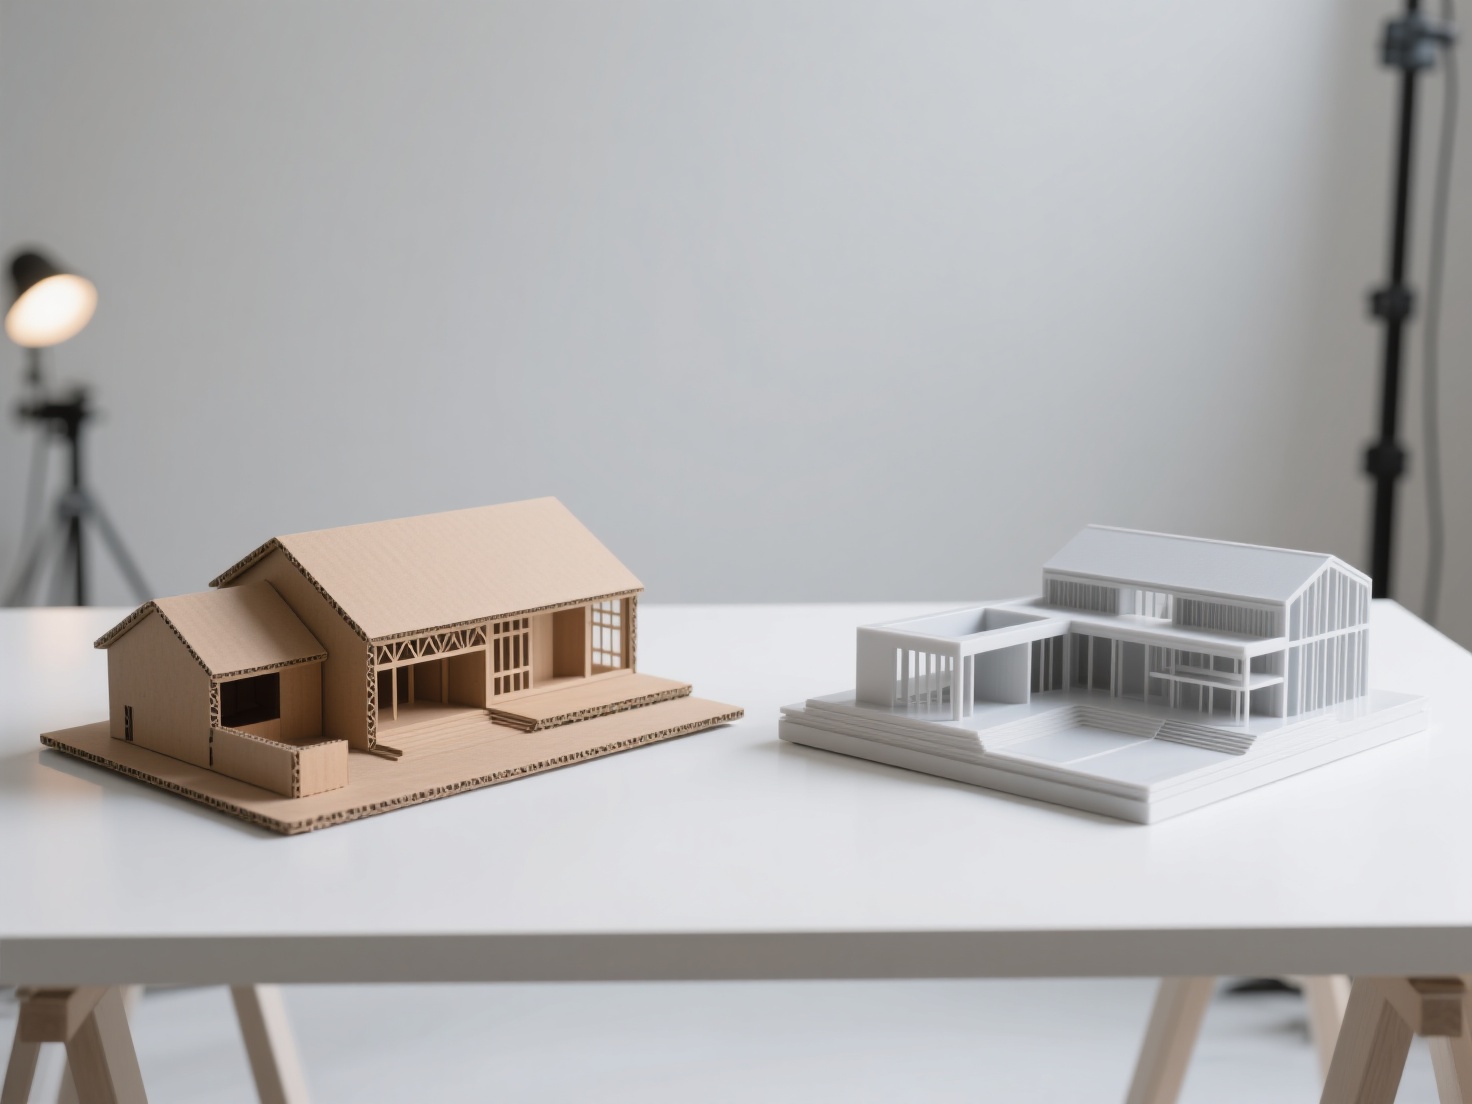
Traditionally, sourcing highly specific 3D assets (like a custom designer chair requested by a client, or a specific local sculpture for a plaza) meant spending hours modeling it from scratch or scouring expensive 3D asset libraries.
Generating Bespoke Assets with AI
This is where Hitem3D seamlessly integrates into the modern architectural workflow. Instead of wasting hours modeling complex organic shapes or custom furniture, you can use Hitem3D to generate production-ready 3D models directly from 2D reference images.
- Image to 3D Generation: Simply upload a photo of a piece of furniture, a statue, or a decorative prop. Powered by the high-precision Sparc3D model, Hitem3D generates clean, structurally accurate geometry in minutes.
- Invisible Parts Reconstruction: Unlike basic photogrammetry tools that leave holes in the back of models, Hitem3D intelligently reconstructs hidden and invisible structures. If you generate a sofa from a front-facing photo, the back and sides will be fully formed and ready to be placed in the center of your SketchUp living room.
- De-Lighted Textures for Rendering: When importing assets into V-Ray or Enscape, lighting conflicts are a major headache. Hitem3D automatically generates 4K PBR-ready De-Lighted Textures, effectively removing baked-in shadows and highlights from the original photo. This ensures the asset reacts naturally to your SketchUp scene’s specific sun and shadow settings.
- Easy Import: Export your generated assets in universal formats like OBJ or GLB, which can be easily imported directly into your SketchUp workspace to elevate your final renderings.
Best Practices for SketchUp 3D Modeling
To ensure your workflow remains smooth and your software doesn’t crash, adhere to these professional best practices:
| Best Practice | Description | Why It Matters |
|---|---|---|
| Manage Polygon Count | Keep your geometry as simple as possible. Avoid importing incredibly dense, high-poly models for background objects. | High polygon counts will cause SketchUp to lag significantly, making navigation frustrating. |
| Use Shortcuts | Memorize keyboard shortcuts (e.g., ‘L’ for Line, ‘P’ for Push/Pull, ‘M’ for Move). | This will drastically speed up your modeling workflow, saving hours over a project’s lifespan. |
| Purge Unused Items | Regularly go to Window > Model Info > Statistics and click “Purge Unused”. |
This removes deleted textures, components, and layers from the file memory, keeping your file size small. |
| Leverage Extensions | Explore the Extension Warehouse for plugins like JointPushPull (for curved surfaces) or Solid Inspector. | Extensions bridge the gap between SketchUp’s native tools and complex architectural needs. |
Elevate Your Architectural Designs Today
Mastering SketchUp for architecture is an exciting journey. By understanding the core interface, adhering strictly to the use of Groups and Components, and following a logical massing-to-detailing workflow, you will be creating complex spatial designs in no time.
Remember that a great architectural visualization is not just about the building; it’s about the life inside and around it. By integrating next-generation AI tools into your workflow, you can bypass the tedious process of modeling bespoke props and focus entirely on spatial design and creativity.
Are you ready to populate your SketchUp scenes with custom, high-fidelity 3D assets without the modeling headache? With our Free Retry system and up to 1536³ Pro resolution outputs, generating the perfect entourage has never been easier. Create For Free today and bring your architectural visions to life.
Frequently Asked Questions (FAQ)
Is SketchUp suitable for professional architectural design?
Yes. While it is highly accessible for beginners, thousands of professional architectural firms worldwide use SketchUp Pro. Combined with plugins and layout tools, it is used for everything from conceptual design to creating full construction documentation.
Can I import AI-generated models into SketchUp?
Absolutely. SketchUp supports various 3D file formats. You can generate a custom asset using AI platforms like Hitem3D, export it as an OBJ or convert a GLB, and import it directly into your SketchUp scene to enhance your interior or exterior renders.
What is the difference between SketchUp Free and SketchUp Pro?
SketchUp Free is a browser-based application suitable for hobbyists. SketchUp Pro is a desktop application that offers advanced features crucial for architects, such as high-resolution exporting, solid modeling tools, importing/exporting CAD files, and the ability to use third-party extensions and rendering engines.