You have spent hours meticulously sculpting your geometry, optimizing your topology, and painting intricate textures. But when you hit the render button, the final image looks flat, lifeless, or plasticky. If this sounds familiar, you are not alone. 3D lighting rendering is the ultimate make-or-break stage in the 3D pipeline; it is the bridge between a good model and a breathtaking piece of digital art.
Mastering how to render 3D art is about more than just placing a digital sun in your scene. It requires an understanding of real-world photography, the physics of light, and the technical intricacies of your chosen rendering engine. Whether you are aiming for photorealism in architectural visualization or stylized mood in game development, lighting dictates the emotion, depth, and professionalism of your final output.
In this comprehensive guide, we will break down the core principles of 3D lighting, explore different rendering engines like those used in Blender rendering, share actionable best practices, and reveal how AI-assisted modeling can streamline your journey to a portfolio-quality render.
What is 3D Lighting and Rendering?
3D lighting and rendering is the computational process of simulating light behavior, material interactions, and camera properties to convert three-dimensional scene data into a final 2D image or animation.
While modeling creates the shape and texturing gives it surface detail, lighting provides depth, mood, and volume. The rendering engine then calculates complex mathematics—such as ray tracing, global illumination, and shadow casting—to output a visually cohesive masterpiece.
Mastering 3D Lighting Fundamentals
Before diving into complex node setups or engine settings, every 3D artist must understand the fundamental behaviors of light. A strong foundation in these principles will instantly elevate your 3D art rendering.
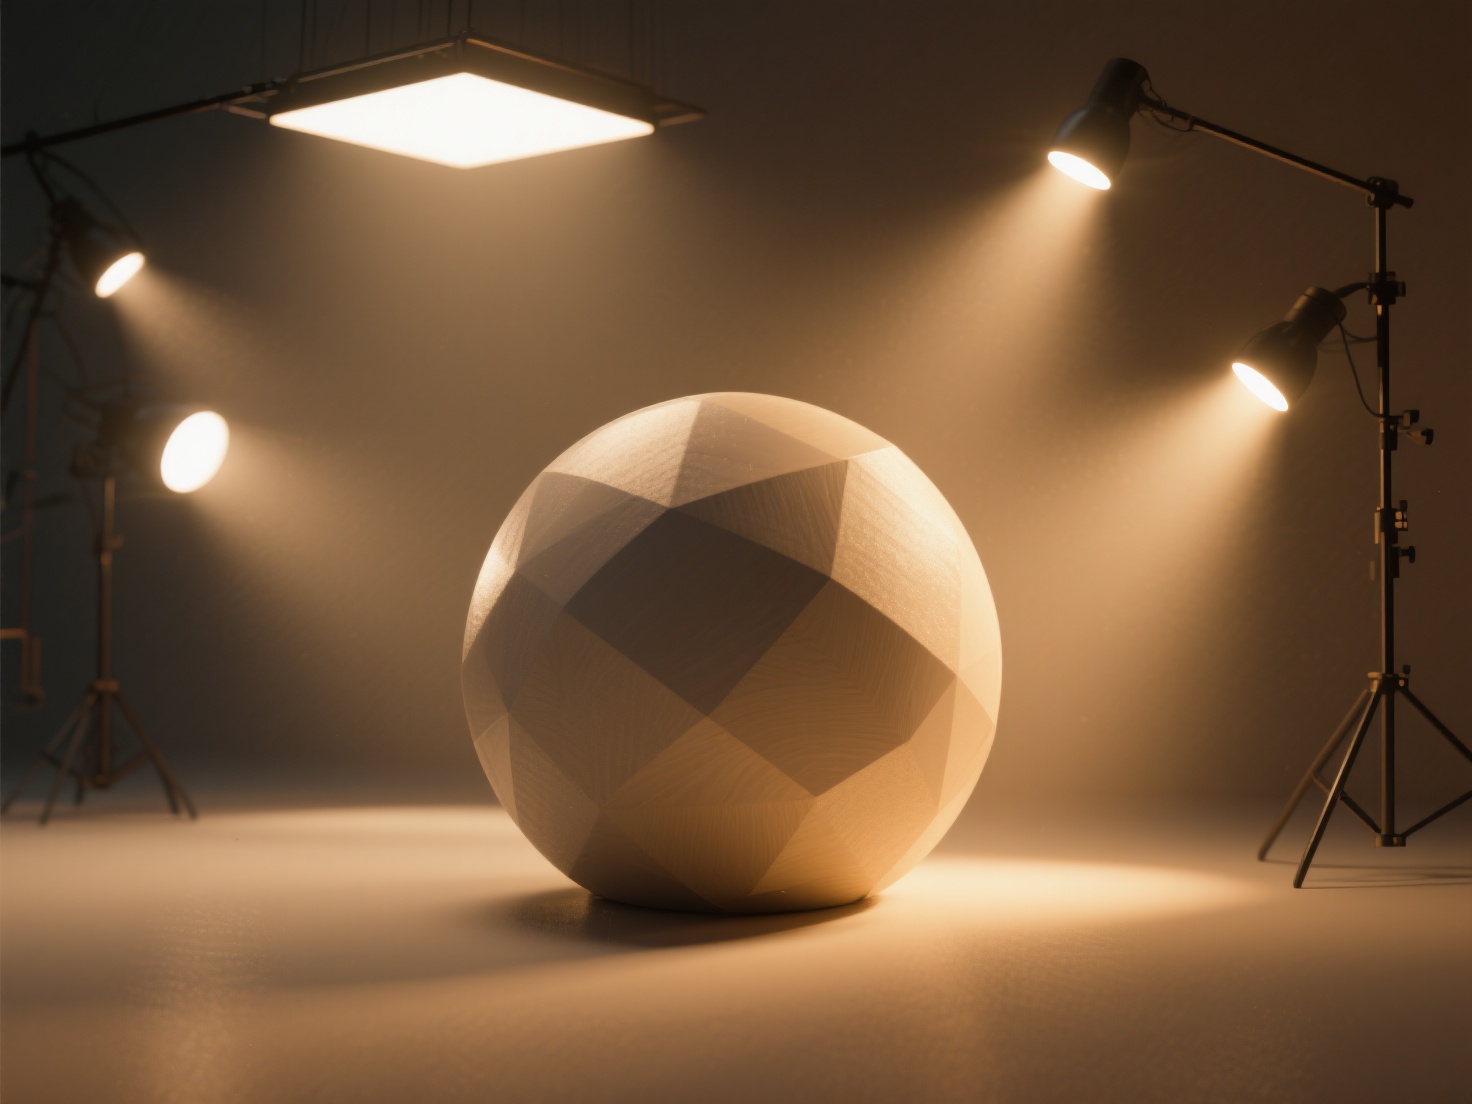
1. The Classic Three-Point Lighting Setup
Borrowed from traditional photography and cinema, the three-point lighting setup is the most reliable way to showcase a 3D subject.
- Key Light: The primary light source. It is usually the brightest and placed at a 45-degree angle to the subject to establish the main highlights and shadows.
- Fill Light: Placed on the opposite side of the Key Light, this softer, dimmer light “fills in” harsh shadows, ensuring detail is not lost in darkness.
- Rim Light (Backlight): Placed behind the subject, this light outlines the silhouette, separating the model from the background and adding a three-dimensional pop.
2. Choosing the Right Light Types
Most 3D software provides several default light types, each serving a specific purpose:
- Point Lights: Emit light in all directions from a single infinitely small point. Ideal for lightbulbs, candles, or sparks.
- Directional (Sun) Lights: Emit parallel light rays across the entire scene, mimicking distant light sources like the sun. They create sharp, consistent shadows.
- Area Lights: Emit light from a specific physical shape (usually a rectangle or disc). These are the secret weapon for professional 3D art rendering, as they mimic studio softboxes and create beautifully soft, realistic shadows.
- Spot Lights: Emit a cone of light. Perfect for stage lighting, flashlights, or highlighting specific details in your composition.
3. HDRI and Image-Based Lighting
HDRI (High Dynamic Range Imaging) is a panoramic, 360-degree photograph wrapped around your 3D scene. It acts as a massive global light source, providing incredibly realistic ambient lighting and physically accurate reflections. For metal, glass, or glossy materials, an HDRI is absolutely essential to prevent your scene from looking flat.
Understanding Global Illumination and Shadows
Once you understand basic light placement, the next step in learning how to render 3D art is mastering how light behaves after it hits a surface.
Global Illumination (GI) is the holy grail of realistic rendering. In the real world, light does not just hit a surface and stop; it bounces off that surface, picks up its color, and illuminates surrounding objects. Modern rendering engines simulate this through Ray Tracing or Path Tracing.
For example, if you place a bright red ball on a white floor next to a bright window, the white floor will subtly glow pink where the light bounces off the ball. Controlling GI—specifically the number of light bounces—is crucial. More bounces equal more realism but significantly longer render times.
Shadow Quality is equally important. Hard shadows (from small or distant lights) create drama and tension, while soft shadows (from large area lights) create an inviting, natural feel. Adjusting the physical size of your light sources directly impacts the softness of your shadow edges.
Choosing the Right Rendering Engine
Different projects require different tools. Here is a comparison of the industry-standard rendering engines, particularly focusing on Blender rendering and external options:
| Rendering Engine | Type / Calculation | Best Used For | Key Advantage |
|---|---|---|---|
| Cycles (Blender) | Unbiased Path Tracer | Photorealism, ArchViz, Product rendering | Deep integration in Blender, physically accurate global illumination. |
| EEVEE (Blender) | Real-time Rasterization | Game assets, stylized art, fast previews | Lightning-fast render times, excellent for iterative workflows. |
| Arnold (Autodesk) | Unbiased Ray Tracer | Feature films, high-end VFX, heavy scenes | Handles massive polygon counts and complex volumetrics flawlessly. |
| Redshift (Maxon) | Biased GPU Renderer | Motion graphics, commercial animation | Incredible speed-to-quality ratio by utilizing heavy GPU acceleration. |
Best Practices: Preparing Models for Perfect Lighting
Even the best lighting setup cannot save a poorly prepared model. The way light interacts with your 3D asset depends entirely on geometry and texturing. Here are actionable best practices to ensure your models are render-ready.
1. Ensure Clean Geometry
Light reacts to the topology of your model. Ngons (polygons with more than 4 sides), overlapping vertices, and pinched geometry will cause ugly shading artifacts, weird black spots, and broken highlights. Always aim for clean, quad-based topology, especially on curved surfaces where specular highlights travel.
2. Beware of Baked-In Lighting
This is the most common mistake beginners make. If you source a 3D model or generate one from a standard photo, the texture map often includes shadows and highlights from the original photograph. When you try to light this model in your 3D software, the new dynamic lights clash with the “baked-in” painted shadows, completely ruining the illusion of reality. Your base color textures must be completely flat and devoid of lighting information.
3. Utilize PBR Workflows
Physically Based Rendering (PBR) uses specific texture maps to tell the rendering engine exactly how light should behave. Ensure you are using high-quality Albedo (Color), Roughness (how matte or glossy it is), Metalness, and Normal maps.
Pro Tip: This is where modern AI tools are revolutionizing the rendering workflow. If you are struggling to build models with perfect geometry and lighting-ready textures, Hitem3D is your ultimate solution.
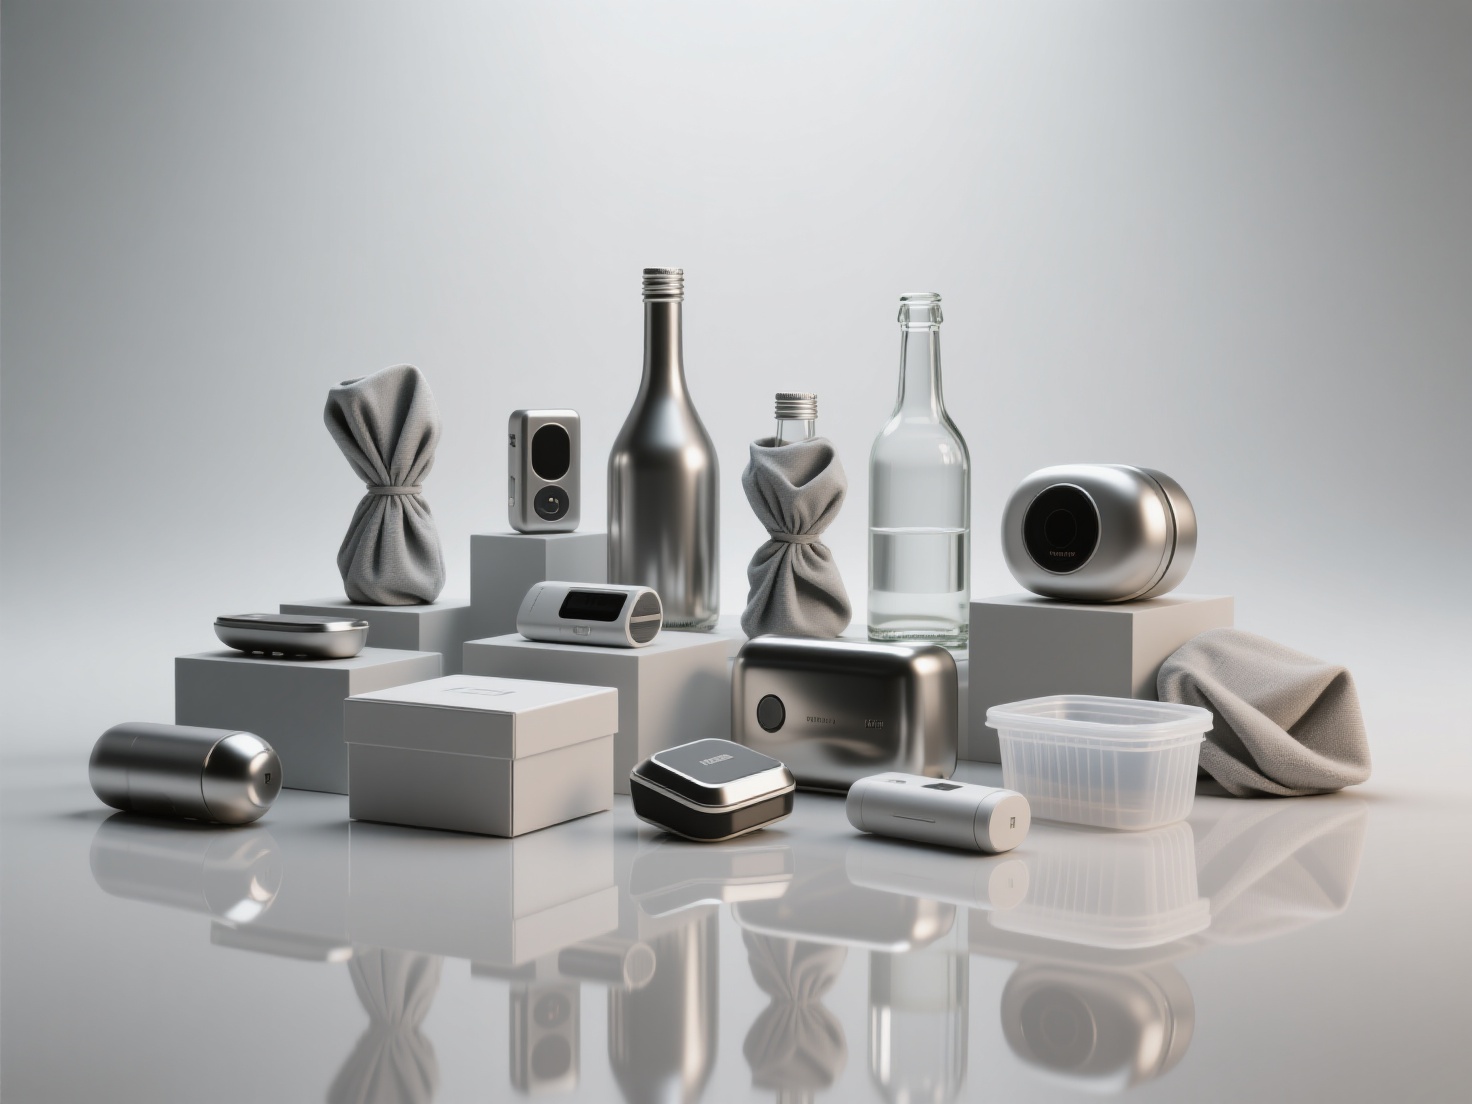
As a next-gen, AI-powered 3D model generator, Hitem3D is built on the high-precision Sparc3D model. It transforms single or multi-view images into production-ready 3D models with up to 1536³ Pro resolution (2M polygons). More importantly for rendering artists, Hitem3D offers AI Texturing with De-Lighted processing. This intelligent feature automatically removes baked-in lighting and shadows from the original image, generating true, flat, relightable PBR materials. Combined with its clean geometry and sharp edges, Hitem3D ensures your models will respond flawlessly to your custom global illumination and three-point lighting setups.
4. Optimize Render Settings (Quality vs. Speed)
Long render times kill creativity. To optimize your workflow:
- Use Denoisers: Instead of using 4000 samples to get a clean image, use 500 samples and activate an AI Denoiser (like OptiX or OpenImageDenoise).
- Clamp Indirect Light: This prevents “fireflies” (single overly bright pixels) caused by complex light bounces.
- Composite Render Passes: Render out your Z-Depth, Ambient Occlusion, and Emission layers separately. You can combine and tweak these in post-production software (like Photoshop or Nuke) without having to re-render the entire 3D scene.
Elevate Your 3D Art Rendering Today
Mastering 3D lighting rendering is a journey of observing the real world and translating it into your digital canvas. By utilizing three-point lighting, leveraging HDRIs, understanding global illumination, and balancing your render settings, you can transform flat meshes into stunning, portfolio-ready masterpieces.
However, great lighting demands a great foundation. If your models have messy topology or baked-in shadows, your renders will always fall short. By integrating intelligent AI tools into your workflow, you can bypass the tedious cleanup phase and jump straight into the creative lighting process.
Hitem3D empowers creators across 50+ countries to generate high-fidelity, production-ready models instantly. With its unique Invisible Parts reconstruction, true relightable De-Lighted Textures, and a Free Retry system, it is the perfect companion for 3D artists looking to elevate their rendering pipelines. Whether you are exporting to GLB, OBJ, FBX, or sending directly to Bambu Studio for 3D printing, your assets will always be top-tier.
Ready to see how perfect geometry and lighting-ready PBR textures can transform your renders? Create For Free with Hitem3D today!
Frequently Asked Questions (FAQ)
1. How long does a typical Blender rendering take?
Render times vary wildly based on scene complexity, hardware, and engine. A simple stylized prop in EEVEE takes less than a second per frame. A photorealistic architectural interior with complex glass and global illumination in Cycles might take 10 to 30 minutes per frame, even on a high-end GPU.
2. Do I need an expensive GPU for 3D art rendering?
While you can render on a CPU, a modern, dedicated GPU (Graphics Processing Unit) will cut your render times down exponentially—often by 10x or more. Rendering engines like Cycles, Redshift, and Octane are highly optimized for GPU path tracing.
3. What is the difference between biased and unbiased rendering?
Unbiased rendering (like Arnold or Cycles) strictly follows the physical laws of light, calculating natural bounces until the image is mathematically perfect. It is highly realistic but slower. Biased rendering (like Redshift) takes intentional mathematical shortcuts to estimate light behavior, significantly speeding up render times while still achieving near-photorealistic results.
4. Why does my 3D render look fake or plastic?
This usually stems from two issues: poor texturing or poor lighting. If your materials lack surface variation (using a flat Roughness value instead of a Roughness map) or if you are lighting a scene with a single, harsh Point Light without any HDRI or fill lights, the result will look like a plastic toy. Using relightable PBR textures—like the De-Lighted textures generated by Hitem3D—is the first step to fixing this.