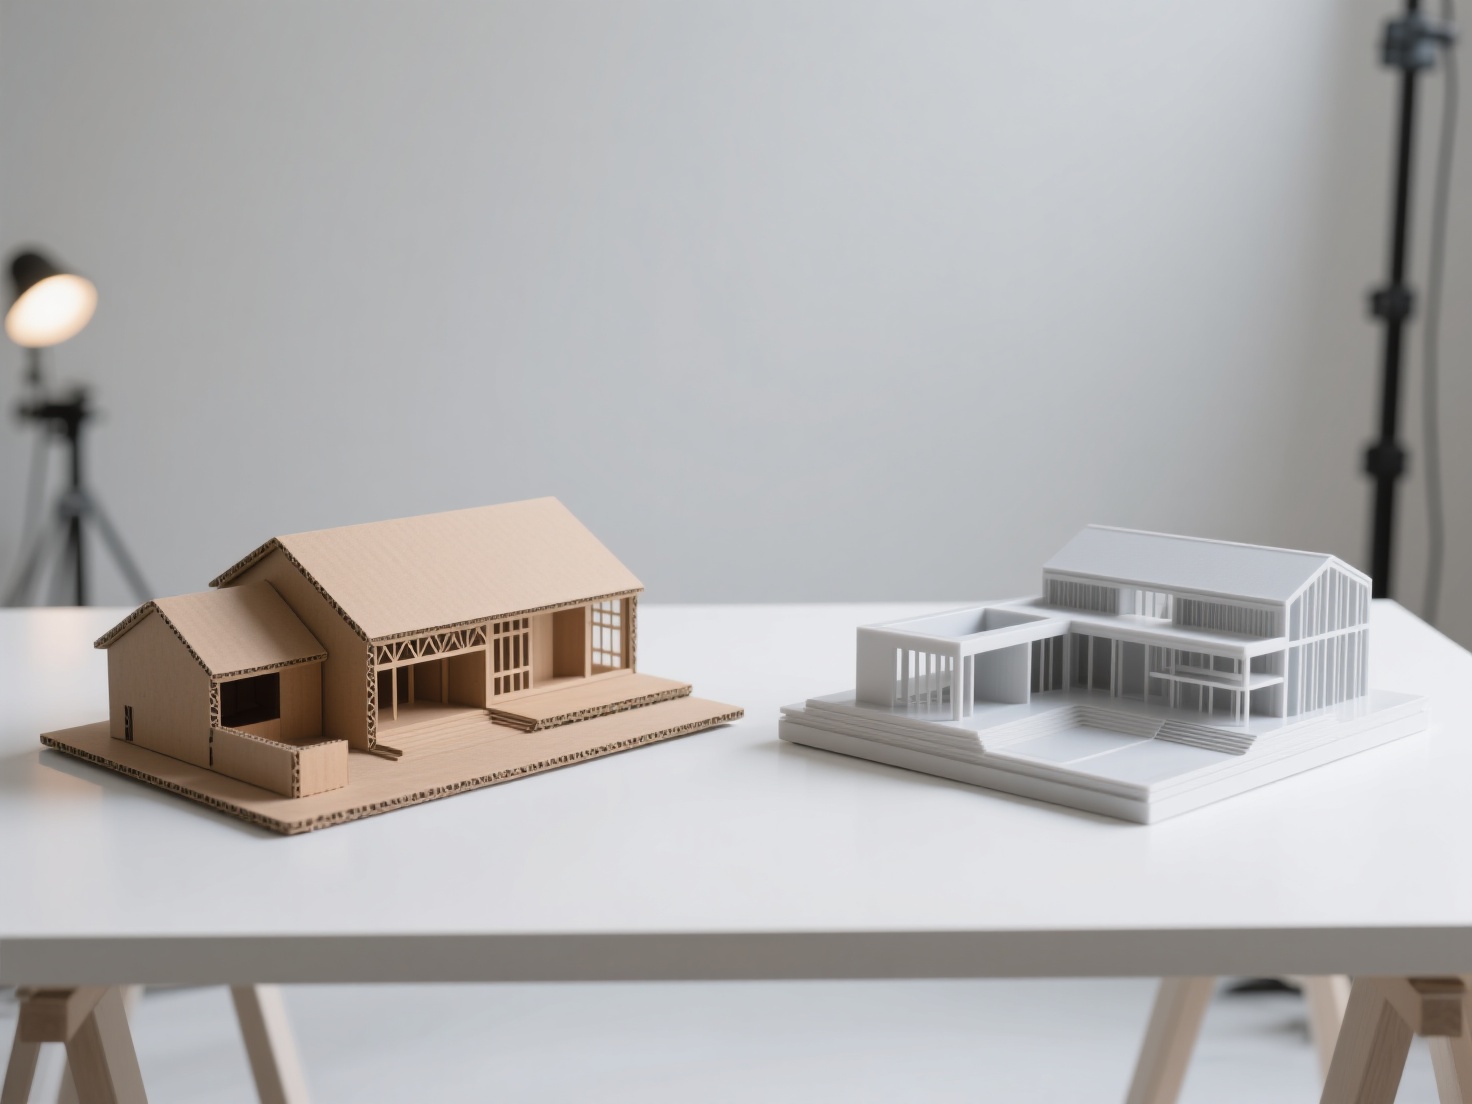
Convincing a client to invest in a design concept based purely on 2D floor plans and material swatches is an uphill battle. Most clients simply cannot visualize how space, light, and textures will interact in the real world. This is where interior design rendering bridges the gap between imagination and reality.
Today, a high-quality 3D interior render is no longer just a luxury; it is a vital communication tool in the architectural and design industries. However, achieving photorealism requires more than just knowing how to operate 3D software. It demands a deep understanding of lighting, material physics, composition, and smart asset management.
In this comprehensive guide, we will break down the essential steps to master interior visualization, from setting up your camera to populating your scene with AI-generated assets, ensuring your final renders captivate your audience and win more projects.
What is Interior Design Rendering?
Interior design rendering is the process of generating photorealistic, two-dimensional images or interactive virtual environments from a 3D model to accurately showcase the layout, lighting, materials, and atmosphere of a proposed interior space.
By simulating real-world physics—such as how sunlight bounces off a hardwood floor or how fabric absorbs ambient light—these digital visualizations allow designers to validate their ideas and give clients a precise preview of the final built environment.
Setting the Stage: The Core Steps of 3D Interior Rendering
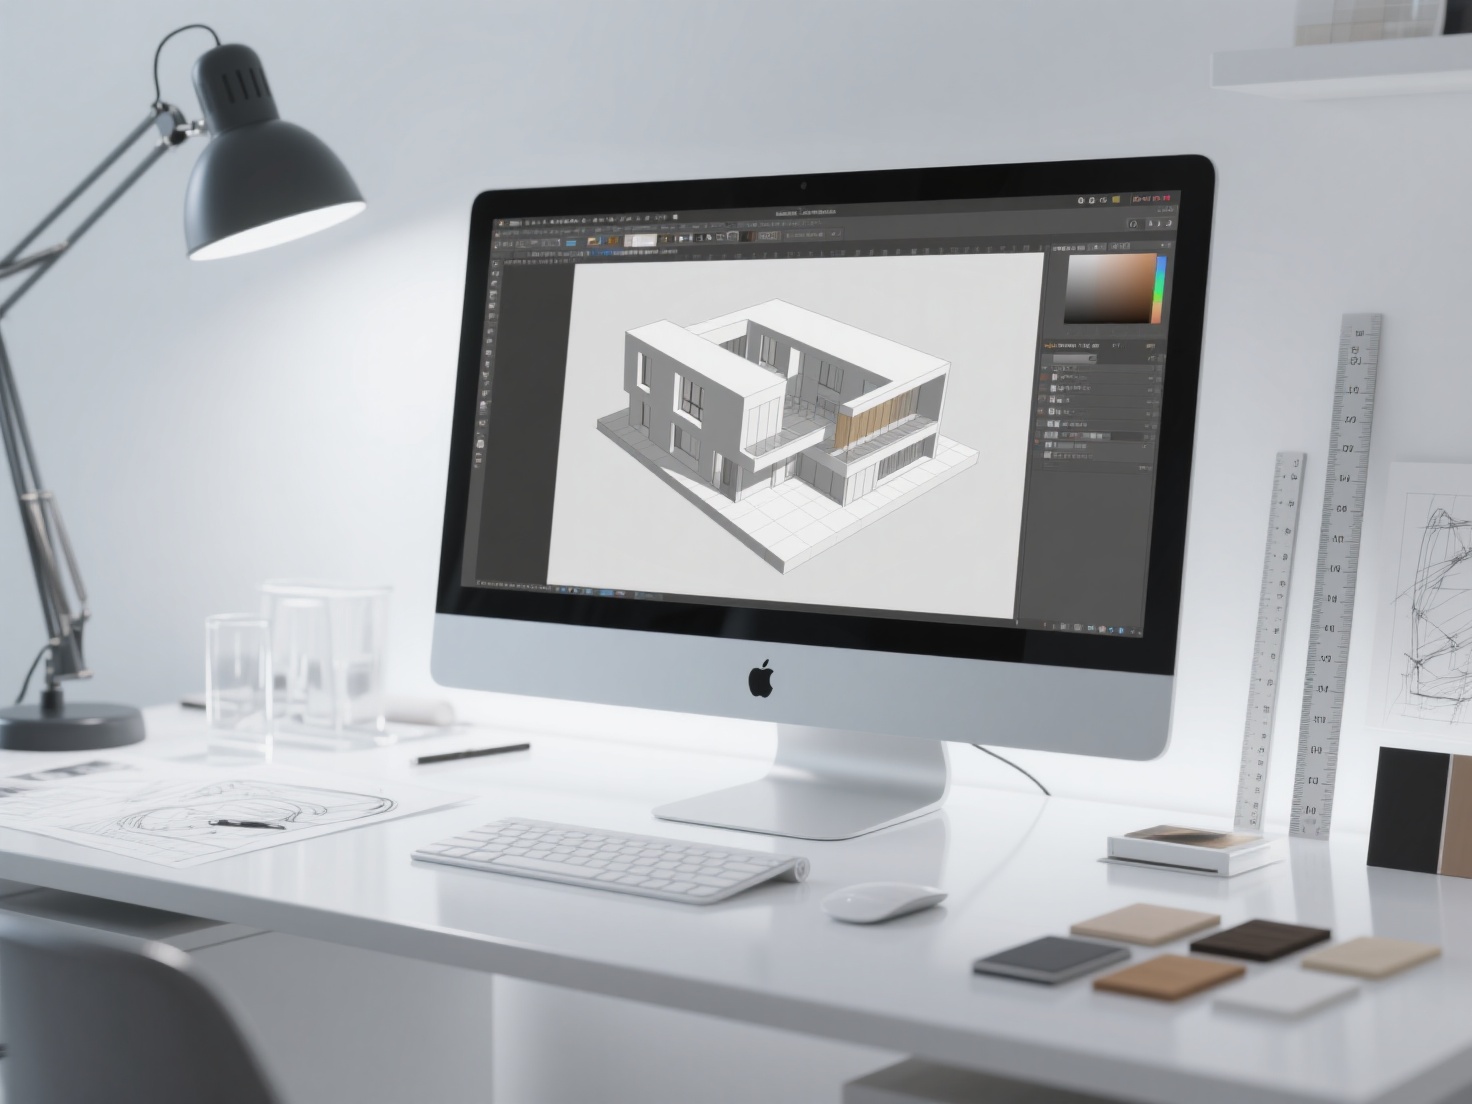
Creating a breathtaking interior design 3D scene requires a structured workflow. Skipping steps or rushing the foundation will inevitably lead to flat, unconvincing results.
1. Camera Placement and Composition
Before you start adding complex materials or lights, you must establish your camera angles. The camera acts as the viewer’s eyes in the space.
Eye Level Matters
Place your camera at a natural human eye height (typically around 1.2 to 1.6 meters from the floor). Placing it too high makes the room look like a security camera feed.Field of View (FOV)
While wide-angle lenses (e.g., 24mm or 28mm) are great for capturing small spaces, pushing the FOV too wide (under 20mm) will severely distort furniture and room proportions.Vertical Shift
Always keep your camera’s vertical tilt straight to ensure walls remain perfectly vertical. Use your software’s vertical shift or tilt-shift feature to adjust the framing without distorting perspective.
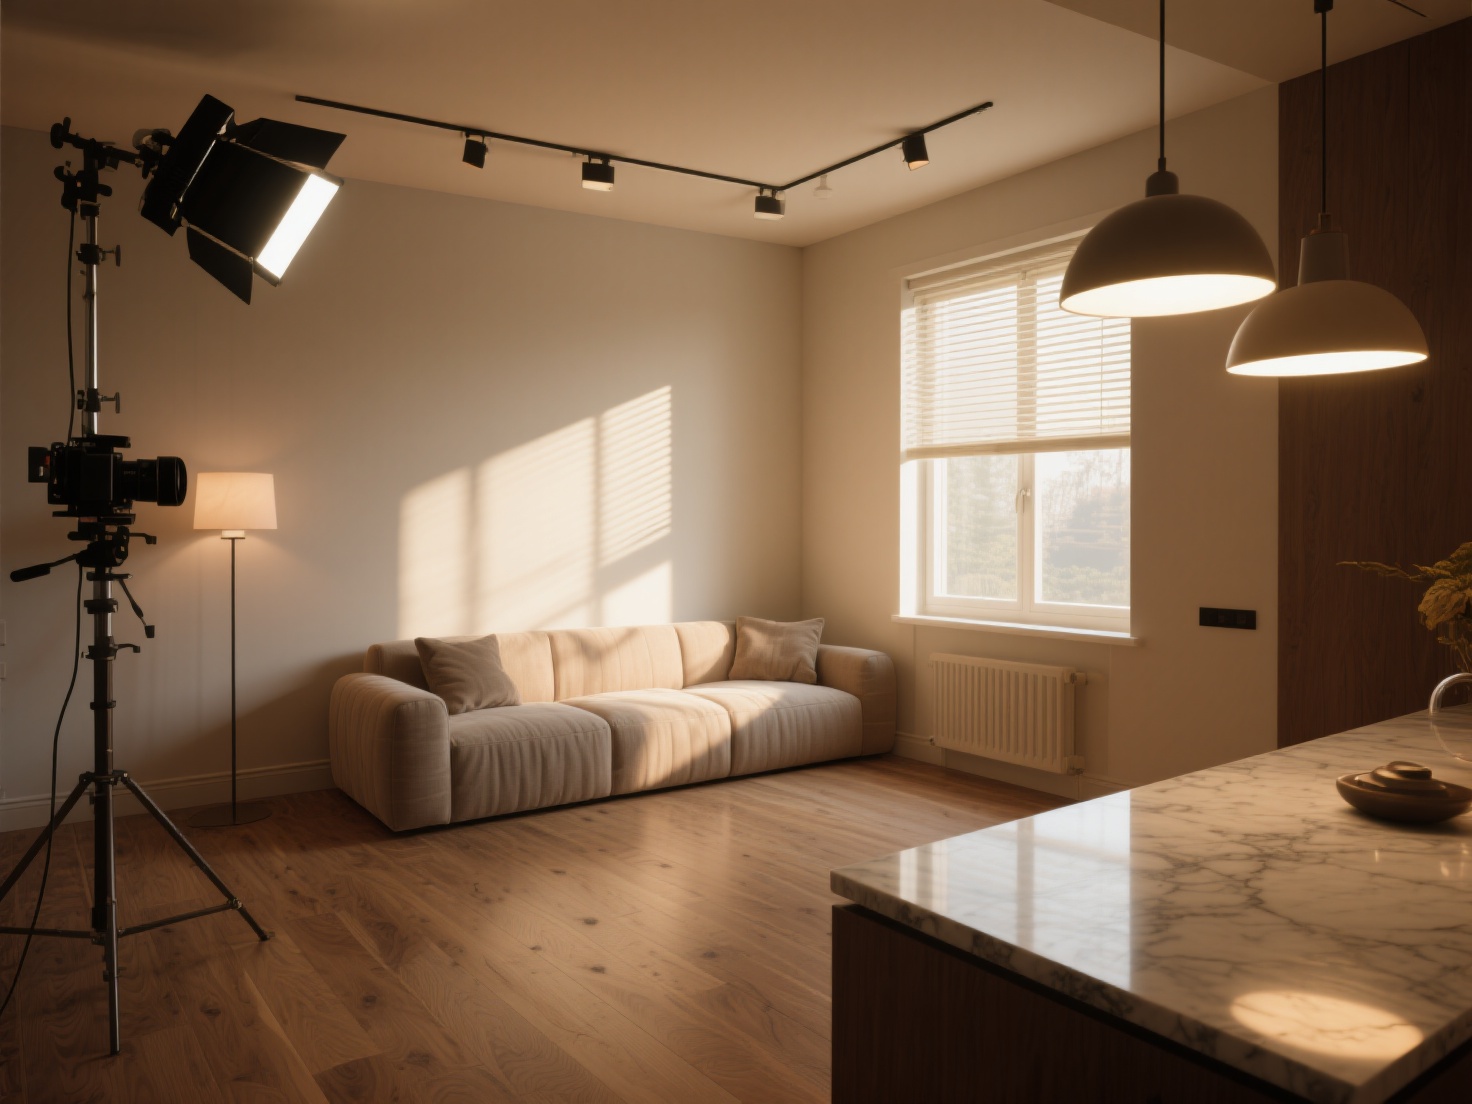
2. Lighting: The Backbone of Photorealism
Lighting will make or break your interior visualization. Even the most detailed 3D models will look fake under poor lighting.
Natural Lighting
Start with environmental light. Use high-quality HDRI (High Dynamic Range Imaging) skies to cast realistic, natural ambient light through windows. Supplement this with Sun Studies—positioning a 3D sun to cast striking, directional shadows across the floor to add depth and warmth to the room.Artificial Lighting
For interior fixtures, do not rely on standard point lights. Utilize IES light profiles (Illuminating Engineering Society). These files contain real-world photometric data from lighting manufacturers, casting physically accurate light cones and wash patterns against walls.
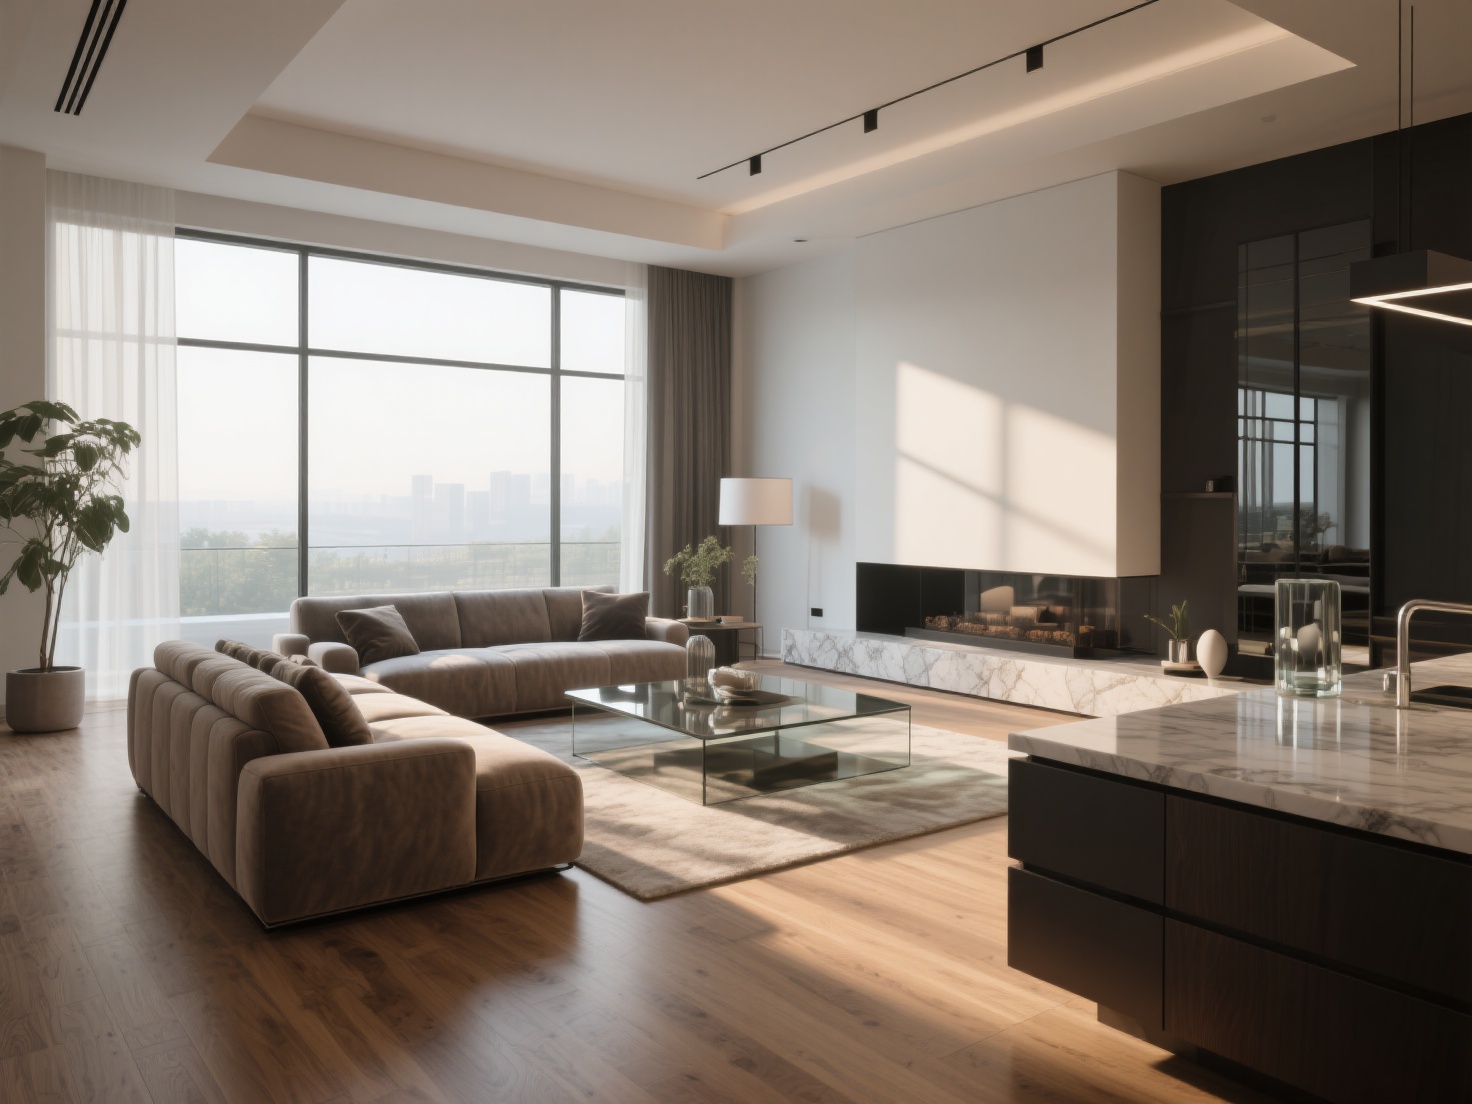
3. Mastering Materials and Textures
In the real world, nothing is perfectly smooth or flat. Utilizing a PBR (Physically Based Rendering) workflow is crucial for convincing materials.
Wood Floors
Use high-resolution diffuse, roughness, and normal maps. Add slight variations in the roughness map to simulate foot traffic or light smudges.Fabric Upholstery
Sofas and curtains require falloff or fresnel effects to simulate the tiny fibers on the fabric’s surface catching the light at grazing angles.Stone and Glass
Ensure your countertops have proper reflectivity and a subtle bump map for minor imperfections. For glass, index of refraction (IOR) settings must be accurate (usually around 1.52 for window glass) to distort reflections naturally.
4. Populating the Scene: Smart Asset Sourcing
A realistic room needs furniture, decor, and personal touches. However, modeling every single custom sofa, decorative vase, or specific dining chair from scratch is incredibly time-consuming. Relying solely on stock model libraries often means compromising your unique design vision.
This is where AI is revolutionizing the workflow. Instead of spending hours modeling a bespoke armchair your client requested, you can use Hitem3D to generate it instantly.
As a next-generation AI-powered 3D model generator, Hitem3D allows you to simply upload a reference image of a piece of furniture or decor. Powered by its in-house Sparc3D (high precision) and Ultra3D (high efficiency) models, it reconstructs the object into a production-ready 3D model with clean geometry.
Invisible Parts Technology
Hitem3D goes beyond the visible surface, reconstructing hidden structures (like the back of a chair not seen in the reference photo).De-Lighted Textures
Hitem3D intelligently removes baked-in lighting and shadows from the generated 4K textures. This ensures your newly generated prop reacts perfectly and naturally to your custom HDRI and IES lights.Seamless Integration
Export final assets in standard formats like FBX, OBJ, or GLB directly into your preferred rendering software (such as 3ds Max, Blender, or Maya).
Real-World Applications of Interior Visualization
High-quality interior design rendering is utilized across various touchpoints in the industry:
Client Presentations & Approvals
Photorealistic renders reduce ambiguity, leading to faster design approvals and fewer revisions during the construction phase.Real Estate Marketing
Developers use 3D interior renders to sell off-plan properties long before the foundation is poured, generating pre-sales through compelling marketing collateral.Furniture & Product Catalogs
Retailers place their products in beautifully rendered virtual lifestyle environments, avoiding the massive costs of physical photography sets.Portfolio Building
Emerging designers can visualize unbuilt conceptual projects to showcase their skills to prospective employers and clients.
Best Practices for Breathtaking Interior Visualizations
To elevate your renders from “good” to “unbelievable,” keep these advanced techniques in mind.
Embrace Imperfections
Computer graphics naturally want to be perfect, but reality is flawed. Add slight bevels to sharp edges so they catch the light. Introduce minor dust particles in the air or subtle smudges on a glass coffee table. Rotate chairs slightly off-axis so they don’t look perfectly aligned by a machine.
Styling and Staging Principles
Apply the rule of thirds to guide the viewer’s eye to focal points, such as a fireplace or a statement piece of art. Ensure the space looks “lived-in” by adding contextual props: an open book on a table, a slightly wrinkled throw blanket on the sofa, or a half-empty glass of water.
Post-Processing for the Final Polish
Raw renders rarely look perfect straight out of the rendering engine. Use post-processing software (such as Photoshop or built-in frame buffers) to add final touches.
Color Grading
Adjust curves and apply LUTs (Look-Up Tables) to give the image a cohesive cinematic mood.Glare and Bloom
Add subtle glare to strong light sources (like a sunny window or a bright lamp) to mimic how a real camera lens reacts to bright light.Contrast Adjustment
Deepen shadows slightly to anchor furniture to the floor and enhance overall image depth.
Conclusion
Mastering interior design rendering is a journey of observing the real world and replicating it digitally. By carefully managing camera composition, applying physically accurate lighting, tweaking PBR materials, and effectively staging the room, you can create immersive interior visualizations that deeply resonate with clients.
Moreover, the days of struggling to find or build the perfect 3D props are over. By integrating modern AI tools into your workflow, you can drastically cut down modeling time while maintaining high artistic standards. Whether you need a specific designer lamp, an intricate sculpture, or a custom sofa, Hitem3D provides the high-fidelity, de-lighted assets you need to populate your scenes with zero hassle.
Frequently Asked Questions (FAQ)
What software is best for interior design rendering?
There are many excellent options depending on your workflow. 3ds Max paired with V-Ray or Corona Renderer is the industry standard for high-end visualization. Blender (with Cycles) is a powerful, free alternative. Real-time engines like Unreal Engine and Enscape are also becoming increasingly popular for rapid, interactive visualizations.
How long does it take to create a 3D interior render?
The timeline varies greatly. Setting up a basic scene might take a few hours, but a highly detailed, custom-styled room can take several days to model, texture, light, and render. Using AI tools like Hitem3D to generate custom furniture from reference photos can shave days off this process.
Why do my interior renders look flat or fake?
Flat renders are usually the result of poor lighting and lack of material detail. Ensure you are using directional light to create soft shadows and depth. Additionally, make sure all materials have accurate roughness maps and subtle bump maps—perfectly smooth surfaces do not exist in the real world.
Can I use 2D photos of furniture in my 3D scenes?
While you can use 2D cutouts (often called billboards), they break the illusion of 3D space when the camera moves or lighting changes. A much better approach is to convert that 2D photo into a true 3D model using AI platforms like Hitem3D, allowing the object to cast real shadows and react naturally to your scene’s lighting.