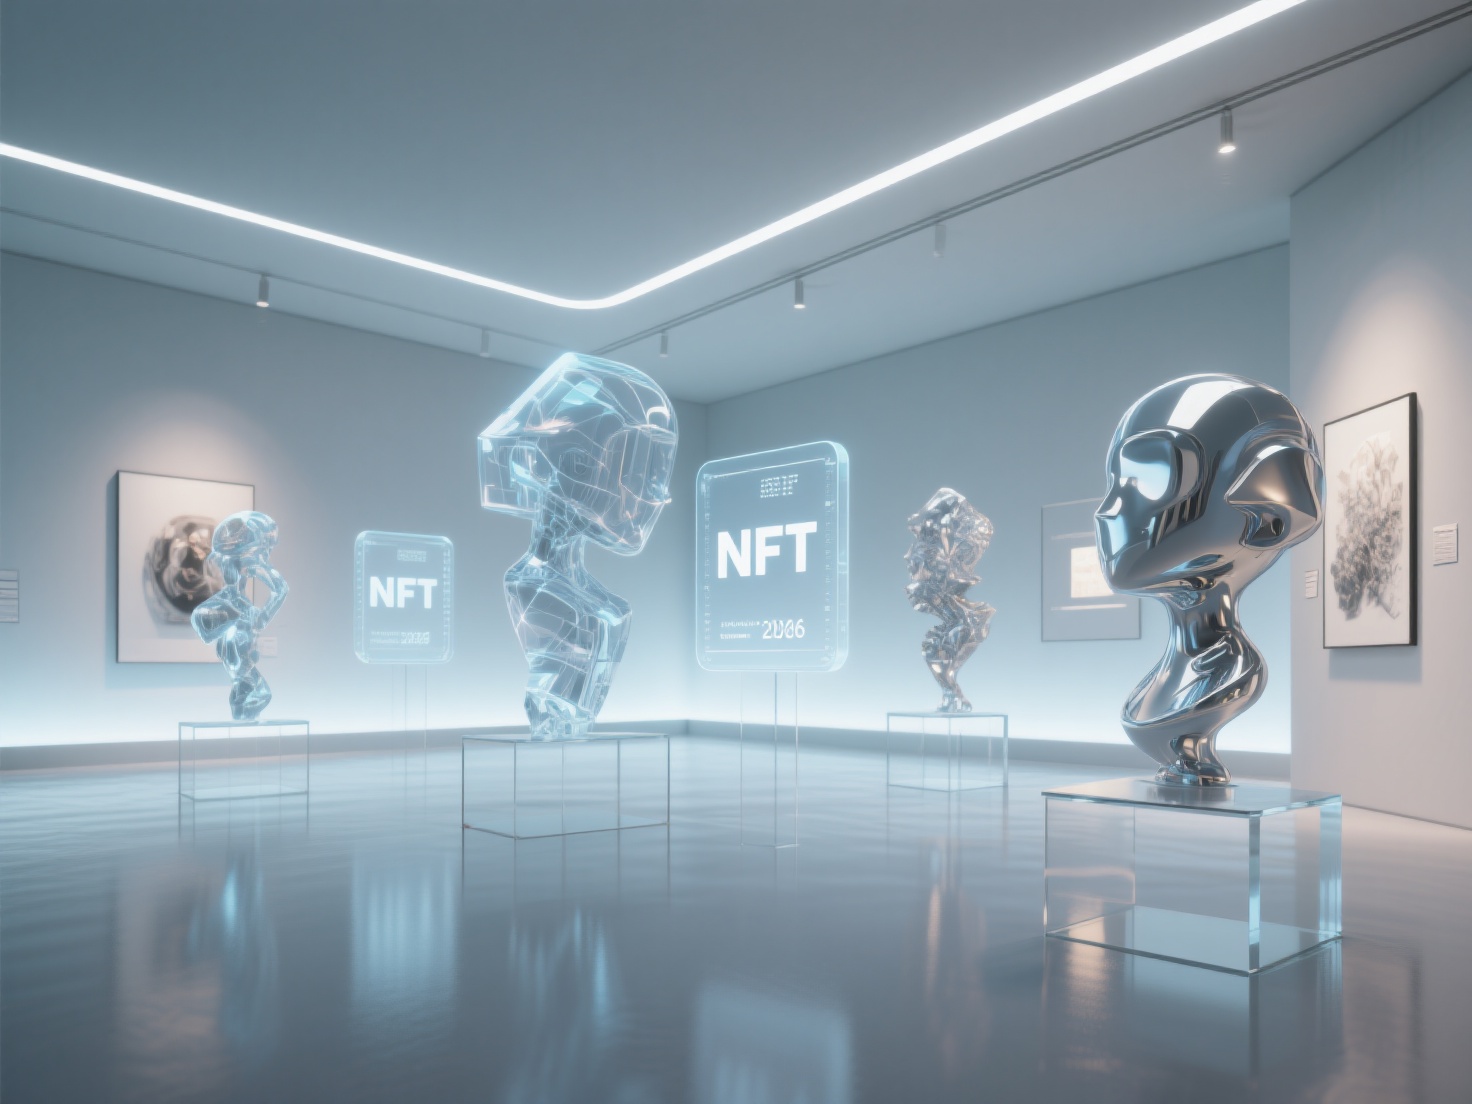
Welcome to the exciting world of 3D art! If you have ever marveled at a terrifying movie monster, a highly detailed video game character, or a stunning 3D-printed tabletop miniature, you are looking at the results of digital sculpting. However, when you first open up a 3D program and stare at a perfectly smooth, blank digital sphere, the creative process can feel incredibly intimidating.
You might be wondering how to start digital sculpting without feeling overwhelmed by complex software interfaces, expensive hardware choices, and the steep learning curve of 3D topology. Do not worry—every professional artist started exactly where you are right now. In this comprehensive guide, we will break down everything you need to know about digital sculpting for beginners, covering the essential tools, foundational brush techniques, and a practical roadmap to complete your very first 3D project.
What is Digital Sculpting?
Digital sculpting is the process of creating 3D models using specialized software that mimics the behavior of real-world materials like clay, allowing artists to intuitively push, pull, smooth, carve, and pinch digital geometry to form highly detailed organic shapes.
Unlike traditional polygonal modeling—which relies on mathematically moving individual vertices, edges, and faces—digital sculpting offers a much more artistic, free-flowing approach. This makes it the absolute best method for character design, creature creation, facial anatomy, physical art, and 3D printing.
Step 1: Essential Hardware for Digital Sculpting
Before you dive into the software, you need to set up your workstation with the right tools. Attempting to sculpt complex organic forms with a standard computer mouse is like trying to paint a masterpiece with a brick.
The Necessity of a Graphics Tablet
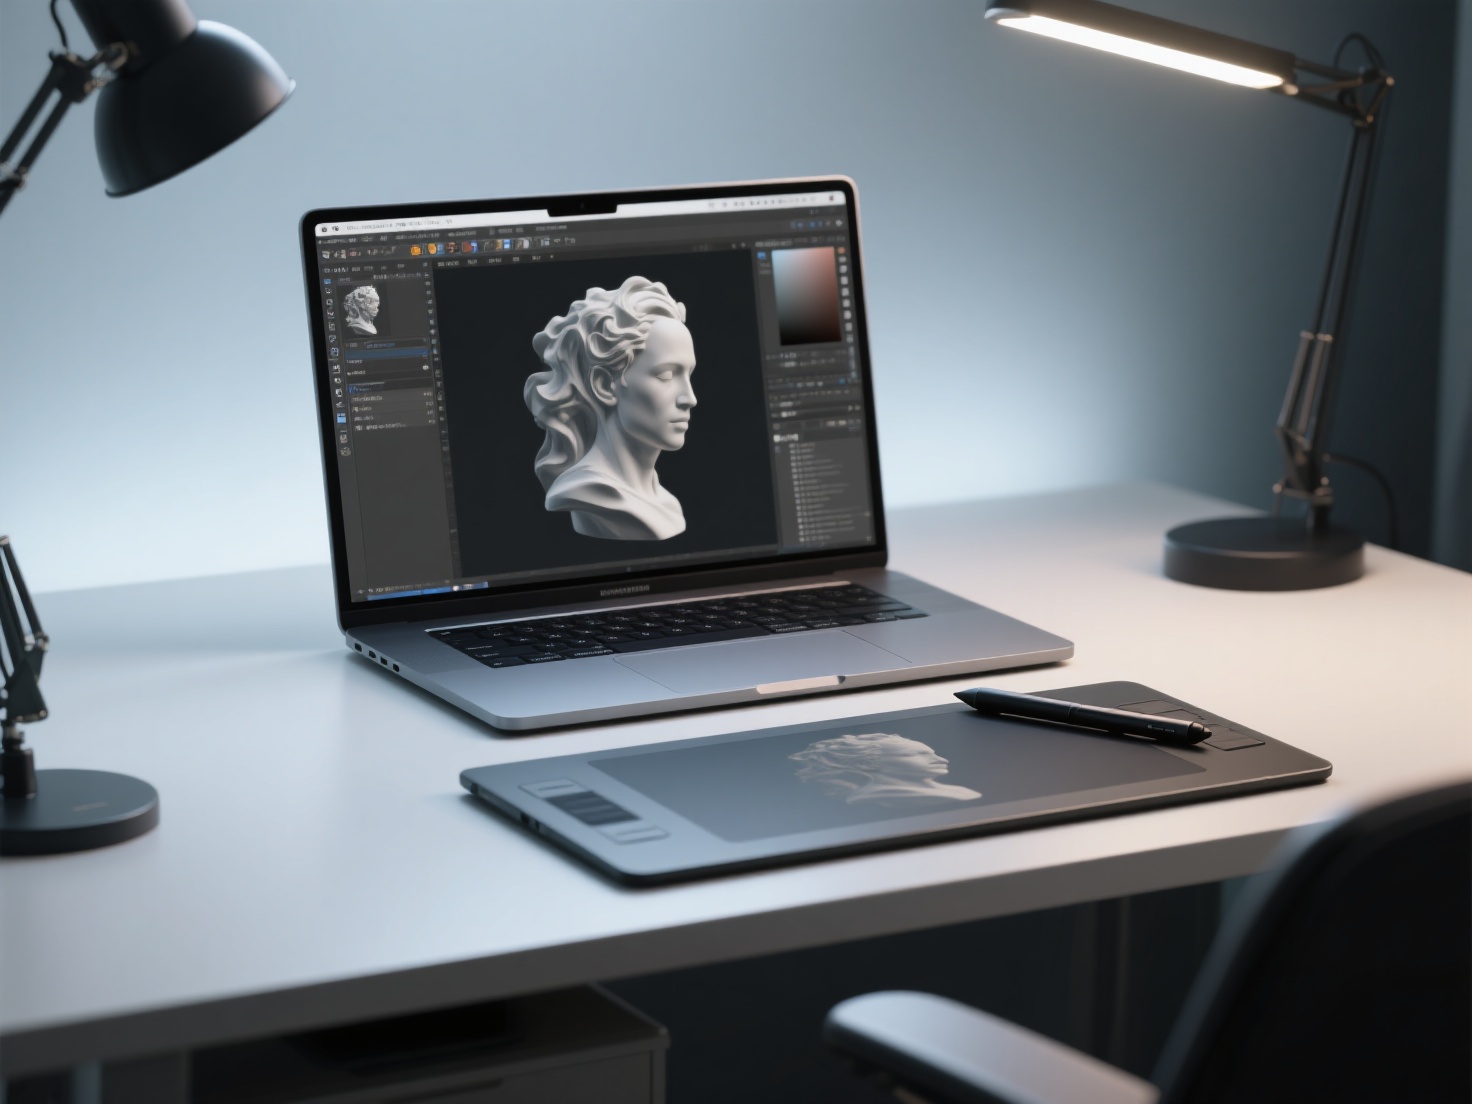
To truly learn digital sculpting, a graphics tablet equipped with a pressure-sensitive stylus is non-negotiable. A stylus allows you to naturally control the depth, intensity, and size of your brush strokes based simply on how hard you press the pen against the surface. This translates into smooth, organic, and controlled modeling.
Display Tablets vs. Non-Display Tablets
When choosing your hardware, you generally have two main categories:
- Non-Display Tablets (Pen Tablets): These are excellent entry points due to their low cost (e.g., Wacom Intuos, Huion Inspiroy). You look at your computer monitor while your hand moves the stylus on the desk. It takes a few days to build hand-eye coordination, but it quickly becomes second nature.
- Display Tablets (Pen Displays): With devices like the Wacom Cintiq or XP-Pen Artist, you draw directly onto a built-in screen. These offer a more direct, intuitive connection to your artwork but come at a higher price point.
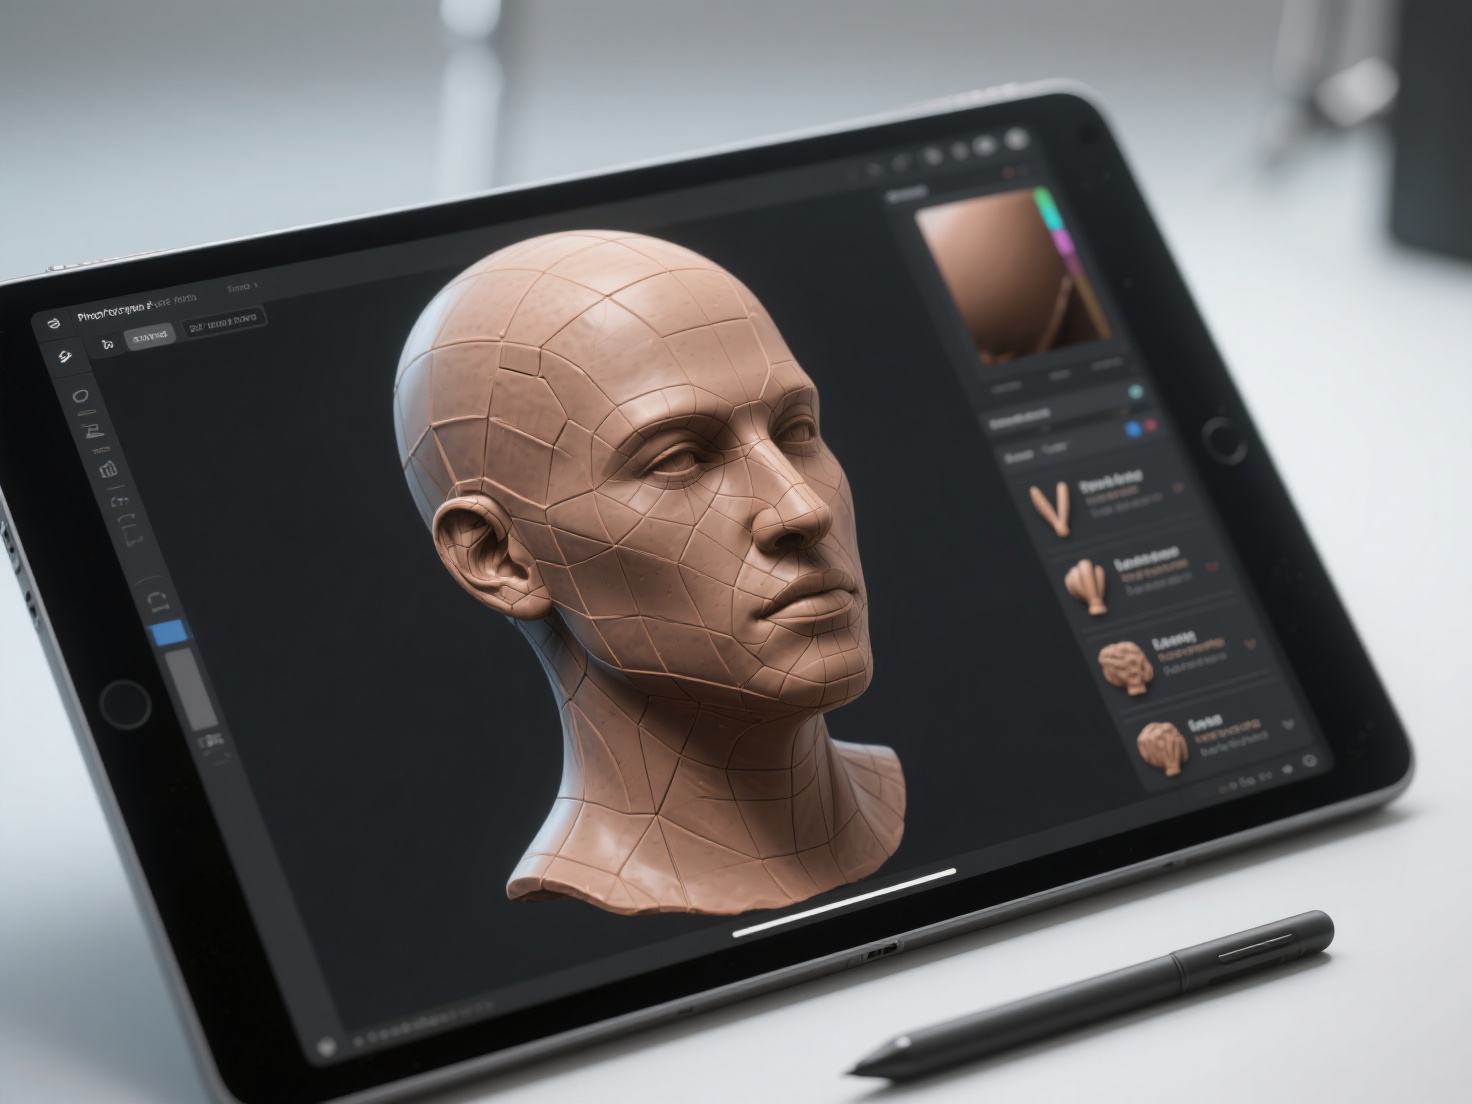
- Mobile Tablets: Devices like the iPad Pro paired with an Apple Pencil have recently become incredibly popular portable sculpting powerhouses, allowing you to create high-quality 3D models from the couch.
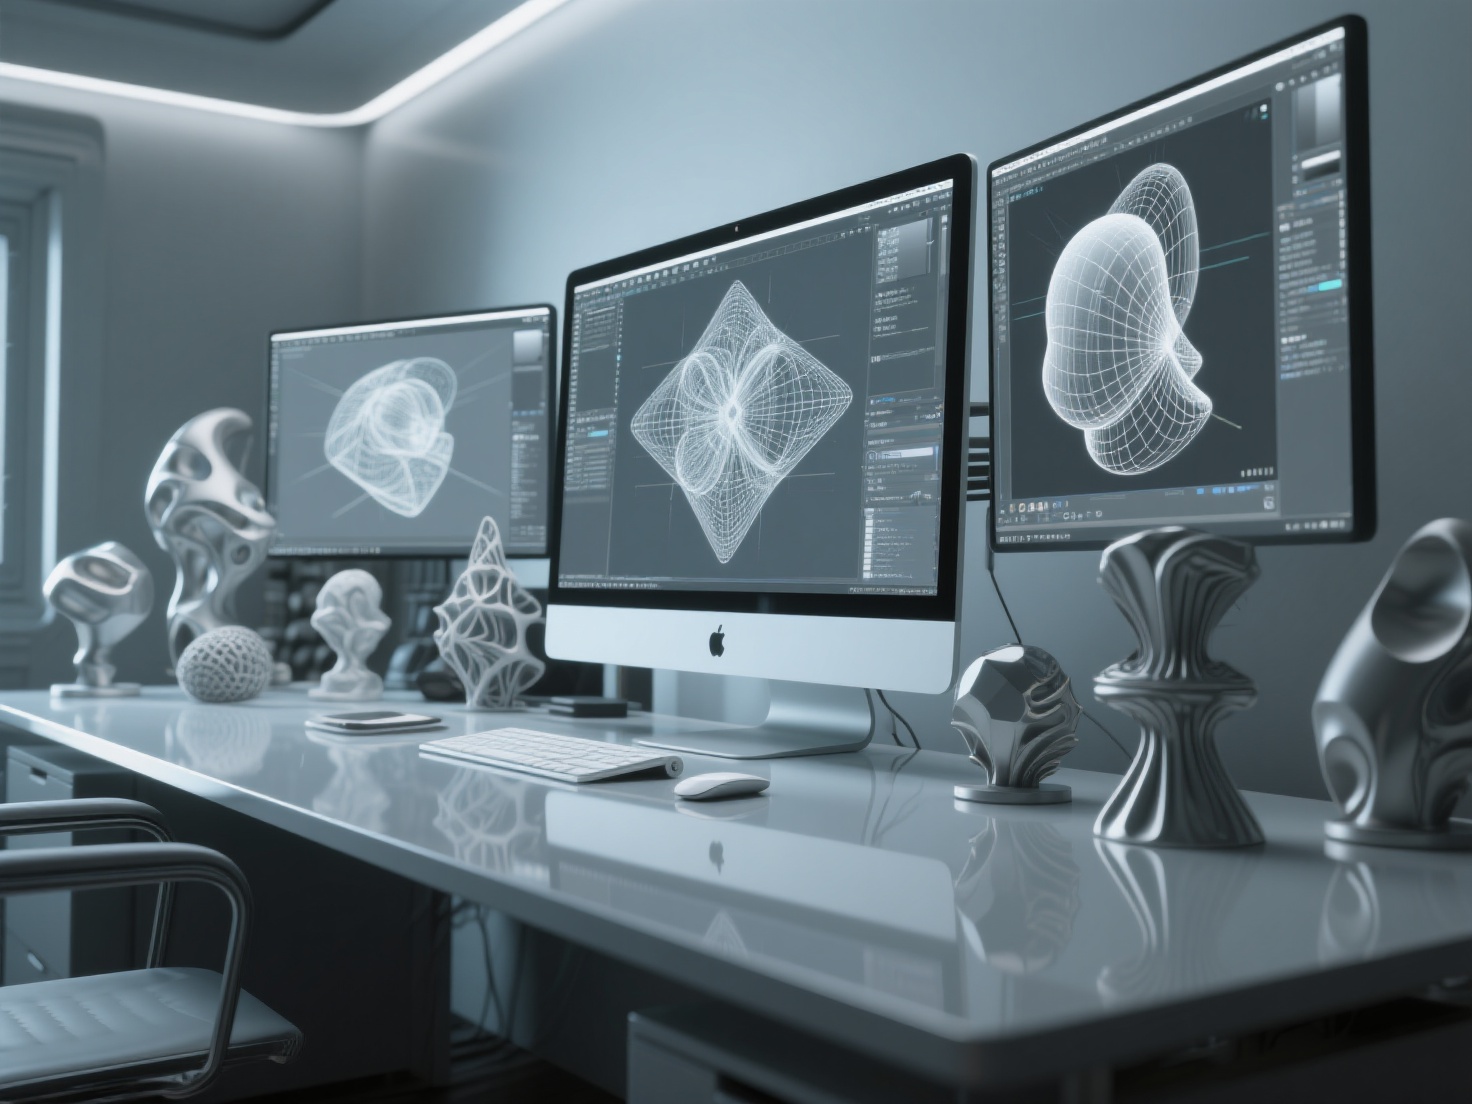
Step 2: Choosing the Right Sculpting Software
The 3D software market offers several fantastic options, each catering to different workflows, budgets, and hardware setups.
Blender (The Free Powerhouse)
Blender is a 100% free, open-source 3D suite that includes an incredibly robust sculpting workspace. It is the perfect starting point for digital sculpting for beginners because it costs nothing, yet packs enough features to rival expensive commercial software. Furthermore, since Blender handles rendering, rigging, and animation, you can take your sculpted model through the entire 3D pipeline in one program.
ZBrush (The Industry Standard)
If you are aiming for a career in the AAA gaming or film VFX industry, you will eventually need a comprehensive ZBrush beginner guide. ZBrush is the undisputed king of digital sculpting. Its proprietary engine can handle massive models with tens of millions of polygons effortlessly. While its heavily customized user interface can be daunting for newcomers, it is the ultimate tool for high-end professional detailing.
Nomad Sculpt (Best for iPad and Mobile)
For those who prefer a portable workflow, Nomad Sculpt is an affordable, incredibly powerful app available for iOS and Android. It delivers desktop-grade sculpting capabilities, dynamic topology, and PBR rendering directly to your tablet, making it highly accessible for beginners.
Step 3: Understanding Fundamental Brush Techniques
Regardless of the software you choose, the core sculpting brushes behave very similarly across all platforms. Mastering these four foundational brushes will allow you to construct almost any shape imaginable:
- Clay Buildup / Clay Strips: This is your primary workhorse for adding volume. It acts like slapping thick strips of wet clay onto your model. It is perfect for blocking out underlying muscles, cheekbones, and major anatomical forms.
- Smooth Brush: Usually activated by holding the “Shift” key, this brush softens harsh edges and blends different areas of your sculpt seamlessly together. Use it sparingly—overusing the smooth brush will “melt” your model and destroy your hard-earned details!
- Dam Standard / Draw Sharp: This brush cuts deep, sharp crevices into your model or pulls tight ridges outward. It is absolutely essential for defining wrinkles, creating panel lines in armor, or outlining the separation between closed lips.
- Inflate Brush: Great for plumping up specific areas without destroying the underlying shape. Use it to create a bulbous nose, thicken thin fingers, or add volume to stylized hair.
Subdivision vs. Dynamic Topology (Dyntopo)
As you pull and stretch digital clay, the polygons stretch with it, eventually losing resolution and looking jagged. You have two main ways to fix this:
- Subdivision: Dividing the entire mesh to multiply the overall polygon count uniformly. This is best used when you already have a solid, well-proportioned base mesh.
- Dynamic Topology (Dyntopo / Sculptris Pro): The software automatically generates new polygons locally, exactly where you are brushing. This allows you to pull a long horn out of a simple sphere without the geometry stretching and breaking.
Step 4: Your First Sculpting Project (A Simple Creature Head)
The best way to figure out how to start digital sculpting is by actually doing it. We recommend starting with a simple, imaginative creature or monster head rather than a highly realistic human portrait. Monsters allow for creative freedom and remove the pressure of achieving perfect human anatomical accuracy.
1. The Blocking Phase
Start with a simple sphere. Use a large brush to push and pull the primary silhouette—focusing on the shape of the skull, the heavy jawline, and the thick neck.
Pro Tip: Struggling with the blank canvas? The initial blocking phase is notoriously difficult for beginners because getting proportions right from a sphere is hard. Instead of starting from scratch, you can use AI tools like Hitem3D to generate your base mesh. By simply uploading a 2D sketch or reference image of your creature, Hitem3D will generate a clean, structurally accurate OBJ or STL file in seconds. You can import this directly into Blender or ZBrush, skip the frustrating blocking phase, and jump straight into the fun part: detailing!
2. Establishing Primary Forms
Once your base mesh is set, begin carving out the deep eye sockets, building up the heavy brow ridges using the Clay Buildup brush, and defining the mouth and jaw muscles. Focus only on the big chunks of volume. Do not worry about details yet.
3. Refining Secondary Forms
Add medium-sized details like eyelids, cheekbones, and muscle tension in the neck. Use your Dam Standard brush to carve clear separations between the different forms, giving your creature a more defined, structural look.
4. Detailing and Polishing
Only when the main shapes look great from every angle should you increase your polygon count (via Subdivision) to add fine details. Now you can use specialized alpha brushes to stamp on skin pores, reptilian scales, deep wrinkles, and battle scars.
Best Practices to Learn Digital Sculpting Faster
Avoid common beginner pitfalls by following these actionable best practices:
- Always Use Reference: Never sculpt purely from your imagination when starting. Collect high-quality photos of real-world animals, human anatomy, or concept art to guide your shapes.
- Stay in Low Resolution as Long as Possible: It is a fatal beginner mistake to subdivide a model into millions of polygons in the first five minutes. Work on low resolution until you literally cannot add any more shape, then step up. Forms are built at low resolutions; details are added at high resolutions.
- Toggle Perspective Off: Occasionally switch between orthographic and perspective views to ensure your proportions remain accurate and not warped by camera lenses.
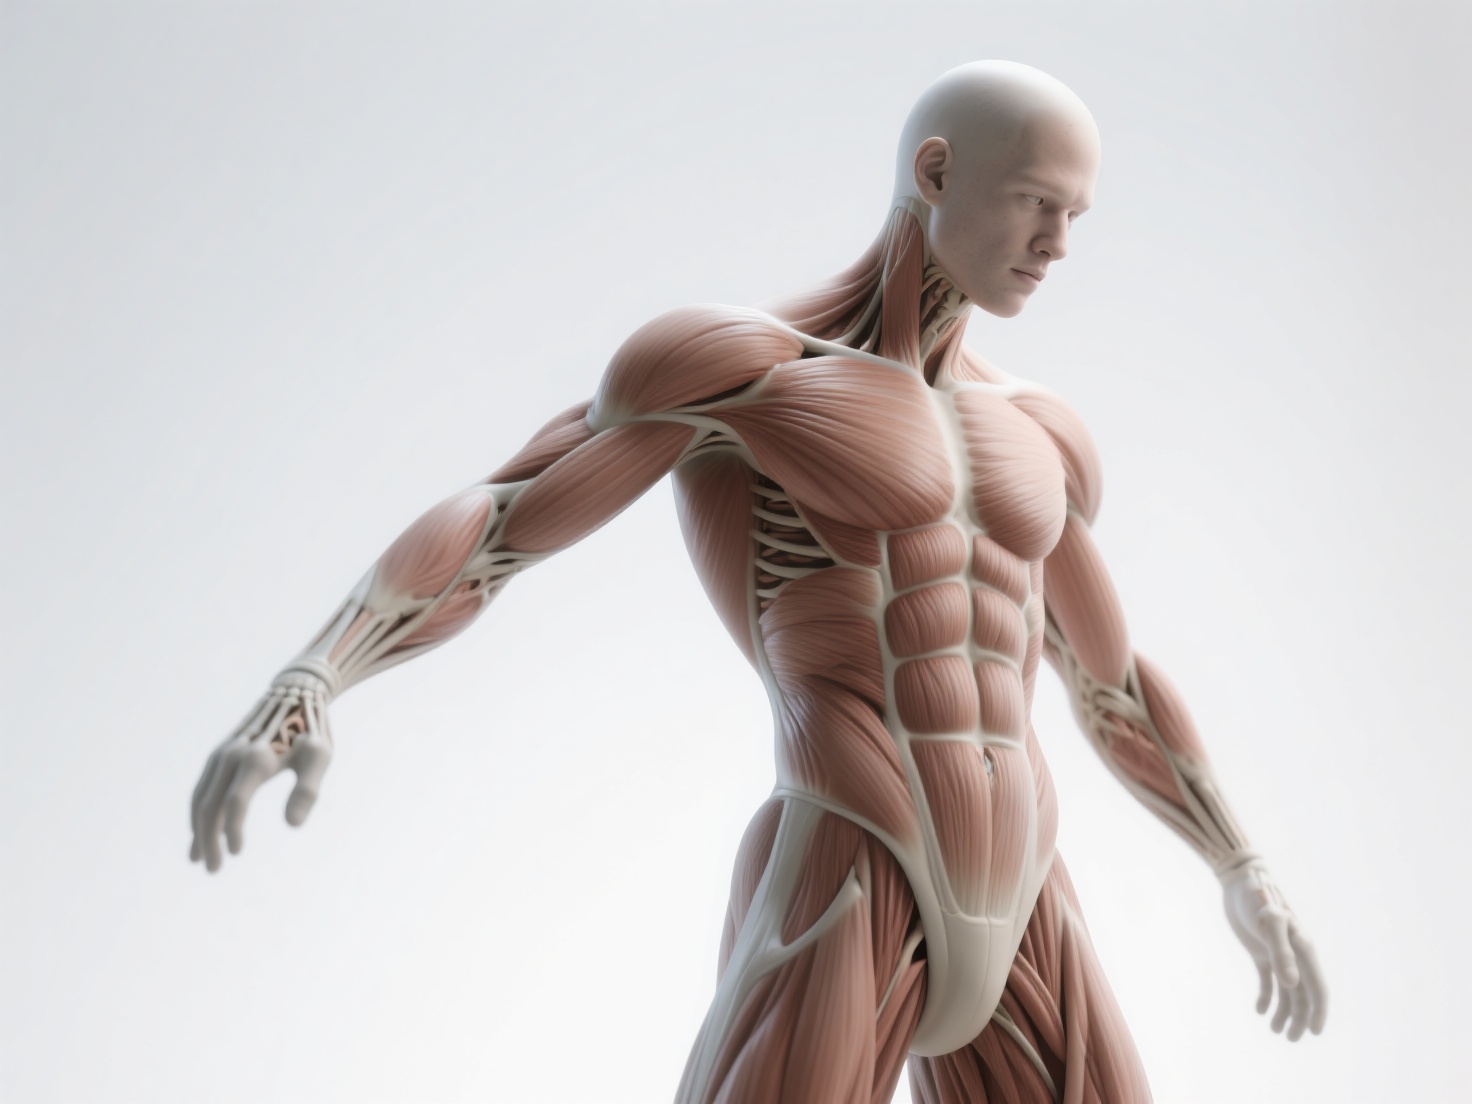
- Study Basic Anatomy: Even fantasy monsters need believable muscle structures and bone landmarks to look convincing to the human eye. Learn where the cheekbones, jawbones, and neck muscles attach.
Conclusion: Take Your First Step Today
Figuring out how to start digital sculpting does not have to be a frustrating or isolating experience. By equipping yourself with a basic graphics tablet, choosing accessible software like Blender or ZBrush, and mastering foundational brush strokes, you are well on your way to bringing your wildest imaginations to life in 3D.
If that initial blocking phase still feels too intimidating, or if you want to rapidly prototype your character ideas before committing hours to manual sculpting, Hitem3D is your ultimate workflow companion.
As a next-generation AI-powered 3D model generator, Hitem3D utilizes advanced in-house Sparc3D (high precision) and Ultra3D (high efficiency) models to instantly transform your 2D reference images into production-ready 3D base meshes. Unlike basic generators, Hitem3D features groundbreaking Invisible Parts technology to accurately reconstruct hidden anatomical structures beyond the visible surface.
With clean, print-ready geometry up to 1536³ Pro resolution (supporting up to 2 million polygons), De-Lighted PBR Textures that remove baked-in shadows, and a generous Free Retry system, it is the perfect tool to generate high-quality starting meshes or layered 3D reliefs for your sculpting projects.
Stop staring at a blank digital sphere and accelerate your 3D art journey today.
Frequently Asked Questions (FAQ)
Do I need to know how to draw to learn digital sculpting?
No, you do not need to be a traditional 2D artist to sculpt. While drawing skills help with understanding composition and proportions, sculpting is fundamentally different. Many artists who struggle with 2D perspective thrive in 3D space because they can physically rotate and interact with the object from all angles.
Is digital sculpting hard to learn?
The basic mechanics of digital sculpting for beginners can actually be learned in a single weekend. Navigating the software and learning what the brushes do is quite straightforward. However, mastering form, anatomy, and high-level character design is a lifelong, rewarding journey.
What is the difference between poly modeling and digital sculpting?
Poly modeling involves moving individual vertices, edges, and faces mathematically to build a precise shape, which is ideal for hard-surface objects like cars, weapons, and architecture. Sculpting uses brush-based tools to push and pull millions of polygons organically, making it the superior choice for characters, creatures, and natural terrain.