Stepping into the world of three-dimensional design can feel like learning a completely new language. If you are a traditional illustrator or a 2D digital creator wondering how to create 3D art, you are in the right place. The transition from a flat canvas to a virtual 3D space is one of the most exciting journeys an artist can take.
In the past, the barrier to entry for 3D digital art was incredibly high, requiring expensive software and years of technical training. Today, thanks to intuitive open-source tools and next-generation AI technologies, anyone can create 3D artwork from scratch. Whether you want to design characters, build surreal landscapes, or prepare models for 3D printing, this beginner’s guide will walk you through the software, fundamental concepts, and step-by-step techniques you need to succeed.
What is 3D Digital Art?
3D digital art is the process of creating three-dimensional visual content using specialized computer software to manipulate polygons, textures, and lighting in a virtual space.
Unlike 2D art, which only has height and width, 3D art introduces depth. This allows artists to rotate, scale, and light their creations from any angle, resulting in highly realistic or uniquely stylized imagery used in video games, movies, digital illustrations, and physical 3D printing.
Popular Styles in 3D Digital Art
Before diving into the software, it is helpful to identify what kind of 3D art for beginners you want to explore. The 3D medium is incredibly versatile, supporting a wide range of aesthetic styles:
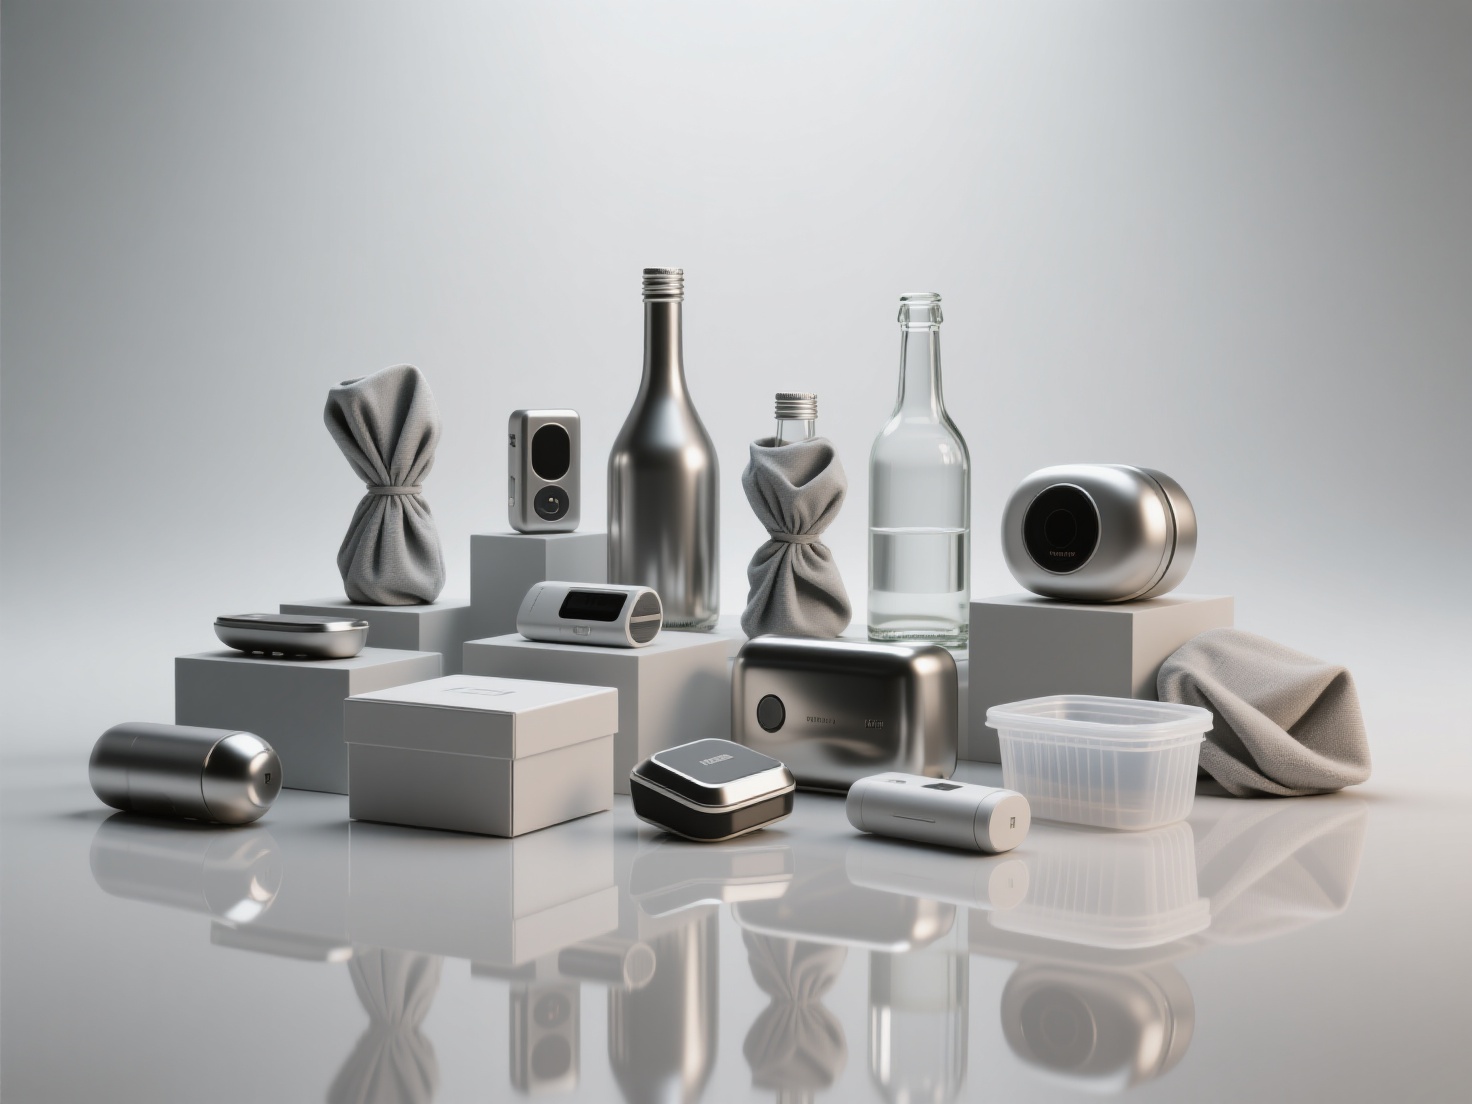
- Photorealistic: Mimics real life perfectly. This style requires advanced lighting, high-resolution textures, and precise material properties (like glass refraction or metal reflections).
- Stylized: Popularized by studios like Pixar and Riot Games. It features exaggerated proportions, vibrant colors, and simplified, smooth textures.
- Abstract: Focuses on shapes, colors, and satisfying physics simulations rather than representing real-world objects. It is highly popular in motion graphics.
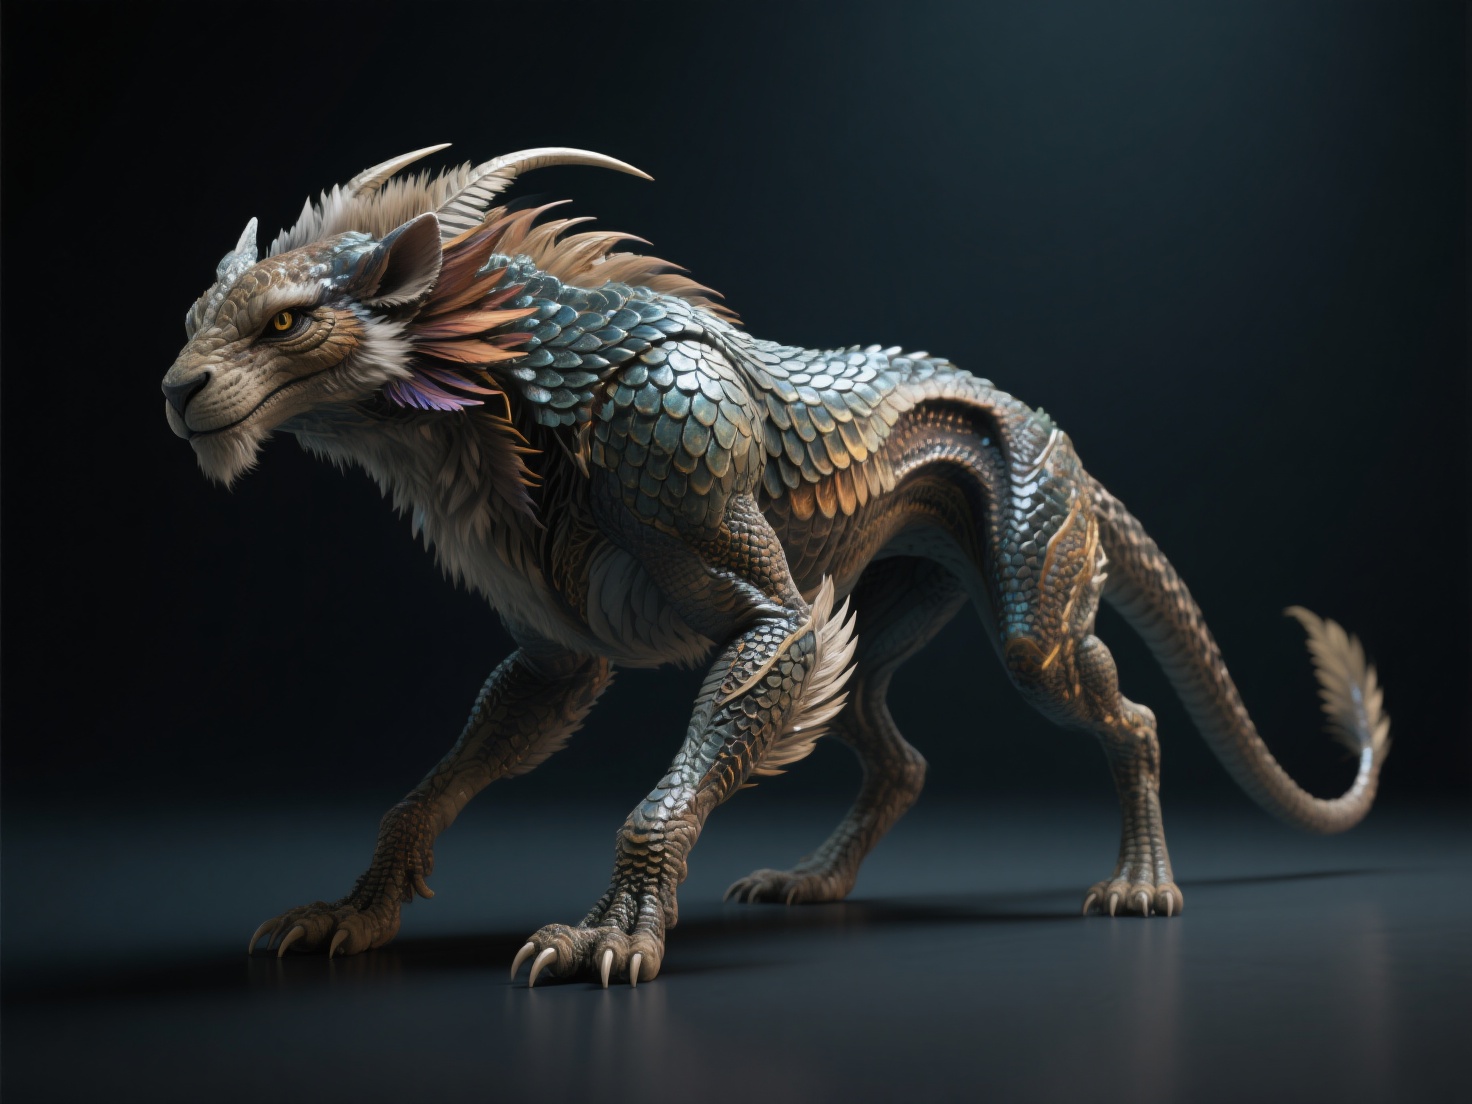
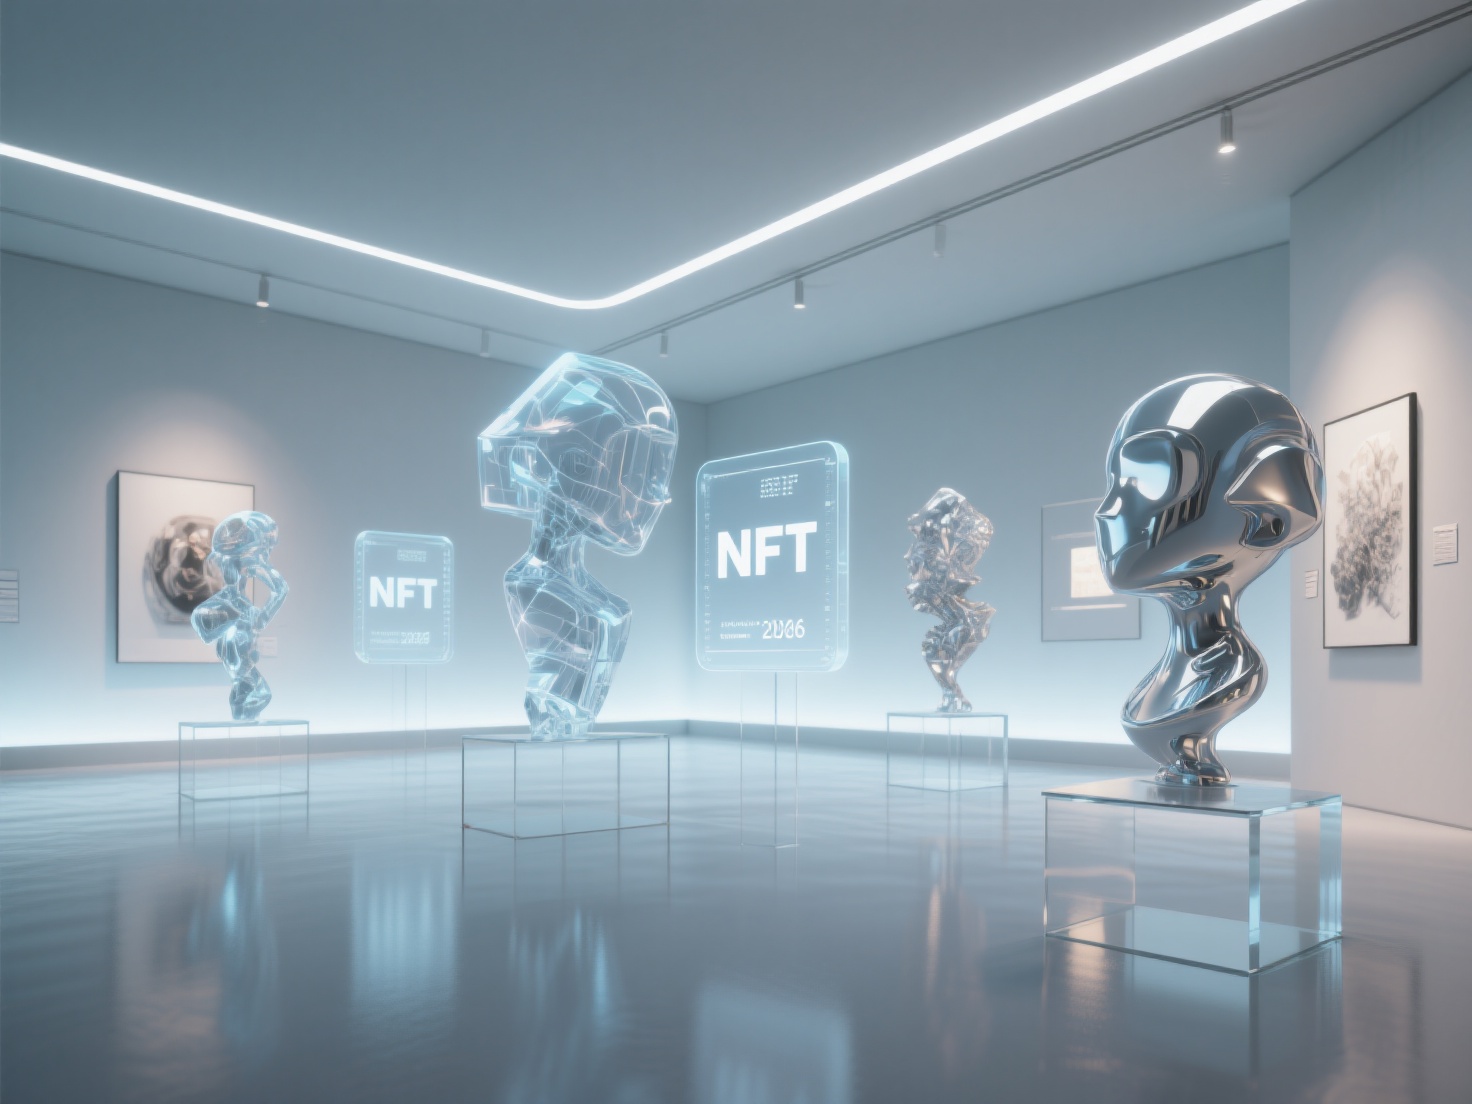
- Surreal & Sci-Fi: Blends hyper-realistic rendering with impossible geometry or futuristic concepts, often used in concept art and NFT collections.
The Core Pillars of 3D Art Creation
To understand how to create 3D art, you must first understand the four foundational pillars of the 3D pipeline. Every piece of 3D artwork goes through these stages:
- Modeling: The process of building the actual shape of your object using vertices, edges, and faces (polygons). It is like sculpting with digital clay.
- Materials & Texturing: Applying colors, patterns, and surface properties to your model. This dictates whether an object looks like rough wood, shiny plastic, or wet metal.
- Lighting: Placing virtual light sources (suns, spotlights, area lights) to illuminate your scene. Lighting sets the mood and highlights the details of your model.
- Rendering: The final step where the computer calculates all the geometry, textures, and lighting to generate a flat 2D image or animation of your 3D scene.
Step-by-Step Guide: How to Create 3D Art
Creating your first piece of 3D digital art does not have to be overwhelming. Follow this structured, step-by-step workflow.
Step 1: Concepting and Gathering Reference
Never start staring at a blank screen. Begin by sketching your idea on paper or compiling a mood board of reference images. Having a clear 2D concept will guide your 3D proportions, color palette, and lighting choices.
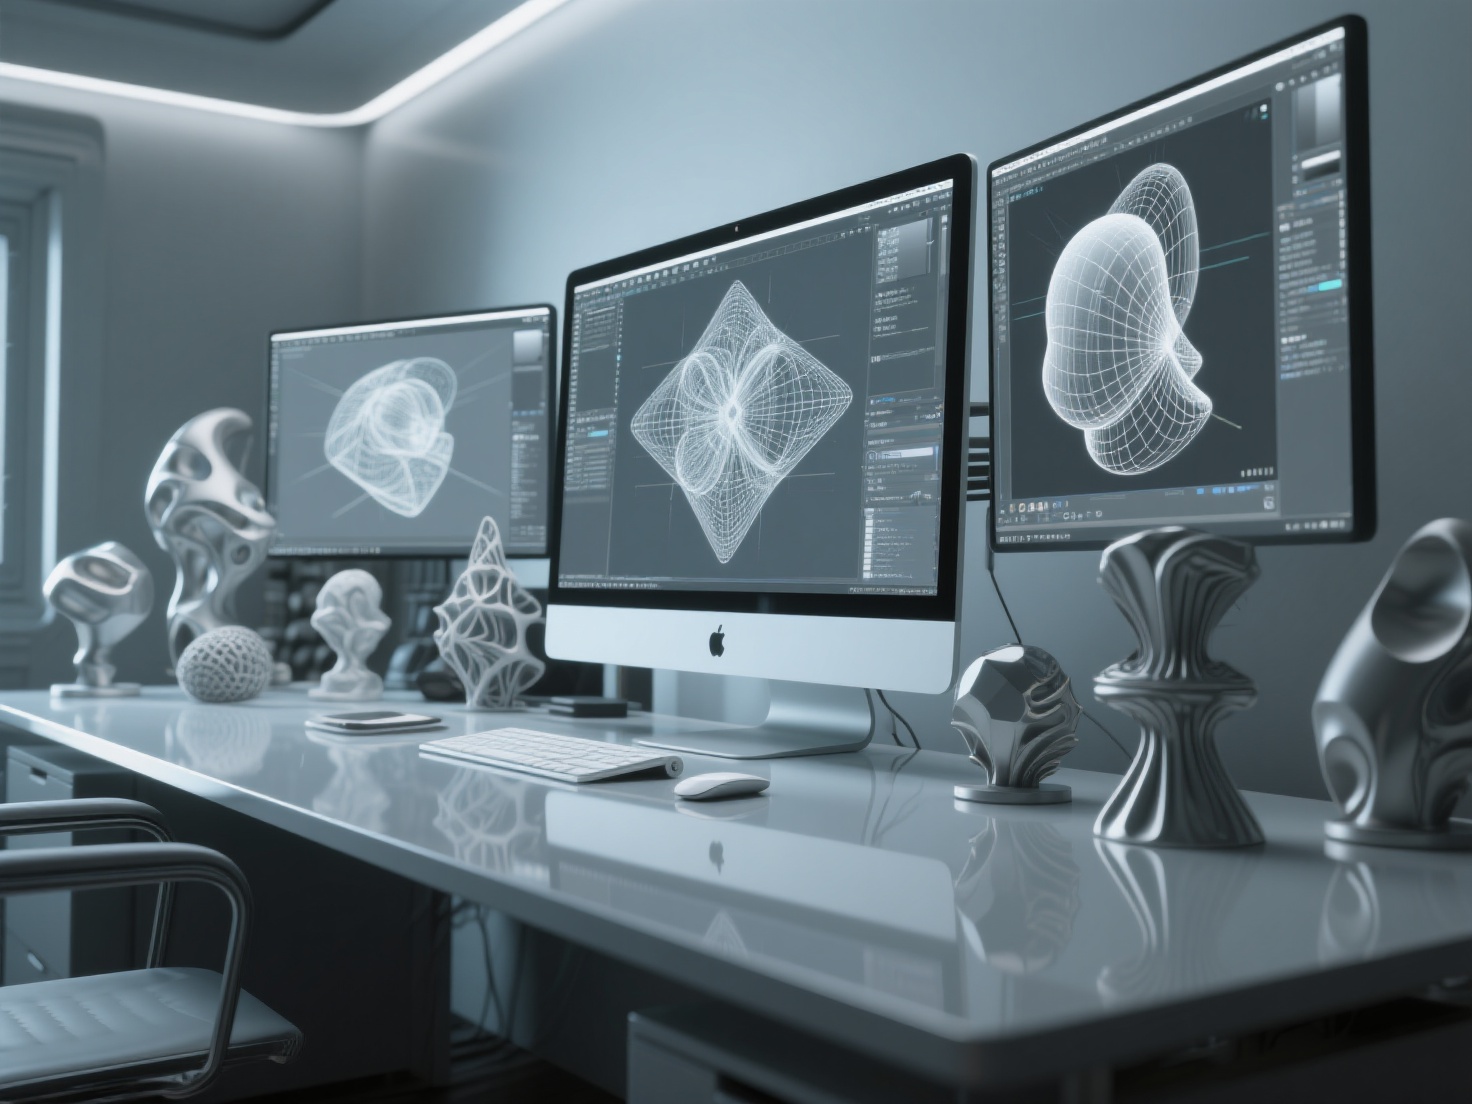
Step 2: 3D Modeling (Traditional vs. AI)
Once you have your concept, it is time to build the geometry. Beginners typically start with free software like Blender, learning to extrude and manipulate basic shapes (cubes, spheres) into complex forms. However, manual modeling can take dozens of hours and often frustrates new artists.
This is where AI is revolutionizing the workflow. If you have a 2D sketch or reference image, you can bypass the steepest learning curves by using AI-powered 3D generators.
Hitem3D is a prime example of this workflow evolution. Built on the proprietary Sparc3D (high precision) and Ultra3D (high efficiency) models, it acts as a bridge for traditional artists entering the 3D space. You simply upload your 2D concept art (single or multi-view), and Hitem3D generates a production-ready 3D model.
- Invisible Parts Technology: Unlike basic AI tools, Hitem3D intelligently reconstructs hidden structures beyond the visible surface of your image.
- High Fidelity: It supports resolutions up to 1536³ Pro, yielding models with up to 2 million polygons and sharp, print-ready geometry.
Step 3: Texturing and Materials
After the shape is built, you must give it life. In traditional workflows, this involves complex “UV unwrapping” (flattening your 3D model into a 2D map) and hand-painting textures.
If you are using an AI pipeline, this process is automated. Hitem3D’s AI Texturing feature generates 4K resolution PBR-ready textures. More importantly, it utilizes De-Lighted Texture processing. This removes baked-in lighting and shadows from your original 2D image, providing you with a clean, true material that will react perfectly to the custom lighting you add in the next step.
Step 4: Setting Up Lighting and Cameras
Import your model into your 3D software (like Blender). Position your virtual camera to frame the shot. Then, set up your lighting. A classic beginner technique is the Three-Point Lighting System:
- Key Light: The primary, brightest light source.
- Fill Light: A softer light placed opposite the Key Light to soften harsh shadows.
- Rim Light (Backlight): Placed behind the subject to create a glowing edge, separating the model from the background.
Step 5: Rendering and Post-Processing
Hit the render button and let your computer do the heavy lifting. Once the image is rendered, many artists take it into Photoshop or Lightroom for color grading, adding glow effects, or adjusting contrast to finalize the piece.
Comparison: Traditional Modeling vs. AI-Assisted Workflow
| Feature | Traditional Workflow (e.g., Blender) | AI-Assisted Workflow (e.g., Hitem3D) |
|---|---|---|
| Learning Curve | High (takes months to master basics) | Very Low (image-to-3D generation) |
| Time Investment | Hours to days per model | Seconds to minutes |
| Texturing | Manual UV unwrapping and painting | Automatic 4K PBR with De-Lighted processing |
| Best For | Custom, highly specific technical edits | Rapid prototyping, concept realization, base meshes |
Applications: Where to Share and Sell Your 3D Artwork
Once you learn how to create 3D art, a multitude of avenues open up for sharing and monetizing your creations:
- Digital Portfolios: Platforms like ArtStation and Behance are the industry standards for showcasing 3D digital art.
- Selling Digital Assets: You can sell your 3D models (in formats like GLB, OBJ, FBX) on marketplaces like CGTrader or TurboSquid for game developers and animators to use.
- 3D Printing & Physical Sculpture: Many artists turn their digital art into physical objects. If you use Hitem3D, the models feature print-ready geometry with sharp edges. You can utilize the One-click direct send to Bambu Studio and OrcaSlicer for seamless 3D printing. Additionally, the 3D Relief feature easily converts 2D images into layered bas-relief models perfect for physical art.
Best Practices for 3D Art Beginners
To ensure your journey into 3D art for beginners is smooth and rewarding, keep these actionable tips in mind:
- Start Simple: Do not try to build a hyper-realistic human face on day one. Start with stylized props, abstract shapes, or simple low-poly scenes.
- Master Lighting: Good lighting can make a simple model look incredible, while bad lighting can ruin a highly detailed model. Spend time studying how light behaves in the real world.
- Embrace New Technologies: Do not let technical limitations stifle your creativity. Use AI tools to generate base meshes so you can focus on the artistic aspects of composition and lighting. If a generation doesn’t look quite right, tools like Hitem3D offer a Free Retry system, allowing you to regenerate results without wasting credits.
- Organize Your Files: 3D projects generate a lot of files (textures, reference images, auto-saves). Keep your folders organized from the very beginning.
Conclusion: Start Your 3D Art Journey Today
Learning how to create 3D art is a deeply rewarding process that merges technical problem-solving with limitless creative expression. By understanding the core pillars of modeling, texturing, lighting, and rendering, and by choosing the right style for your goals, you can effectively create 3D artwork that stands out.
For beginners, the technical barrier of manual polygon modeling no longer needs to be a roadblock. By leveraging AI-powered platforms, you can instantly turn your 2D ideas into fully realized 3D assets. Trusted by creators in over 50 countries, Hitem3D is the ultimate tool to accelerate your creative workflow, offering invisible parts reconstruction, crisp print-ready geometry, and stunning 4K De-Lighted textures.
Ready to bring your imagination into the third dimension?
Frequently Asked Questions (FAQ)
Can I create 3D artwork from a 2D drawing?
Yes! While you can manually use a 2D drawing as a background reference to sculpt in software like Blender, the fastest method is using AI image-to-3D generators like Hitem3D, which can automatically interpret a 2D sketch and reconstruct it into a full 3D model.
What is the easiest software for 3D art beginners?
For manual modeling, Blender is the most recommended due to its massive community and free tutorials. For immediate results without prior experience, AI platforms are the easiest starting point to generate base models.
Is 3D art hard to learn?
The fundamentals of 3D digital art are easy to grasp, but mastering the technical tools takes practice. However, modern workflows that incorporate AI generation and intuitive rendering engines have made the medium more accessible to beginners than ever before.
What file formats should I export my 3D art as?
It depends on your goal. For web viewing and AR, GLB or USDZ are best. For game engines (Unity/Unreal), FBX is standard. For 3D printing, you should export your models as STL or OBJ.