For aspiring designers and fashion students, the ability to translate an idea from the mind onto paper is a foundational skill. Whether you are sketching a flowing evening gown or designing the next trend in streetwear, mastering fashion illustration is your first step toward bringing those concepts to life.
Learning how to draw fashion is not just about making pretty pictures; it is about visual communication. It allows you to explore silhouettes, experiment with fabrics, and convey the mood of your collection to pattern makers, buyers, and clients. In an increasingly digital world, combining traditional sketching techniques with cutting-edge 3D tools is revolutionizing how designers work.
In this comprehensive guide, we will walk you through the essentials of fashion figure drawing, exploring proportions, fabric rendering, digital tools, and modern workflows that can elevate your design portfolio.
What is Fashion Illustration?
Fashion illustration is the visual art of communicating fashion ideas and designs through drawing, painting, or digital rendering.
Unlike traditional portraiture or realistic figure drawing, fashion illustration intentionally exaggerates human proportions to highlight the clothing. It serves as the blueprint for a garment, capturing the drape, texture, and attitude of the design long before the first piece of fabric is ever cut.
Mastering Fashion Figure Drawing: Proportions and Poses
Before you can design the clothes, you need a mannequin to put them on. In the fashion world, this drawn mannequin is known as a croquis. Understanding the unique proportions of a fashion croquis is essential for any beginner.
The 9-Head Figure Proportion
While an average human body is about 7.5 to 8 “heads” tall, a standard fashion figure is stretched to 9 heads (and sometimes even 10). This elongation, particularly in the legs, makes garments look more elegant and dramatic.
Here is a quick breakdown of the 9-head fashion figure drawing structure:
- Head 1: Top of the head to the chin.
- Head 2: Chin to the bust line (shoulders drop slightly below the chin).
- Head 3: Bust to the natural waistline (the narrowest part of the torso).
- Head 4: Waist to the crotch (hips are usually as wide as the shoulders).
- Head 5 & 6: Crotch to the knees (thighs).
- Head 7 & 8: Knees to the ankles (calves).
- Head 9: Ankles to the toes.
Working with Croquis Fashion Templates
If you struggle with drawing bodies from scratch, croquis fashion templates are your best friend. A croquis is a pre-drawn, nude fashion figure template. Designers trace over these templates using marker paper or digital layers to focus entirely on the clothing design rather than worrying about anatomical accuracy every time.
Capturing Poses and Movement
Clothes are meant to be worn in motion. To give your illustrations life, practice drawing the body in dynamic poses:
- The S-Curve (Contrapposto): Shift the figure’s weight onto one leg. The hips will tilt one way, and the shoulders will tilt the opposite way, creating a natural, sassy “S” shape.
- Walking Poses: Show one leg stepping forward, which allows you to draw skirts and dresses flowing backward, illustrating the movement and weight of the fabric.
Rendering Fabrics and Textures
A great fashion illustration clearly communicates what material the garment is made of. The way you apply color, highlights, and shadows dictates whether a fabric looks stiff, soft, heavy, or sheer.
Fabric Rendering Techniques
| Fabric Type | Visual Characteristics | Drawing & Rendering Technique |
|---|---|---|
| Silk / Satin | High shine, smooth, fluid drape. | Use high contrast between deep shadows and bright white highlights. Blend colors smoothly. |
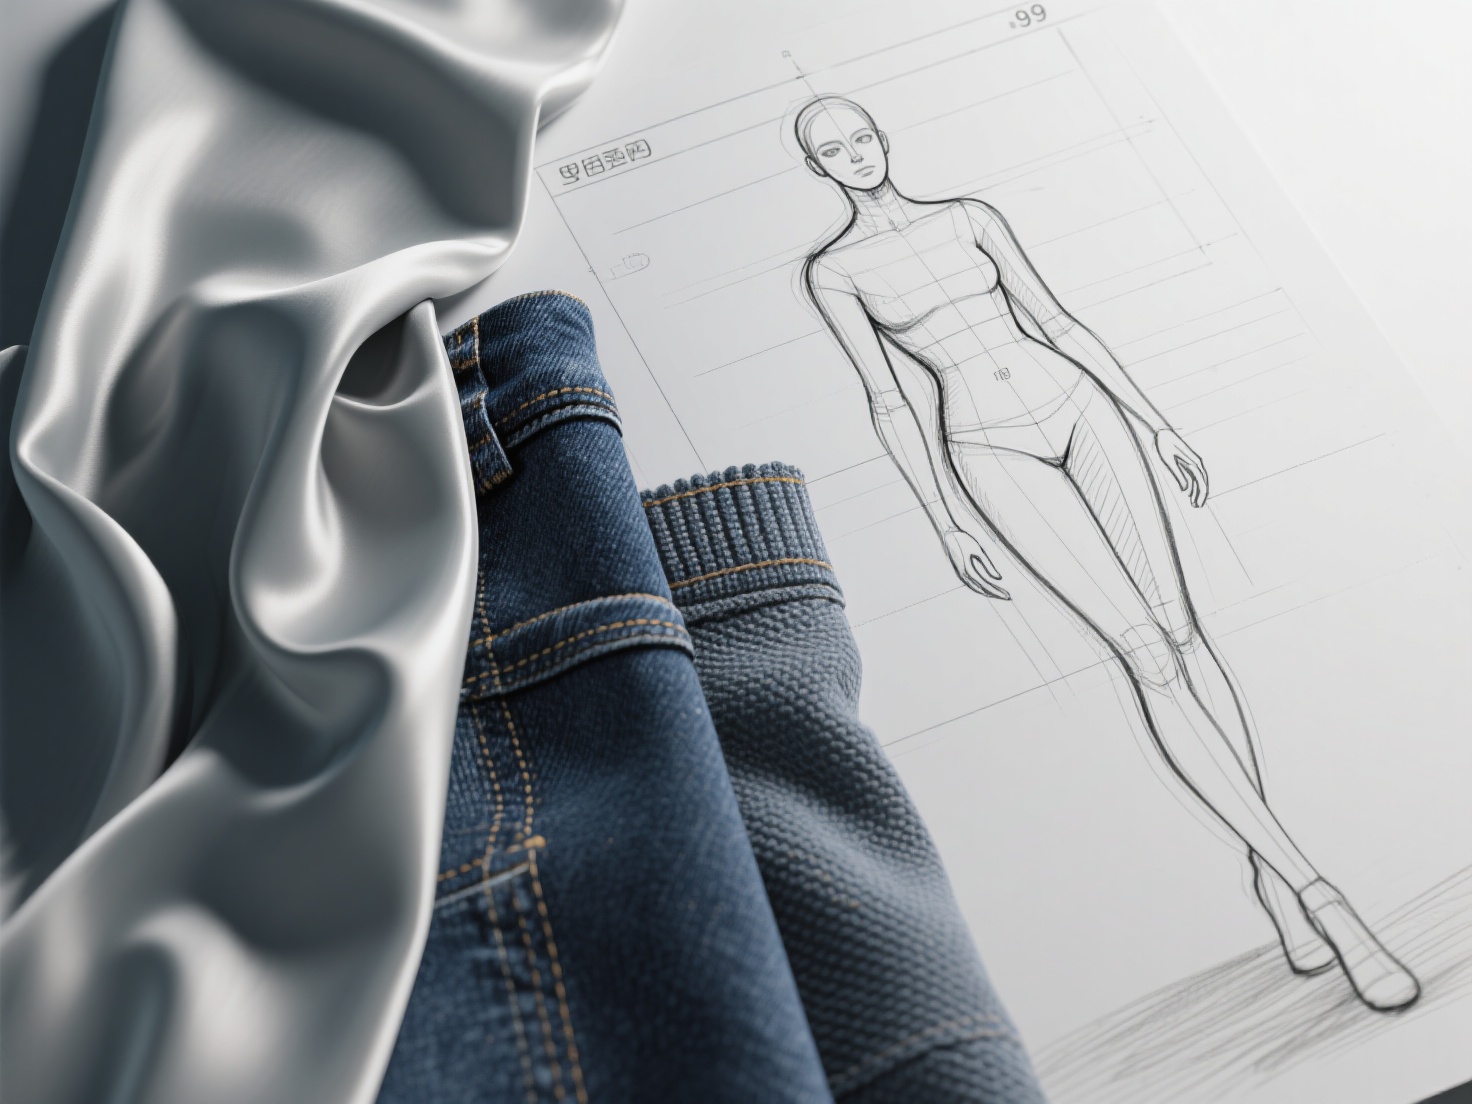
| Denim | Matte, stiff, textured. | Use cross-hatching to mimic the twill weave. Emphasize thick seams, topstitching, and subtle fading at the knees. |
| Leather | Structural, sharp reflections. | Apply crisp, stark white highlights. Shadows should be very dark, with less mid-tone blending than silk. |
| Knitwear | Soft, bulky, textured. | Avoid harsh, straight outlines. Use a stippling effect or draw tiny “V” shapes to indicate stitches and ribbed edges. |
Drawing Clothing Details
To make your designs believable, pay close attention to construction details.
- Folds and Drape: Understand how fabric interacts with gravity. Draw “pipe folds” falling from gathered waistlines, or “zigzag folds” where fabric bunches at the elbow or ankle.
- Construction Lines: Always include darts, seams, zippers, and buttons. These technical details show pattern makers exactly how the garment should be constructed.
Adding Life: Faces, Hair, and Media Selection
While the face should never distract from the clothes, a stylized face and hairstyle add immense attitude to your fashion illustration. Keep facial features minimal—a bold lip, sharp eyeliner, or a distinct jawline is often enough.
Traditional vs. Digital Media
Choosing the right tools for your illustration depends on your personal style:
Traditional Media: Copic markers and watercolors are industry favorites. Markers provide bold, fast color blocking, while watercolors are perfect for capturing the sheer, ethereal quality of chiffon or tulle.
Digital Tools: Software like Procreate (on iPad) and Adobe Illustrator are now industry standards. They allow for easy corrections, working in layers (perfect for placing clothes over a digital croquis), and experimenting with custom texture brushes.
Using 3D Tools to Elevate Your Fashion Illustration
In modern design workflows, the gap between 2D illustration and 3D realization is closing rapidly. As a fashion illustrator or designer, you will often need to draw complex accessories, footwear, or avant-garde silhouettes from multiple angles. This is where AI-driven 3D tools become incredibly valuable.
Instead of guessing how light hits a structured handbag or how a complex shoe heel looks from a 3/4 back view, modern designers use Hitem3D to generate instant 3D references.
Hitem3D is a next-generation AI-powered 3D model generator that transforms your 2D design sketches into high-fidelity 3D models. Built on the in-house Sparc3D (high precision) and Ultra3D (high efficiency) models, it serves as the ultimate reference tool for illustrators.
Reconstruct Hidden Angles: If you sketch the front of a garment or accessory, Hitem3D’s Invisible Parts technology automatically reconstructs the hidden back structures. You can then rotate the 3D model on your screen and use it as a perfectly accurate drawing reference for back-view illustrations.
Study Real Lighting: Hitem3D generates models with 4K resolution PBR-ready textures. By observing these realistic textures in a 3D space, you can learn exactly where to place highlights and shadows on your 2D sketches for materials like leather, metal jewelry, or plastic.
Risk-Free Experimentation: With Hitem3D’s Free Retry system, designers can regenerate results without spending additional credits until they get the perfect 3D reference for their illustration portfolio.
By integrating 3D generation into your workflow, you can drastically speed up your design process and ensure your 2D illustrations are structurally sound and visually striking.
Best Practices for Building an Illustration Portfolio
Whether you are applying to a fashion school or pitching to a brand, your portfolio is your ultimate resume. Here are some best practices to ensure your fashion illustration portfolio stands out:
Show Your Process: Do not just include polished, final illustrations. Include mood boards, rough thumbnails, and fabric swatches. Art directors want to see how you think, not just how well you render.
Develop a Signature Style: While versatility is good, having a unique, recognizable illustration style—whether it is moody and watercolor-based or sharp and digital—makes your work memorable.
Include Technical Flats: A beautiful, stylized illustration sells the dream, but technical flats (black and white, proportional drawings of the garment laid flat) sell the reality. Always pair your expressive illustrations with clean technical flats.
Stay Consistent: Ensure that the proportions of your croquis remain consistent throughout a specific collection to maintain a cohesive look.
Conclusion: Start Your Fashion Illustration Journey
Mastering fashion illustration takes time, patience, and a lot of practice. By understanding the 9-head proportion, utilizing croquis fashion templates, and practicing various fabric rendering techniques, you can effectively communicate your unique design vision to the world. Remember that knowing how to draw fashion is about expressing an idea, so do not be afraid to exaggerate silhouettes and inject your personal artistic flair.
As you refine your 2D sketching skills, do not hesitate to embrace modern technology to overcome creative blocks. AI and 3D tools are here to augment your creativity, providing accurate references and opening up new dimensions for your design presentations.
Ready to bridge the gap between your 2D fashion sketches and stunning 3D references? Let AI do the heavy lifting for your complex accessories and silhouettes. Try generating production-ready 3D models from your sketches today.
Create For Free → https://www.hitem3d.ai/create
Frequently Asked Questions (FAQ)
Do I need to be a great fine artist to be a fashion designer?
No. While fine art requires realistic anatomical accuracy, fashion illustration is highly stylized. As long as you can clearly communicate the silhouette, drape, and mood of the clothing, your illustrations are doing their job. Using croquis templates is a perfectly acceptable industry standard.
What is the difference between a fashion illustration and a technical flat?
A fashion illustration is stylized, dynamic, and usually drawn on an elongated 9-head figure to show the mood and drape of a garment. A technical flat is a proportional, 2D black-and-white drawing showing the garment laid completely flat, detailing every seam, stitch, and zipper for the manufacturer.
How can I learn how to draw fashion folds properly?
The best way to learn is by observation. Pin different fabrics (like denim, silk, and heavy cotton) to a dress form or chair and study how gravity affects them. Notice the difference between the sharp, angular folds of stiff fabrics and the soft, rounded folds of draped fabrics. Using 3D references generated from your sketches can also provide invaluable insights into how volume and folds behave.