Have you ever spent hours meticulously detailing a 3D character, only to step back and feel that something looks fundamentally “off”? Even with flawless high-resolution textures and complex rigging, a character will look like a lifeless plastic shell if the underlying structure is incorrect. This is the ultimate challenge of character anatomy sculpting.
Whether you are designing hyper-realistic cinematic heroes, stylized game avatars, or terrifying monsters, an understanding of human anatomy 3D mechanics is non-negotiable. It is the secret ingredient that bridges the gap between amateur models and professional, believable digital humans.
In this comprehensive guide, we will explore the essential anatomy for 3D artists, breaking down everything from skeletal foundations to muscle groups, and reveal how modern workflows—including AI-assisted tools—are revolutionizing character creation.
What is Anatomy for Sculptors in 3D Art?
Anatomy for sculptors is the dedicated study of internal biological structures—specifically the skeletal framework, muscle groups, and fat pads—and how these underlying mechanics directly influence and shape the visible surface form of a 3D model.
For 3D artists, studying anatomy is not about memorizing complex medical terminology; it is about understanding volume, proportion, tension, and the mechanical function of the body to create believable organic forms in 3D space.
The Core Pillars of Human Anatomy 3D
To master anatomy for 3D artists, you must approach the body from the inside out. The human body is a complex architectural marvel, and building a character requires constructing it layer by layer.
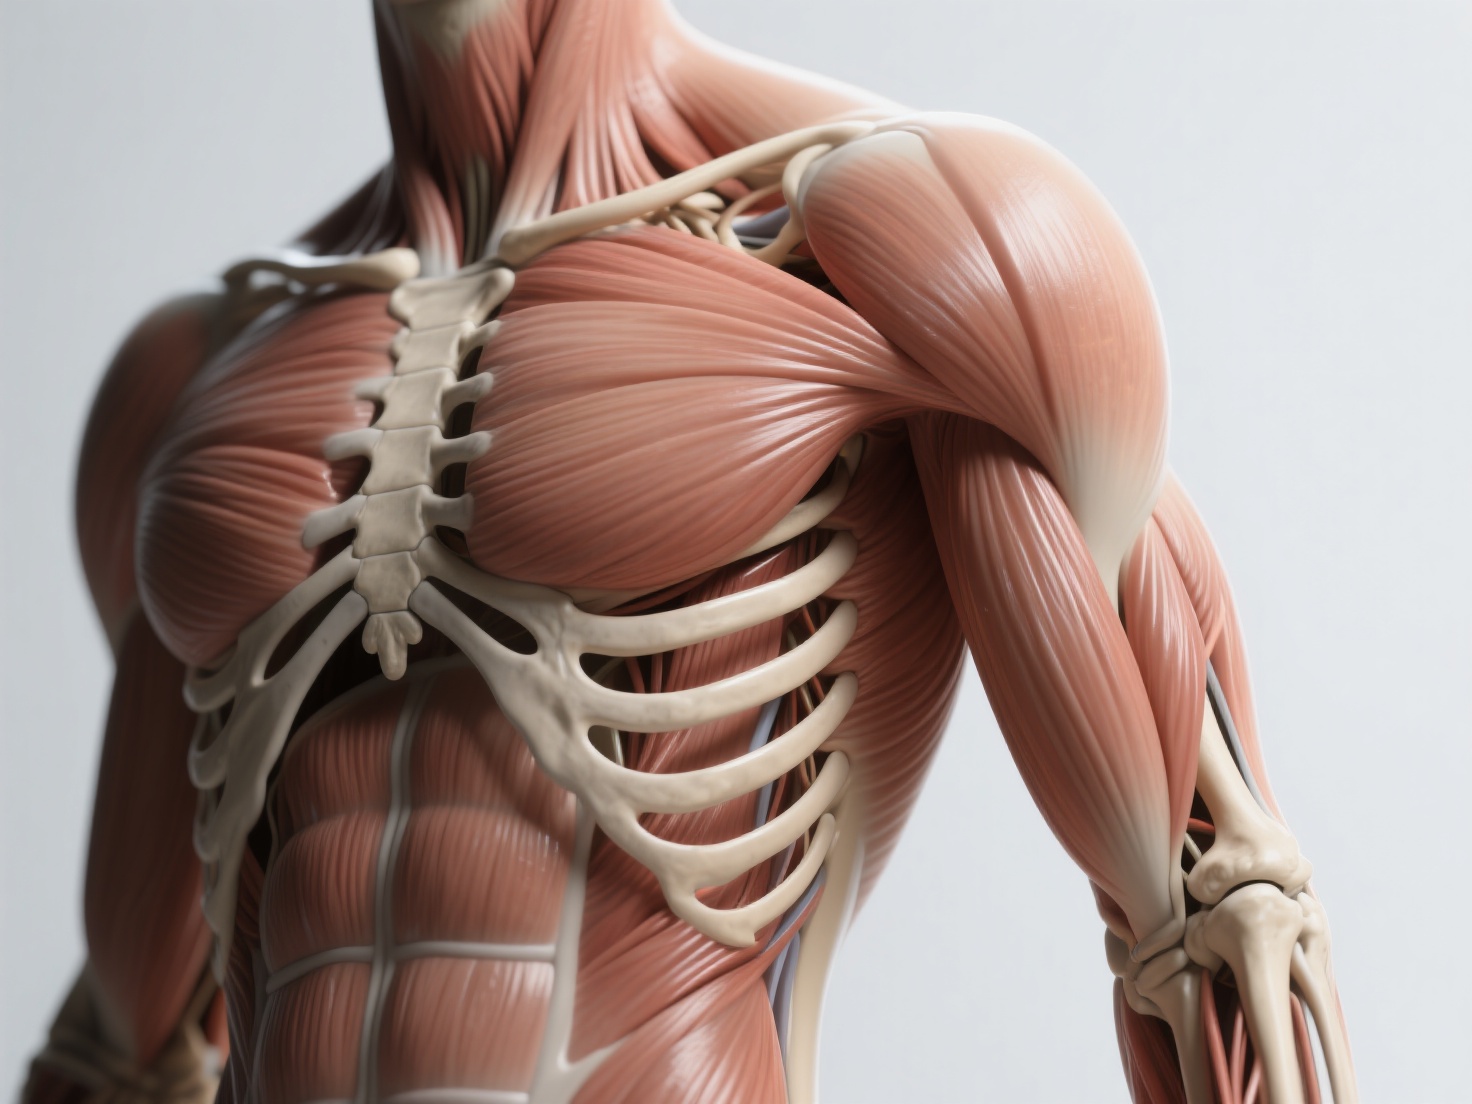
1. The Skeletal Foundation
The skeleton is the scaffolding of your character. It dictates proportions, posture, and the limits of movement. As a 3D artist, you must pay close attention to bony landmarks—areas where the bone sits directly beneath the skin, unaffected by muscle or fat.
Key bony landmarks to master include:
- The Clavicle (Collarbone): Forms a crucial bridge between the sternum and the shoulders.
- The Sternum (Breastbone): The anchor point for the ribcage and chest muscles.
- The Iliac Crest (Pelvis): The top edge of the hip bone, essential for dividing the torso from the legs.
- The Zygomatic Arch (Cheekbone): Defines the width and structure of the face.
Pro Tip: Always establish these landmarks early in your block-out phase. They serve as reliable anchor points that will not shift as you add muscular volume.
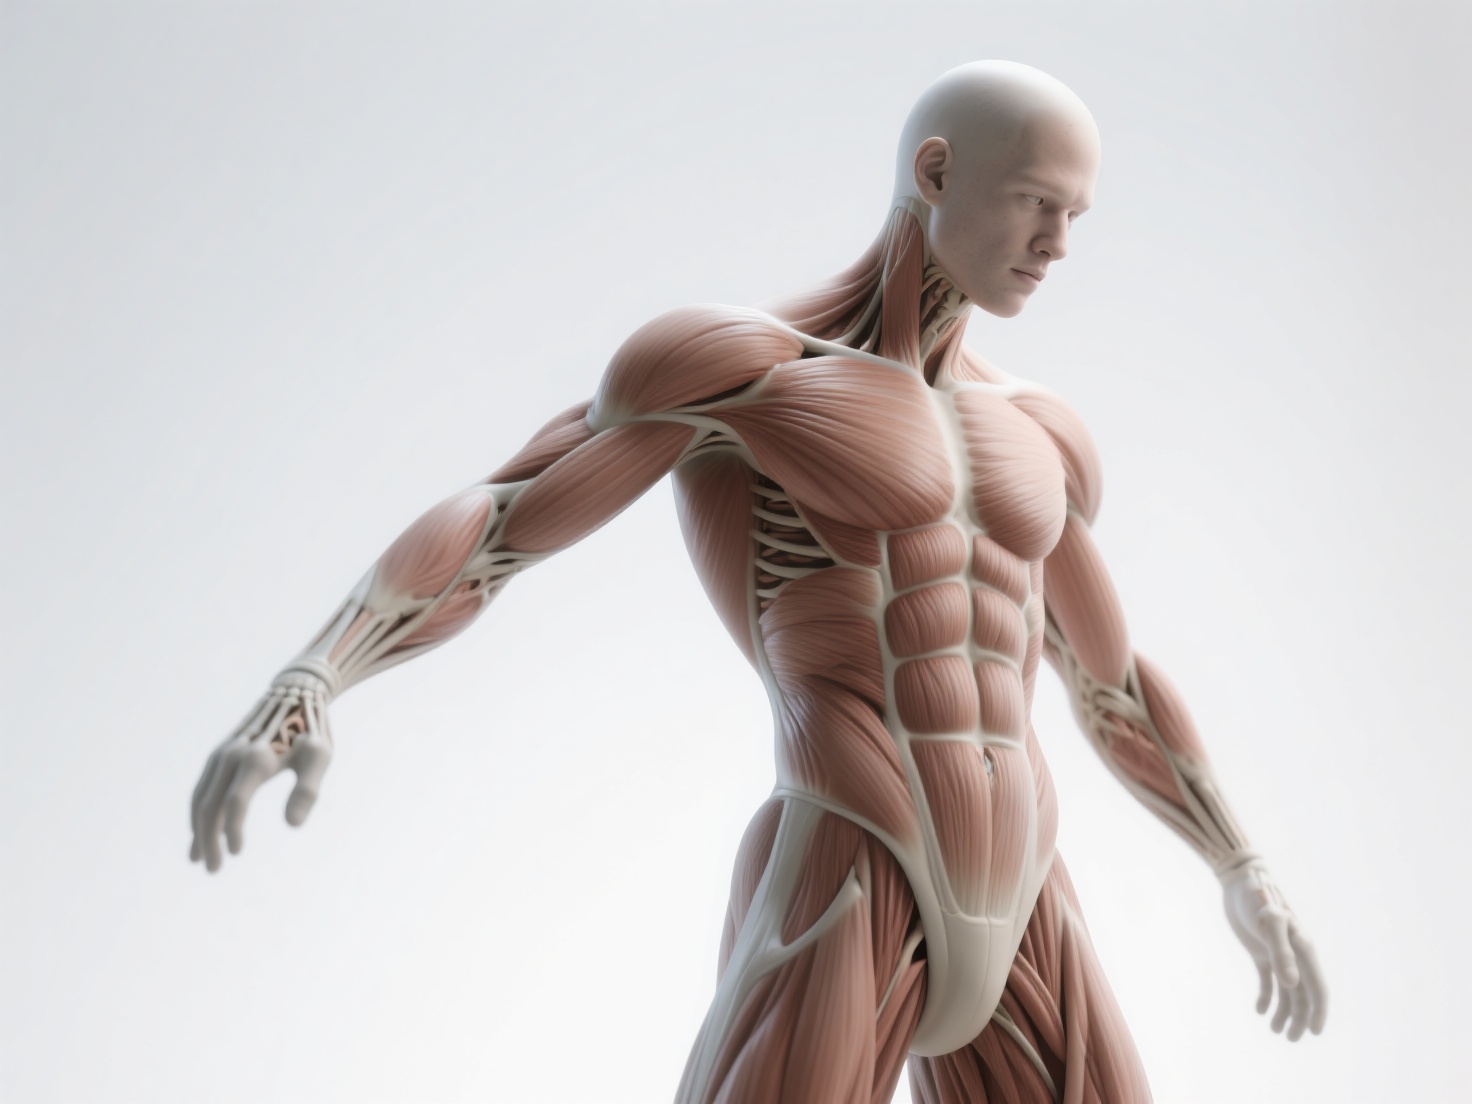
2. Major Muscle Groups
Muscles give your character dynamics, power, and contour. Rather than memorizing every single muscle, focus on the primary groups that affect the surface silhouette.
- Head & Neck: The sternocleidomastoid is the most prominent neck muscle, forming a V-shape from behind the ear to the collarbone. It defines the twist and turn of the head.
- The Torso: The pectorals (chest) and latissimus dorsi (back) create the V-taper of the upper body. The abdominals provide core structure, but remember they are curved, not flat blocks.
- The Arms: Pay attention to how the deltoids (shoulders) weave into the pectorals. The interlocking of the biceps, triceps, and brachialis gives the arm its distinct mechanical shape.
- The Legs: The quadriceps on the front of the thigh consist of four sweeping muscles that define the leg’s power, while the calf muscles (gastrocnemius) create the iconic diamond shape on the lower leg.
3. Fat Distribution and Skin Behavior
A common mistake in character anatomy sculpting is creating characters that look like they lack skin, appearing “shrink-wrapped” around their muscles. Believable organic forms require the presence of subcutaneous fat and skin thickness.
Fat softens muscle definition and collects in specific areas depending on gender and body type, such as the lower abdomen, thighs, and buttocks. Furthermore, skin reacts to gravity. Recognizing how skin folds, stretches, and droops adds immense realism, especially for older characters.
4. Proportions, Gender Differences, and Age Variations
Proportion is the relationship between different parts of the body. While the “8-head proportion” is popular in heroic comic art, realistic human anatomy 3D usually aligns closer to 7.5 heads tall.
Understanding variations is just as critical as knowing the baseline rules:
| Attribute | Male Anatomy Characteristics | Female Anatomy Characteristics |
|---|---|---|
| Skeletal Width | Broader shoulders (clavicle), narrower pelvis. | Narrower shoulders, broader pelvis (iliac crest). |
| Muscle Mass | Generally sharper, more angular muscle definition. | Softer transitions with more prominent subcutaneous fat. |
| Center of Gravity | Higher in the chest/shoulders. | Lower, typically around the hips. |
| Age Variations | Muscle mass decreases, cartilage (ears/nose) continues to grow, skin loses elasticity causing folds and wrinkles. | Similar loss of elasticity; fat redistributes, facial structure becomes hollower as bone mass subtly decreases. |
Practical Applications: Bringing Anatomy into Your Workflow
Understanding anatomy isn’t just for modeling humans; it applies universally to all character and creature creation.
Translating Human Anatomy to Creatures
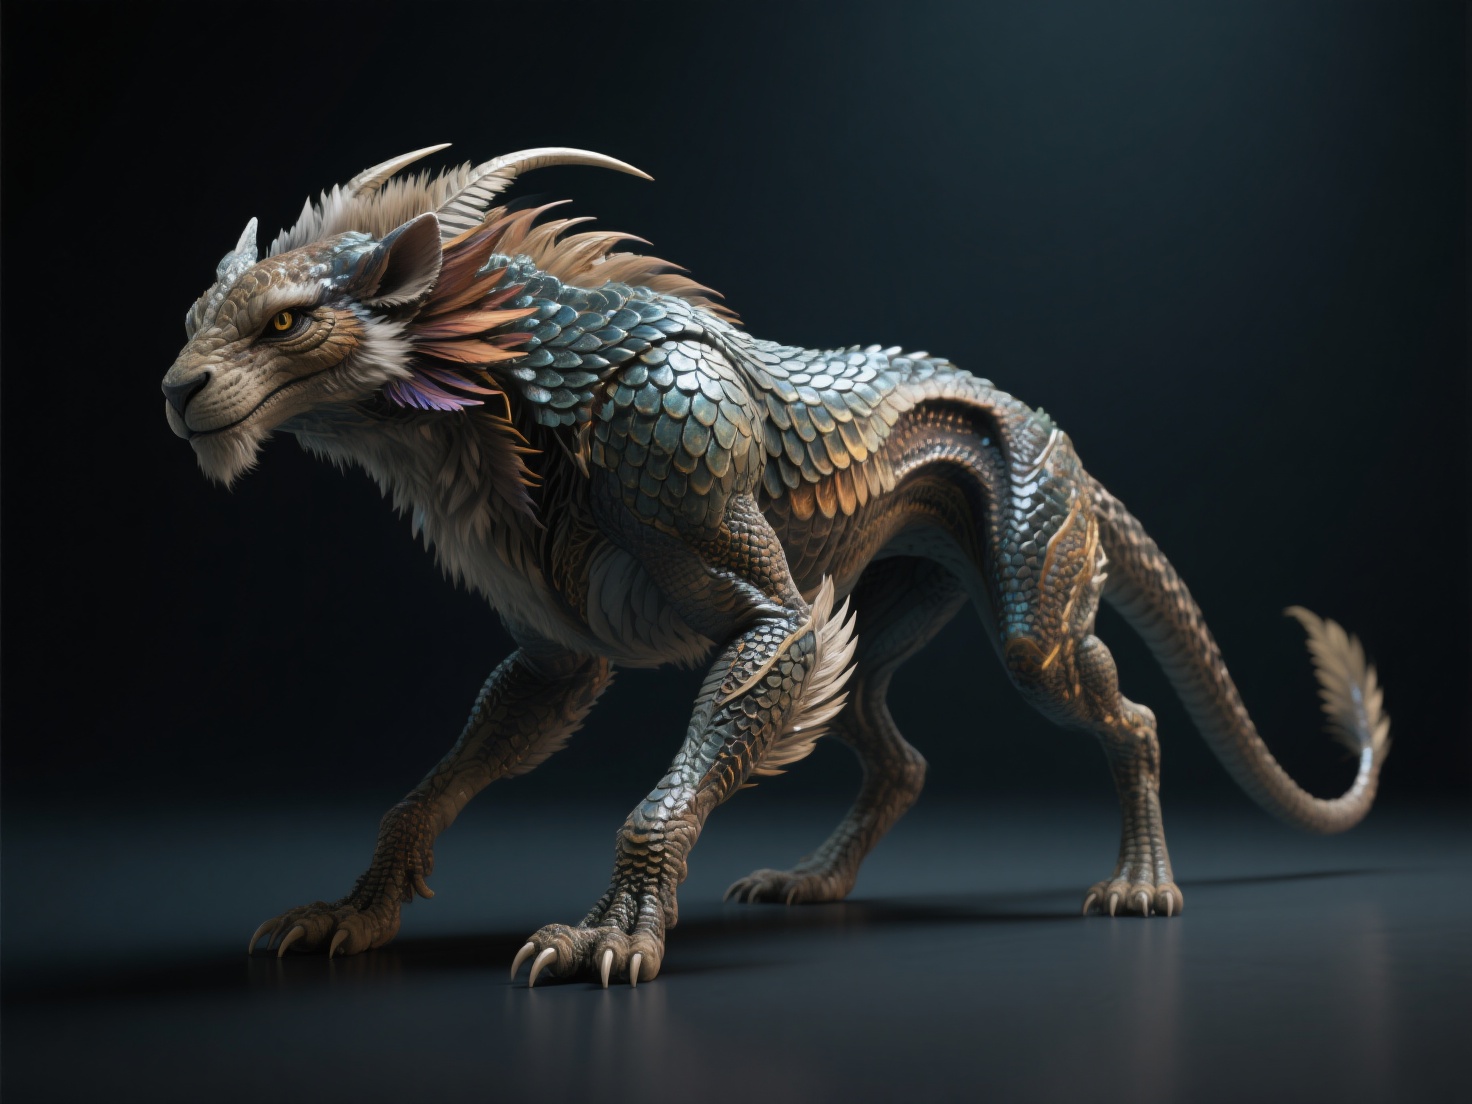
If you want to sculpt a believable dragon, werewolf, or alien, you must start with comparative anatomy. The wings of a bat or dragon are structurally identical to human hands, complete with a humerus, radius, ulna, and elongated phalanges (fingers). By applying human anatomy principles to fantastical creatures, you ground them in reality, making them instantly more believable to the viewer’s eye.
AI-Assisted Base Mesh Generation
Traditionally, starting a sculpt from a primitive sphere to establish base anatomical proportions is a daunting and time-consuming process. Today, smart artists use AI to accelerate their workflows.
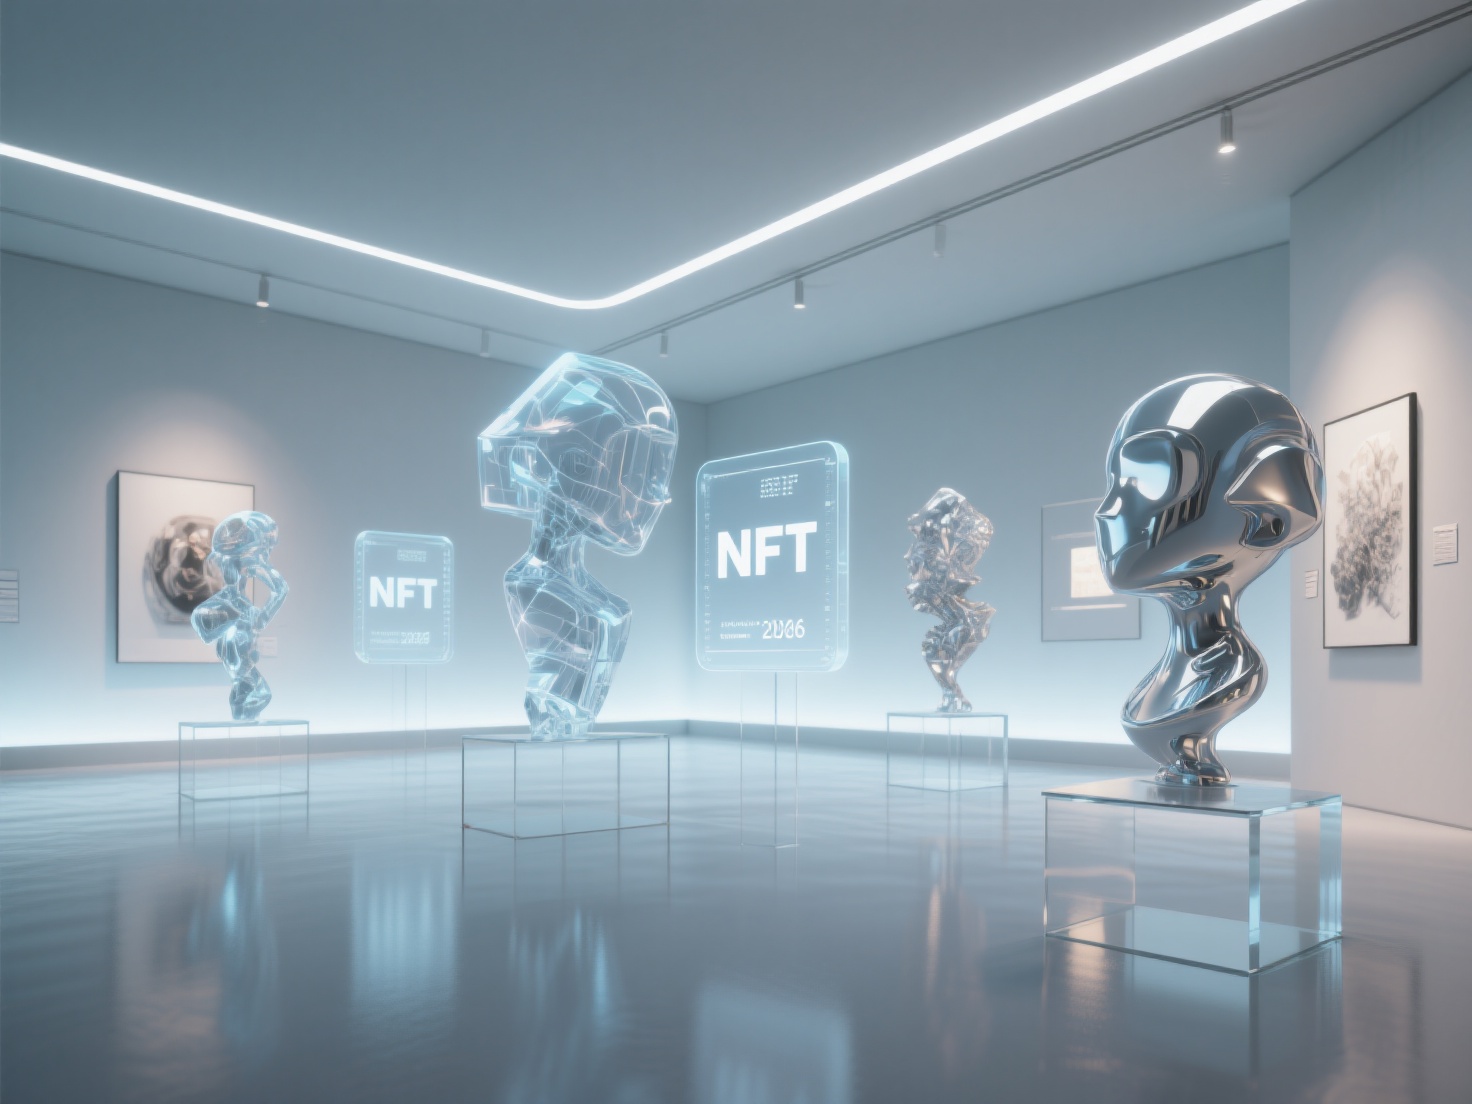
This is where Hitem3D becomes an invaluable asset for character sculptors. Hitem3D is a next-generation AI-powered 3D model generator that transforms 2D concept art or real-world reference photos into high-fidelity, production-ready 3D models.
Instead of spending hours blocking out a base mesh to get the basic head-to-body proportions right, you can simply upload a reference image of an ecorché (muscle model) or a human subject. Powered by the in-house Sparc3D model, Hitem3D delivers high precision and clean geometry. Crucially, its Invisible Parts technology automatically reconstructs hidden structures beyond the visible surfaces, giving you a geometrically accurate base model. You can then export this directly in OBJ or FBX format, import it into ZBrush or Blender, and immediately begin your high-res character anatomy sculpting.
Best Practices and Study Methods for 3D Artists
To continuously improve your anatomical sculpting skills, integrate these proven best practices into your routine:
- Work from Ecorché Models: Keep an ecorché (a model showing muscles without skin) on your desk or on a secondary monitor. It is the best way to understand how muscles wrap around bones.
- Practice Life Drawing: Traditional 2D figure drawing classes train your eyes to see weight, balance, and the gesture of the human form, which translates perfectly into 3D sculpting.
- Prioritize Form Over Detail: Never sculpt pores, wrinkles, or veins until your primary forms (silhouette and proportions) and secondary forms (muscle masses) are absolutely correct. High-frequency detail cannot hide bad anatomy.
- Break Symmetry Early: Humans are perfectly imperfect. Once you finish your primary anatomical block-out, turn off symmetry. Subtly shifting the weight, adjusting one shoulder slightly higher, or making facial features asymmetrical will breathe life into your character.
- Use High-Quality References: Gather references not just of bodybuilders, but of everyday people. PureRef is a great tool for organizing anatomy boards.
Conclusion & Next Steps
Mastering anatomy for 3D artists is a lifelong journey, but it is undoubtedly the most rewarding investment you can make in your character art career. By understanding the skeletal framework, respecting the flow of major muscle groups, and accounting for the natural behavior of fat and skin, you will elevate your 3D models from stiff mannequins to breathing, dynamic characters.
While studying the fundamentals takes time, executing your vision doesn’t have to be a slow grind. By utilizing advanced AI tools, you can bypass the tedious initial block-out phases and focus purely on the creative, artistic aspects of sculpting.
Are you ready to speed up your character creation workflow and generate geometrically accurate base meshes in seconds? Try the platform trusted by creators in over 50 countries, complete with a Free Retry system so you can iterate until it’s perfect.
Frequently Asked Questions (FAQ)
Q1: Do I need to memorize the names of all the muscles for character anatomy sculpting?
A: No. While knowing the medical terms (like latissimus dorsi or sternocleidomastoid) is helpful for finding references or communicating with other artists, understanding the shape, volume, and origin/insertion points of the muscles is far more important for a 3D artist.
Q2: What is the best software for sculpting human anatomy 3D?
A: ZBrush is widely considered the industry standard for organic character sculpting due to its powerful digital clay mechanics. However, Blender is a fantastic, free alternative that boasts incredibly robust sculpting tools suitable for professional anatomical work.
Q3: How long does it take to learn anatomy for sculptors?
A: Gaining a basic understanding of proportions and primary muscle groups can take a few months of dedicated study. However, mastering subtle anatomical nuances, fat distribution, and aging effects is a continuous, ongoing process that artists refine throughout their entire careers.
Q4: Can AI really help with 3D character anatomy?
A: Yes! AI tools like Hitem3D excel at rapidly converting 2D references into 3D base meshes. While AI won’t replace the artist’s need to understand anatomy for final detailing and rigging topology, it drastically reduces the time spent on the initial proportion block-out phase.