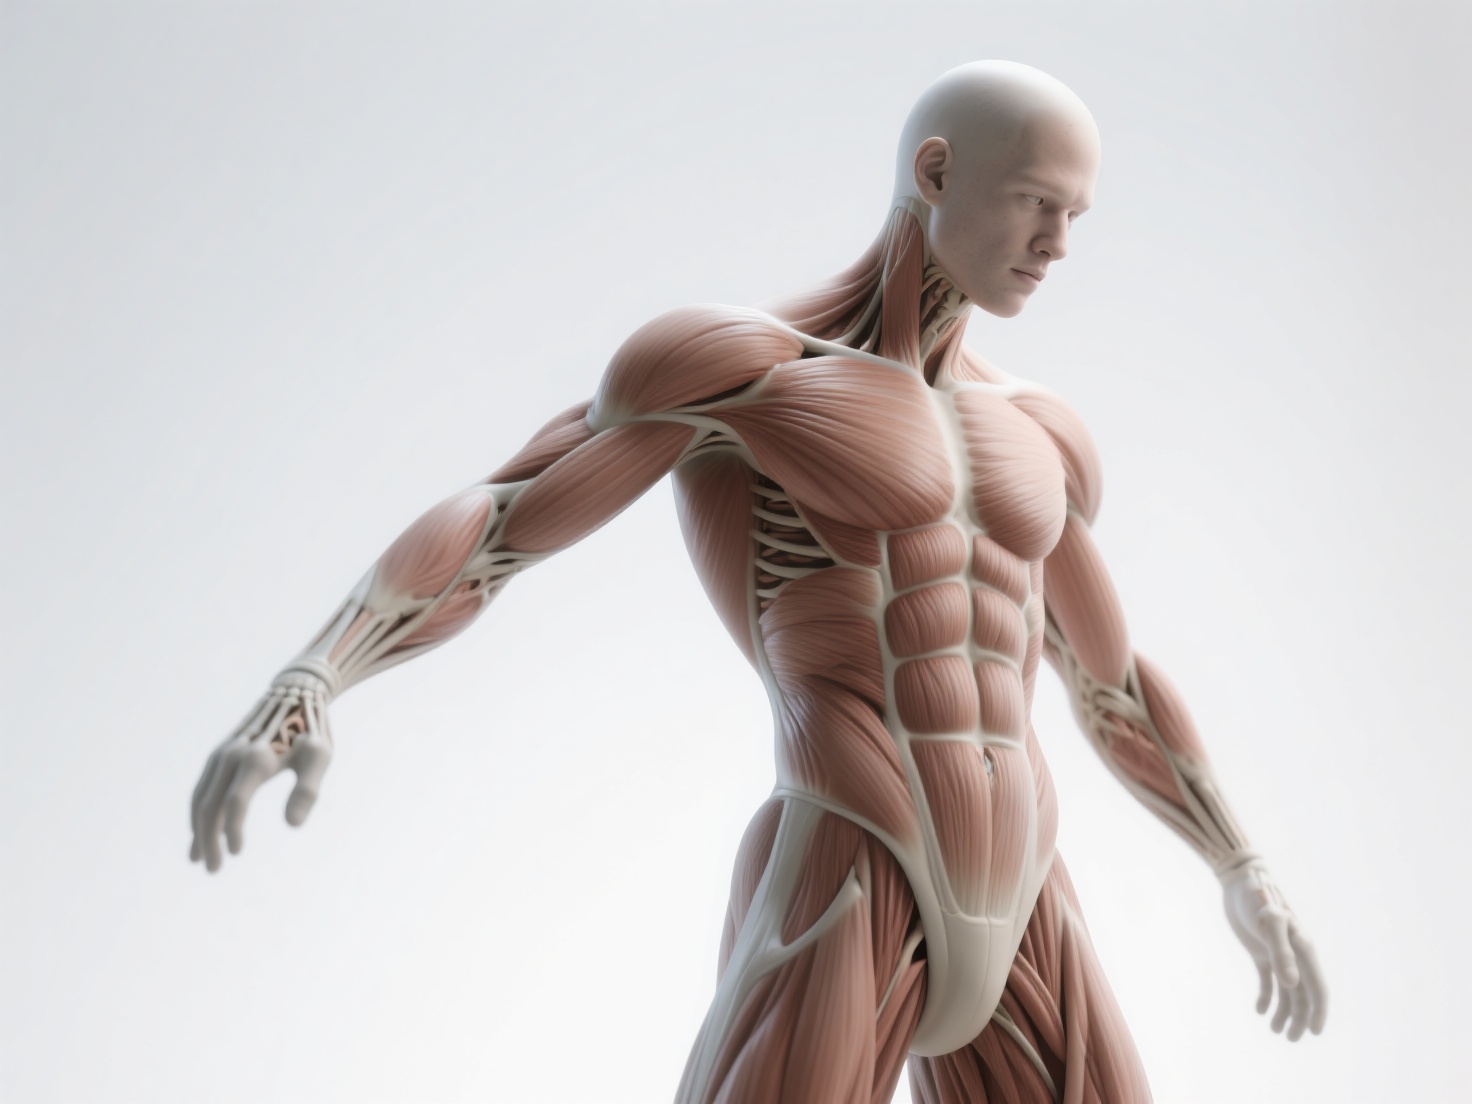
For digital sculptors and 3D artists, there is nothing quite as magical as holding your creation in your hands. The transition from a glowing screen to a tangible physical object bridges the gap between digital imagination and traditional craftsmanship. However, learning how to 3D print sculpture models involves a completely different skill set than digital sculpting in software like ZBrush or Blender.
From non-manifold geometry to structural failures, the journey from screen to reality is filled with technical hurdles. Whether you want to create tabletop miniatures, large-scale gallery busts, or multi-colored designer toys, this comprehensive sculpture 3D printing guide will walk you through every step. We will cover how to perfectly prepare, slice, print, and finish your artwork.
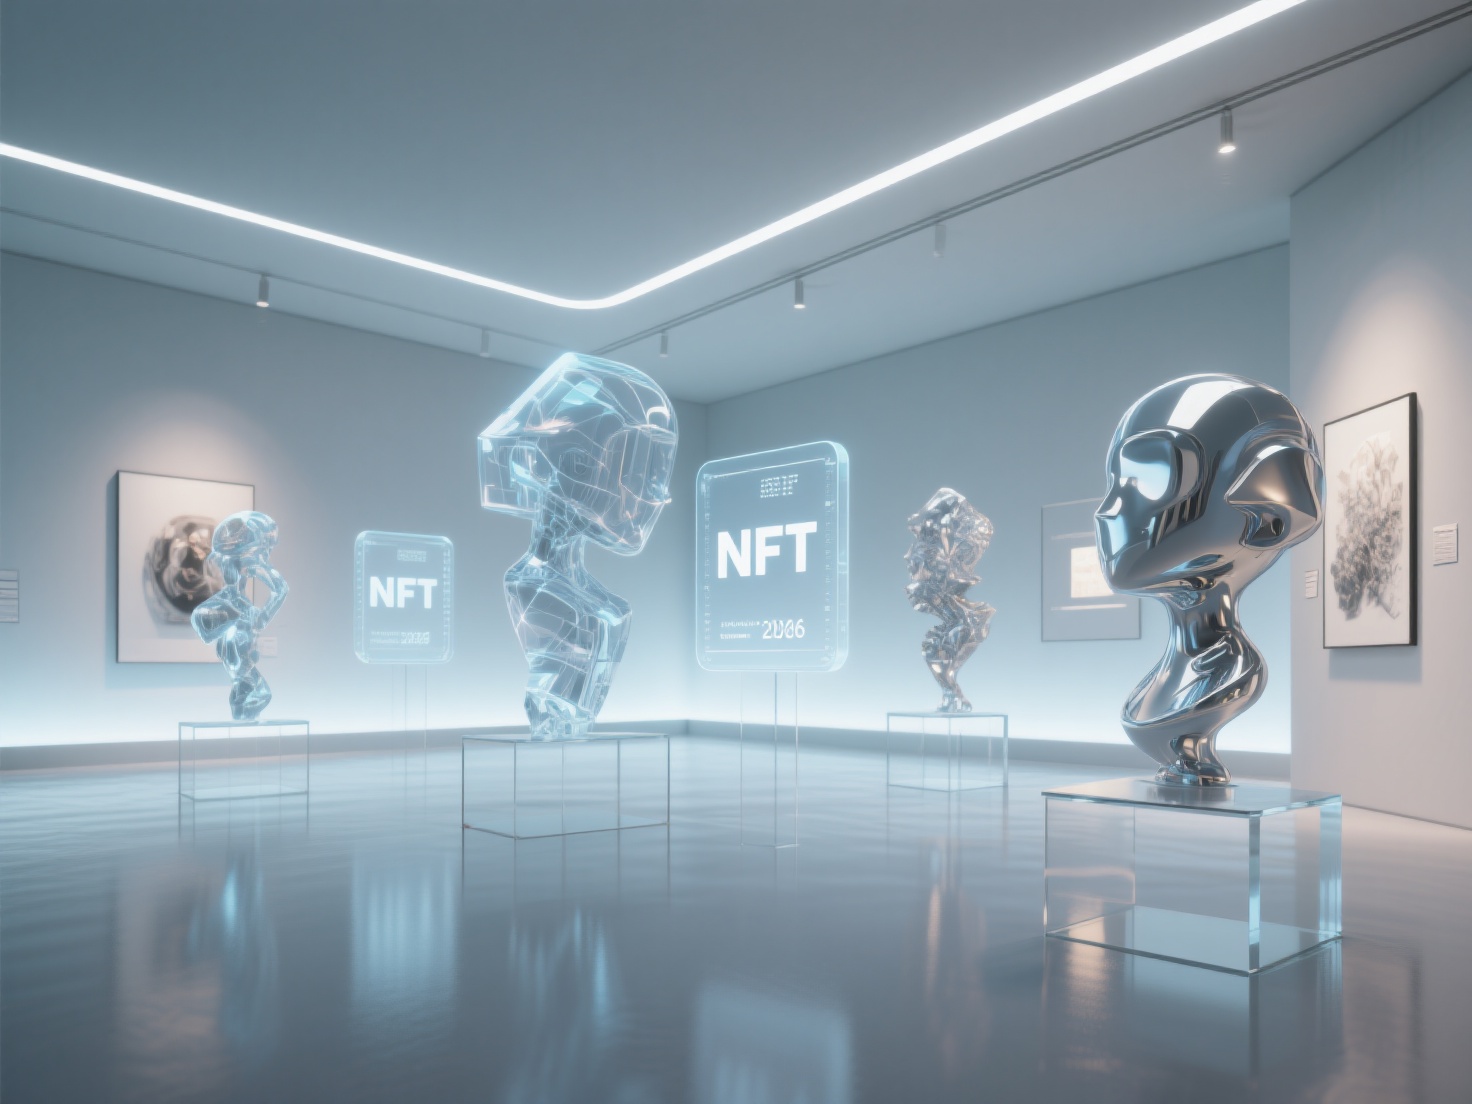
What is 3D Printing Art?
To print digital sculpture means using additive manufacturing technologies to transform a computer-generated 3D model into a physical object, layer by layer. In the context of art, 3D printing serves as both an end medium for finished pieces and a transitional tool for creating master patterns, which are later cast in traditional materials like bronze or resin.
Preparing Your Digital Sculpture for Printing
A model that looks stunning on a screen might be a nightmare for a 3D printer. Digital art relies on visual surfaces, while physical art requires structural integrity. Here is how to prepare your file.
1. Making the Mesh Watertight
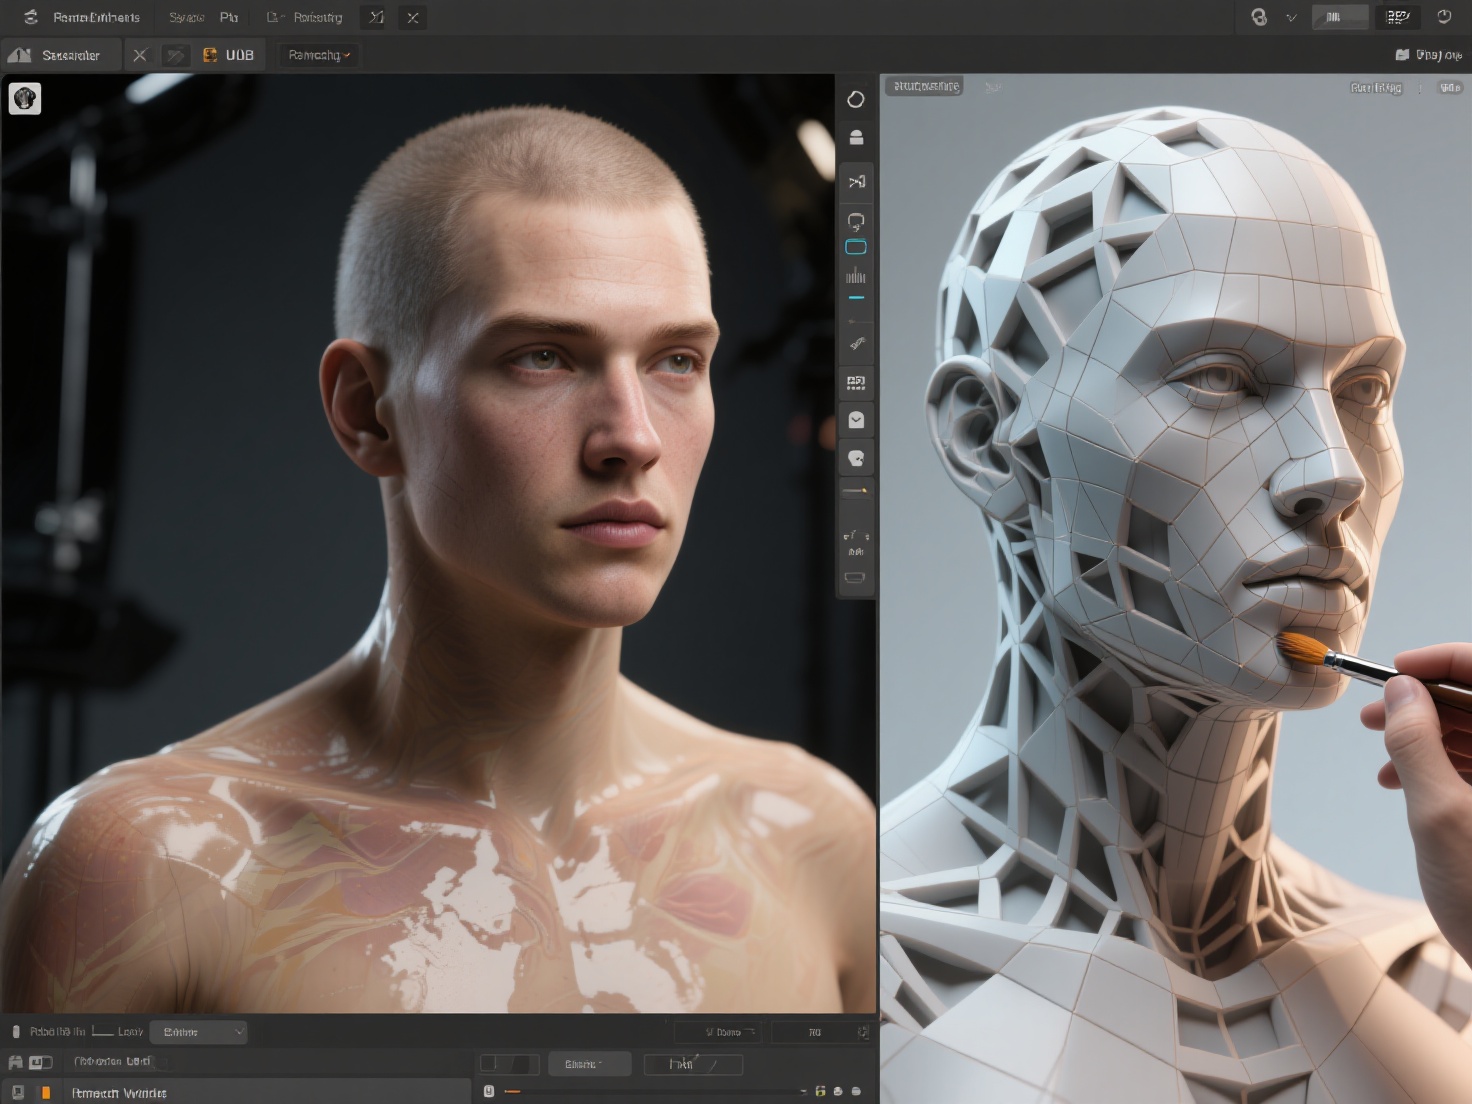
For a printer to understand your model, the geometry must be “watertight” or manifold. This means your 3D mesh must be a continuous, closed surface with no holes, overlapping faces, or internal geometry. If you were to fill the digital model with virtual water, it shouldn’t leak. Most 3D software includes tools to automatically merge vertices and close holes to ensure a solid volume.
2. Wall Thickness and Hollowing
If you are using a resin printer, printing a solid block of cured resin is expensive, heavy, and prone to cracking due to shrinkage. To avoid this, artists must hollow their models.
- Wall Thickness: Aim for a uniform wall thickness of 1.5mm to 3mm, depending on the scale of the sculpture.
- Drain Holes: You must add holes at the lowest points of the model to allow un-cured liquid resin to escape and prevent suction cup forces from ripping the print off the build plate.
3. Choosing the Right File Formats
When exporting your sculpture, you will typically choose between two primary formats:
- STL (Standard Tessellation Language): The most common format for 3D printing. It strictly saves the surface geometry as a series of triangles.
- OBJ: Similar to STL but capable of retaining texture and color data, making it useful for full-color printing processes.
- GLB / USDZ: Next-generation formats that are increasingly supported by modern slicers for preserving high-fidelity textures.
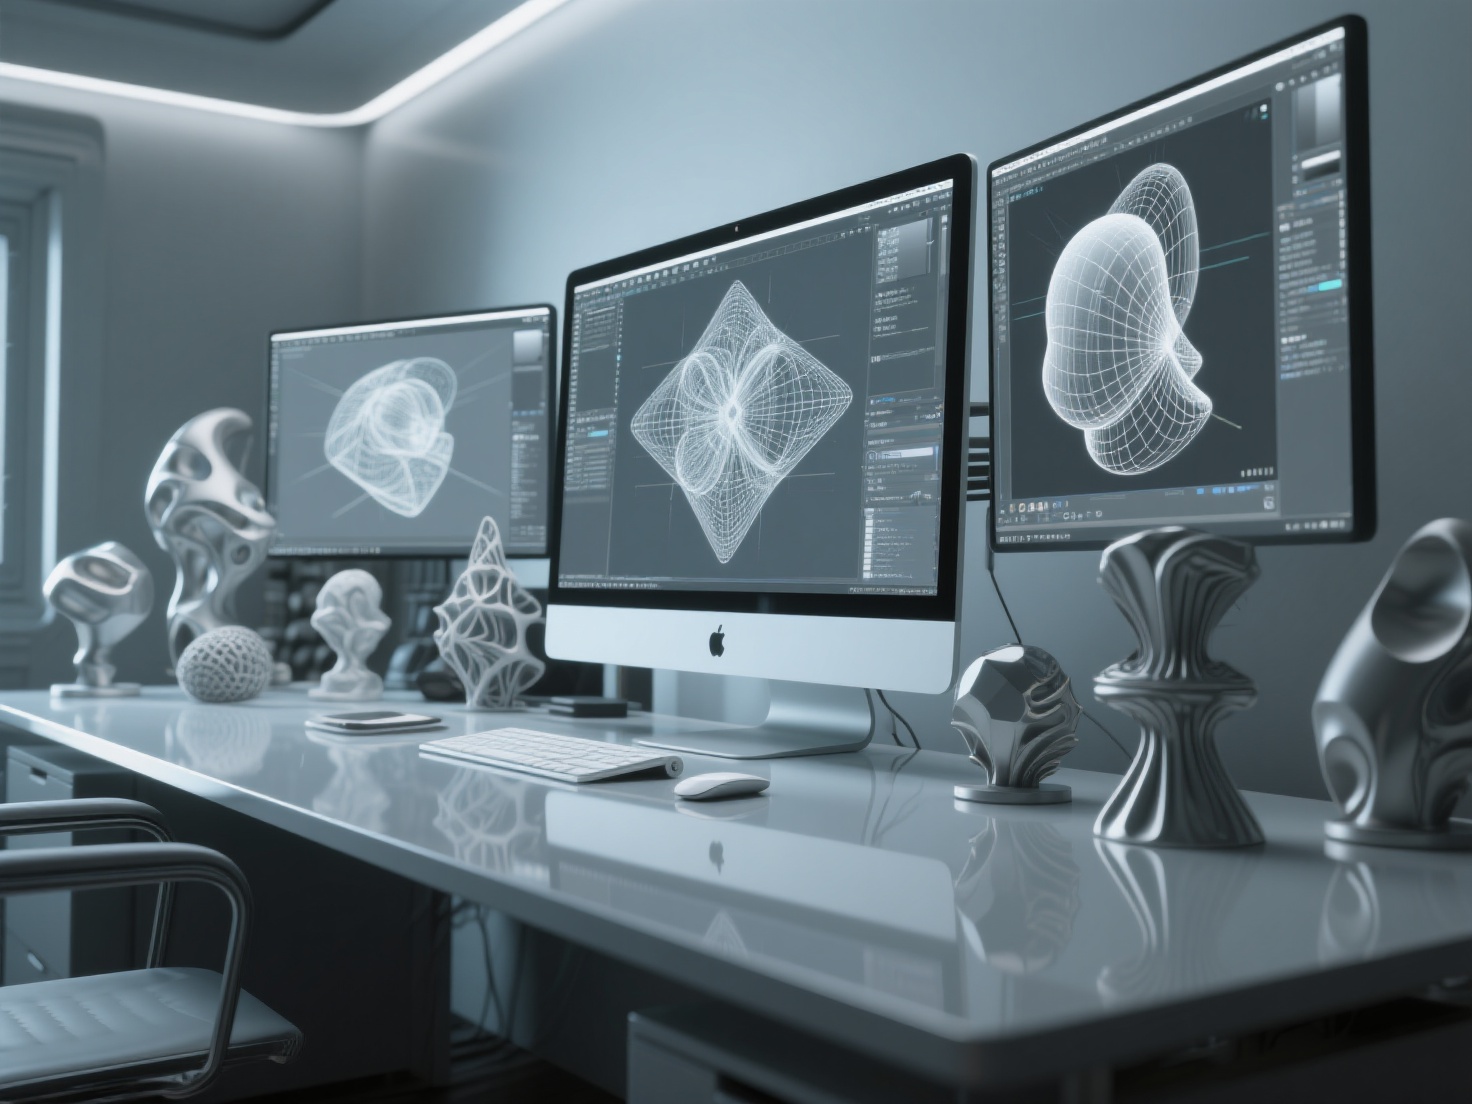
Pro Tip: Generating clean, printable geometry from concept art used to take days. Today, artists use AI tools like Hitem3D to jumpstart their workflow. Powered by its Sparc3D model, Hitem3D can take a 2D sketch and generate print-ready geometry with sharp edges. It even features “Invisible Parts technology” that reconstructs hidden structures, giving artists a structurally sound base model instantly.
Choosing the Right Printer: FDM vs. Resin
The success of your 3D printing art heavily depends on the technology you choose. Sculptors generally choose between FDM (Fused Deposition Modeling) and Resin (SLA/DLP) printing.
| Feature | FDM (Filament) | Resin (SLA/DLP/LCD) |
|---|---|---|
| Best For | Large sculptures, busts, geometric art | Miniatures, highly detailed organic sculpts |
| Resolution | Medium (Layer lines are often visible) | Extremely High (Near-invisible layer lines) |
| Materials | PLA, ABS, PETG, TPU | Standard, Tough, Castable Resin |
| Post-Processing | Sanding, filling, easy support removal | Washing in IPA, UV curing, careful support snipping |
| Cost / Volume | Low material cost, large build volumes | Higher material cost, smaller build volumes |
Slicing, Orientation, and Support Strategies
Once your model is prepped, you must import it into “slicer” software (such as Bambu Studio, OrcaSlicer, or Chitubox) to generate the toolpath for the printer.
Optimal Orientation
Never print a sculpture exactly as it stands digitally. Tilting your model backward by 30 to 45 degrees is standard practice for resin printing. This minimizes the cross-sectional area of each layer, reducing the peel force that can cause the print to fail. For FDM printing, orient the model to hide layer lines on the most important viewing angles (like a character’s face).
Mastering Support Structures
Organic shapes like flowing hair, outstretched arms, or intricate clothing require supports to defy gravity during the printing process.
- Tree Supports: For FDM printers, tree supports (or organic supports) are highly recommended for sculptures. They branch out around the model, touching only where necessary, leaving fewer scars.
- Resin Supports: Use light supports for delicate details (fingers, hair) and heavy supports for the lowest anchor points of the sculpture.
Workflow Hack: If you are using multi-color FDM printers, assigning colors to different parts of a complex model is tedious. Platforms like Hitem3D offer Multi-Color Model Segmentation, instantly splitting your model into clean color regions. Even better, it provides one-click direct send to Bambu Studio and OrcaSlicer, streamlining the entire slicing phase.
Post-Processing: Bringing Your Art to Life
Printing is only half the battle. The magic of 3D printing art truly happens during post-processing.
1. Cleaning and Curing (Resin)
Resin prints must be washed in Isopropyl Alcohol (IPA) to remove uncured liquid. Once dry, carefully snip away the supports using flush cutters. Do not rip them off, as this will tear chunks out of the sculpture. Finally, cure the model in a UV chamber to achieve its final hardness.
2. Sanding and Filling (FDM)
To eliminate FDM layer lines, start by sanding the model with 120-grit sandpaper, gradually moving up to 400-grit. Use a high-build filler primer spray to fill the microscopic gaps. Sand and prime repeatedly until the surface is as smooth as glass.
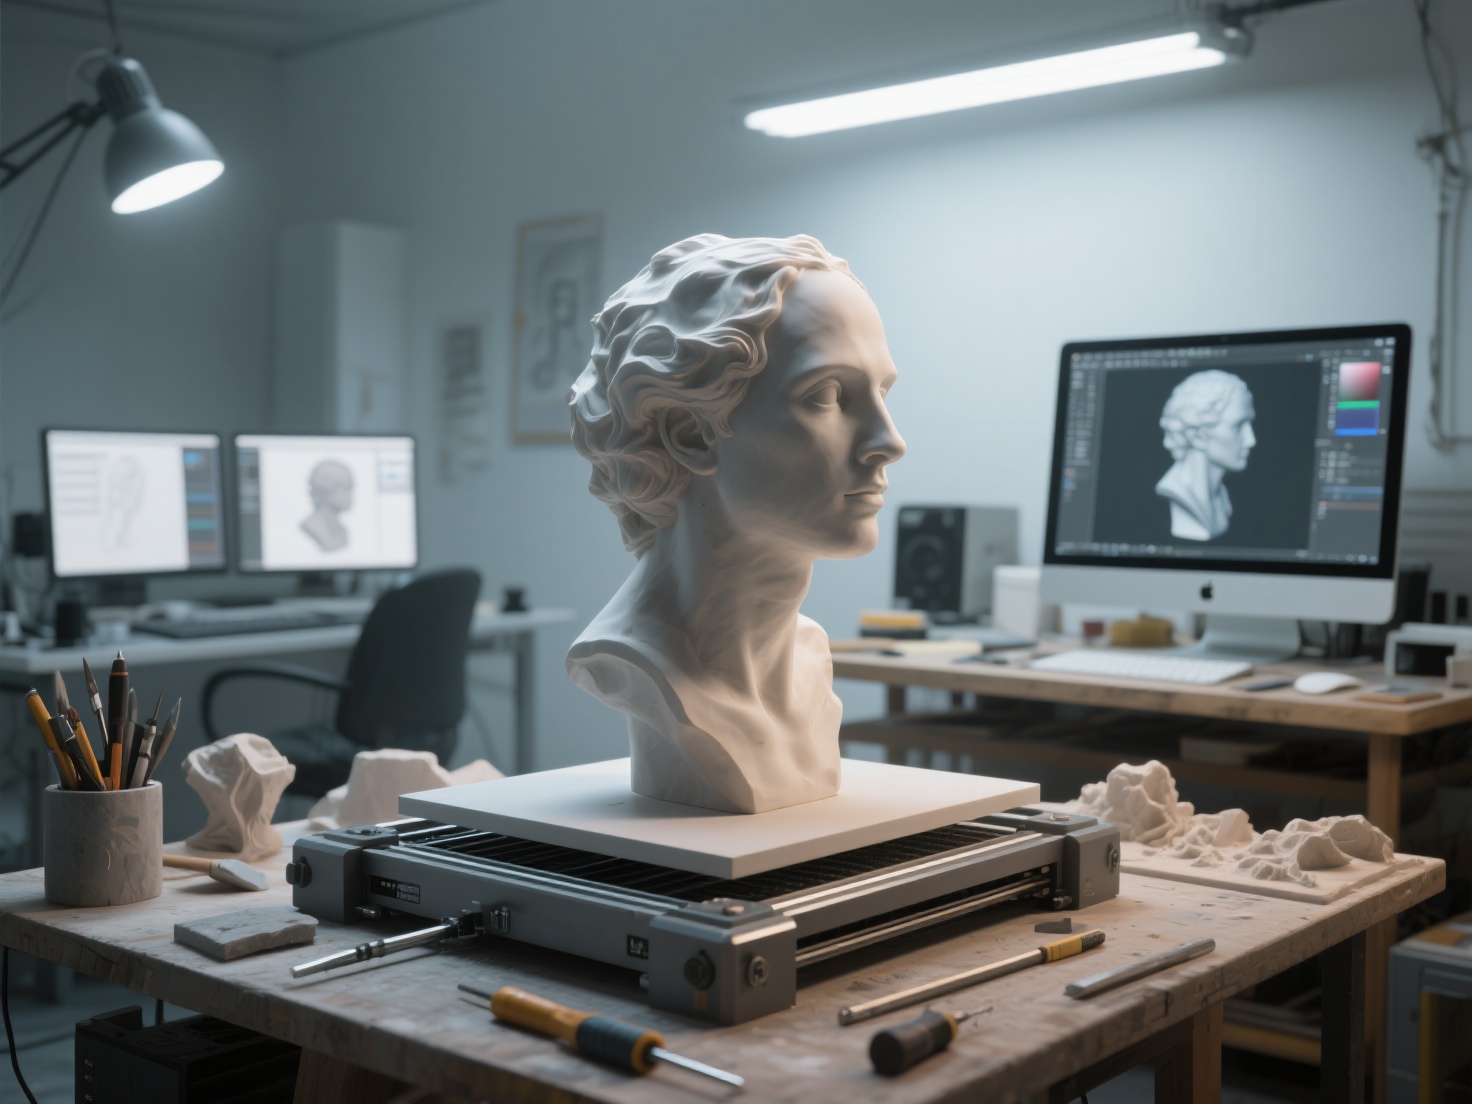
3. Painting and Casting
Once primed, your sculpture is a blank canvas. You can use acrylic paints, airbrushing, or dry-brushing techniques to bring the character to life. Alternatively, you can use the 3D print as a “master pattern.” By encasing the 3D print in silicone, you can create a mold to cast the sculpture in traditional materials like bronze, clear epoxy, or plaster.
Best Practices for a Flawless Print
To ensure your artistic vision translates perfectly to the physical realm, follow these essential tips:
- Exaggerate Deep Details: 3D printing tends to soften incredibly fine details. Exaggerate deep cuts, wrinkles, and textures in your digital sculpt slightly more than you would for a digital render.
- Cut Models for Large Prints: If your sculpture is larger than your build plate, use “Boolean” tools to slice the model into manageable pieces. Add registration pegs (keys) so the pieces fit back together perfectly during assembly.
- Explore 3D Reliefs: Not all sculptures need to be fully 3D. Bas-relief art is incredible for physical framing and wall art. AI tools like Hitem3D have a dedicated 3D Relief feature that converts 2D images into layered depth models with smooth transitions, ideal for CNC carving or flat 3D printing.
Conclusion: Bridge the Gap Between Digital and Physical
Learning to print digital sculpture opens up a whole new world for digital artists, allowing you to monetize physical art, prototype toy designs, or simply admire your creations on your desk. By mastering watertight geometry, smart slicing, and patient post-processing, you can elevate raw plastic and resin into gallery-worthy art pieces.
If you want to drastically reduce the time spent modeling base meshes or fixing broken topology, integrating AI into your workflow is the next logical step. Hitem3D is a next-generation 3D model generator that transforms 2D images into high-fidelity, production-ready 3D models. Built on the high-precision Sparc3D model, it delivers print-ready geometry up to 1536³ Pro resolution (2M polygons).
With features like invisible parts reconstruction, automatic color segmentation, and seamless export to Bambu Studio and OrcaSlicer, Hitem3D handles the technical heavy lifting—allowing you to focus entirely on your art. Plus, with the Free Retry system, you can regenerate results until they perfectly match your vision.
Ready to bring your digital art into the physical world?
Frequently Asked Questions (FAQ)
What is the best material to 3D print sculpture?
For highly detailed tabletop miniatures or fine art, UV-curing Resin is the best choice due to its incredible resolution. For life-size busts or very large structural pieces, FDM printing with PLA or PETG is more cost-effective and durable.
Do I need a powerful computer to prepare digital sculptures for 3D printing?
While sculpting high-polygon models in software like ZBrush requires a robust PC, preparing and slicing optimized models for printing can be done on mid-range computers. Using cloud-based AI generation tools like Hitem3D also offloads the heavy processing to the cloud.
How do I smooth out layer lines on my 3D printing art?
For FDM prints, use a combination of sanding and automotive filler primer. Spray a coat of primer, let it dry, sand it down, and repeat until the layer lines vanish. For resin prints, layer lines are usually negligible, but a light pass with fine-grit sandpaper ensures a flawless painting surface.
Can I 3D print a 2D painting or drawing?
Yes! You can convert 2D artwork into 3D bas-relief sculptures. Using specialized AI tools, you can generate layered depth maps from 2D images, creating a textured, physical representation of a flat painting that is ready for 3D printing.