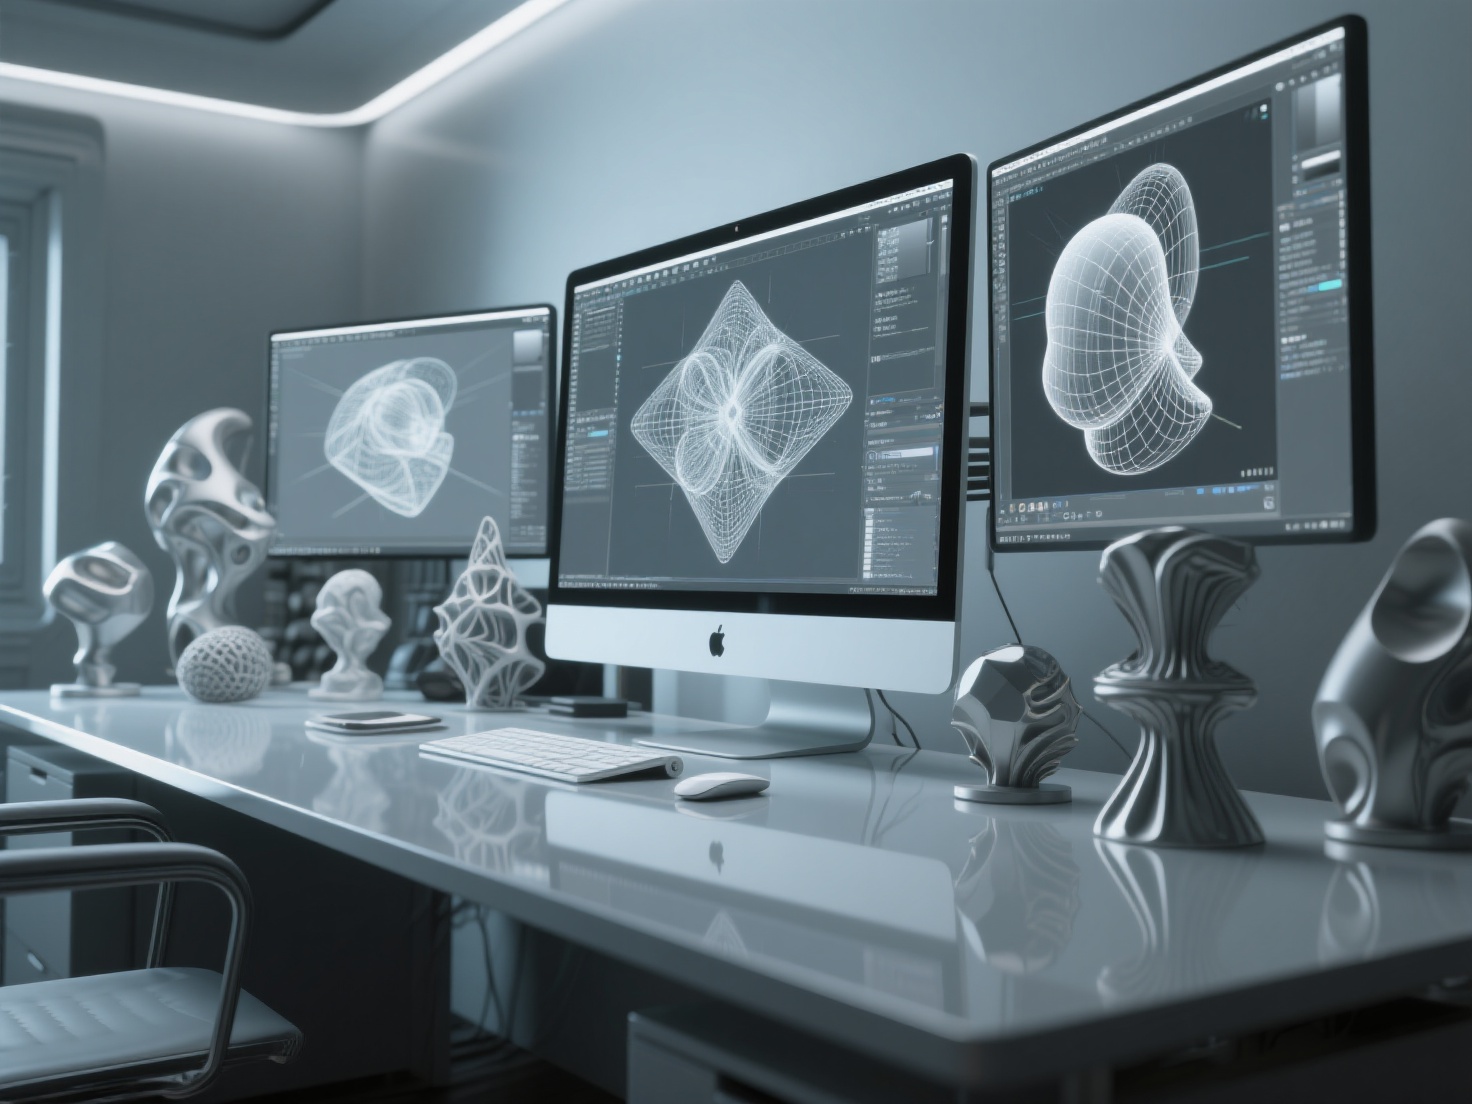
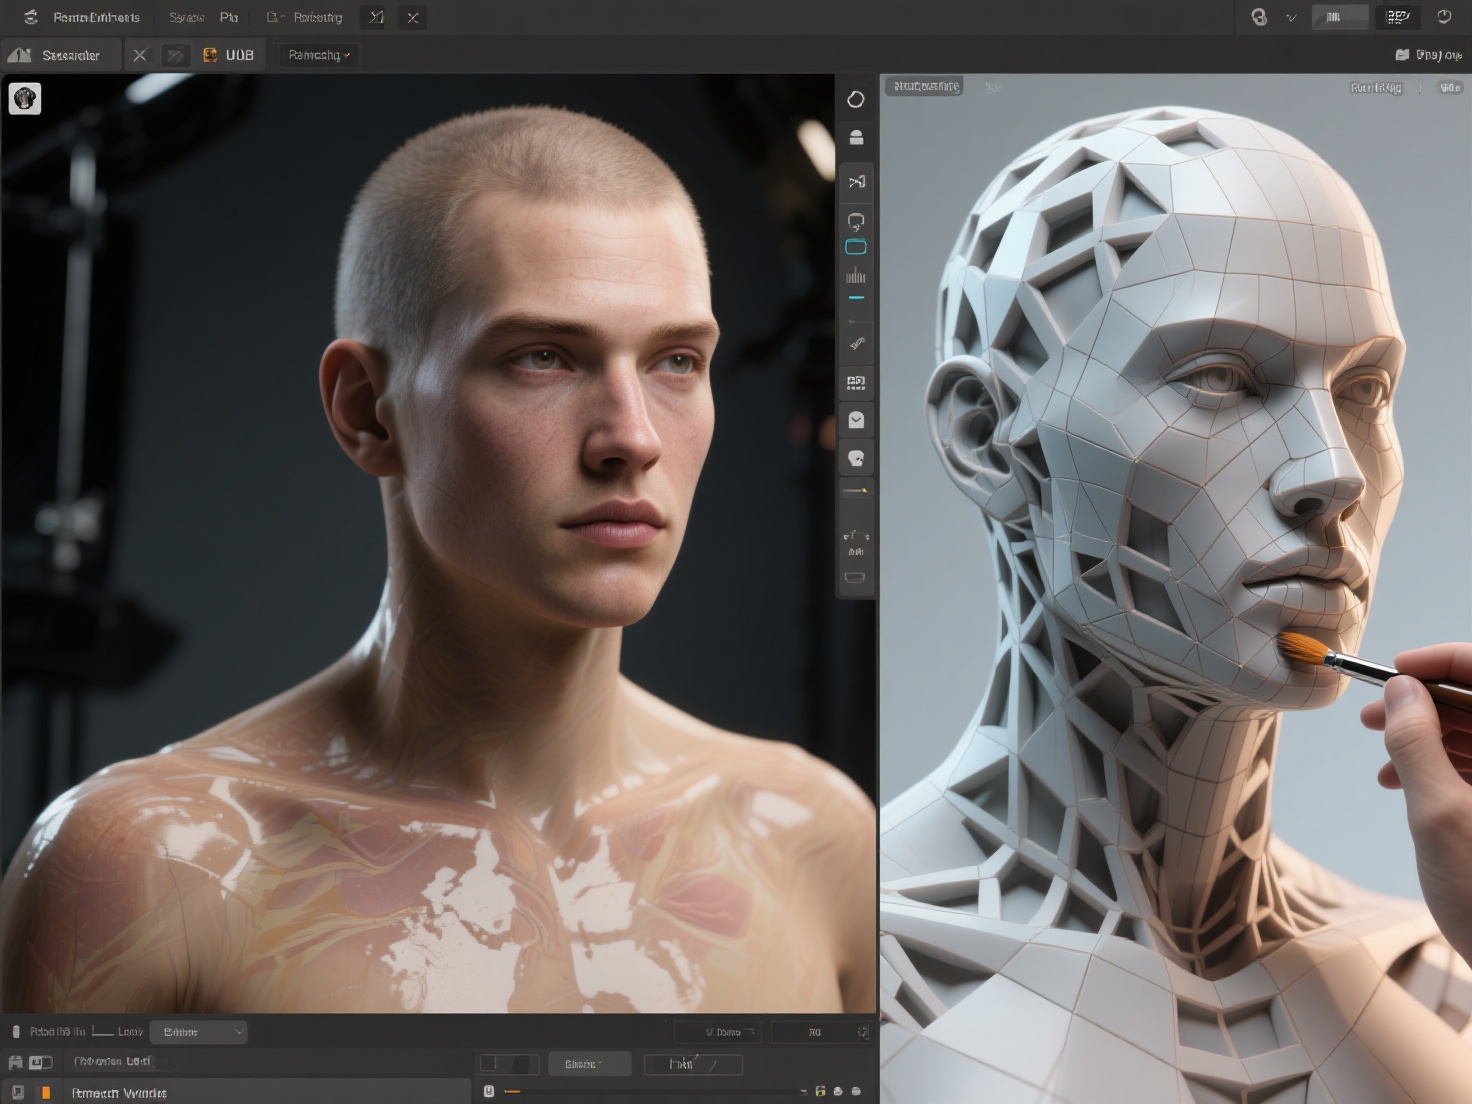
For digital artists, character designers, and 3D generalists, choosing the right software can dramatically impact both creative output and production speed. In the ongoing search for the best sculpting software, one debate consistently dominates industry forums and studio discussions: ZBrush vs Blender.
Both programs are incredibly powerful, yet they approach the art of 3D creation from fundamentally different angles. ZBrush has long reigned as the undisputed king of high-detail digital clay, while Blender has evolved into an unstoppable, all-in-one open-source powerhouse.
If you are a 3D artist trying to decide where to invest your time and money, or a studio considering a pipeline switch, this comprehensive digital sculpting tools comparison is for you. Let’s dive deep into the features, performance, and use cases of ZBrush vs Blender sculpting to help you determine which software is the perfect fit for your workflow.
What is Digital Sculpting?
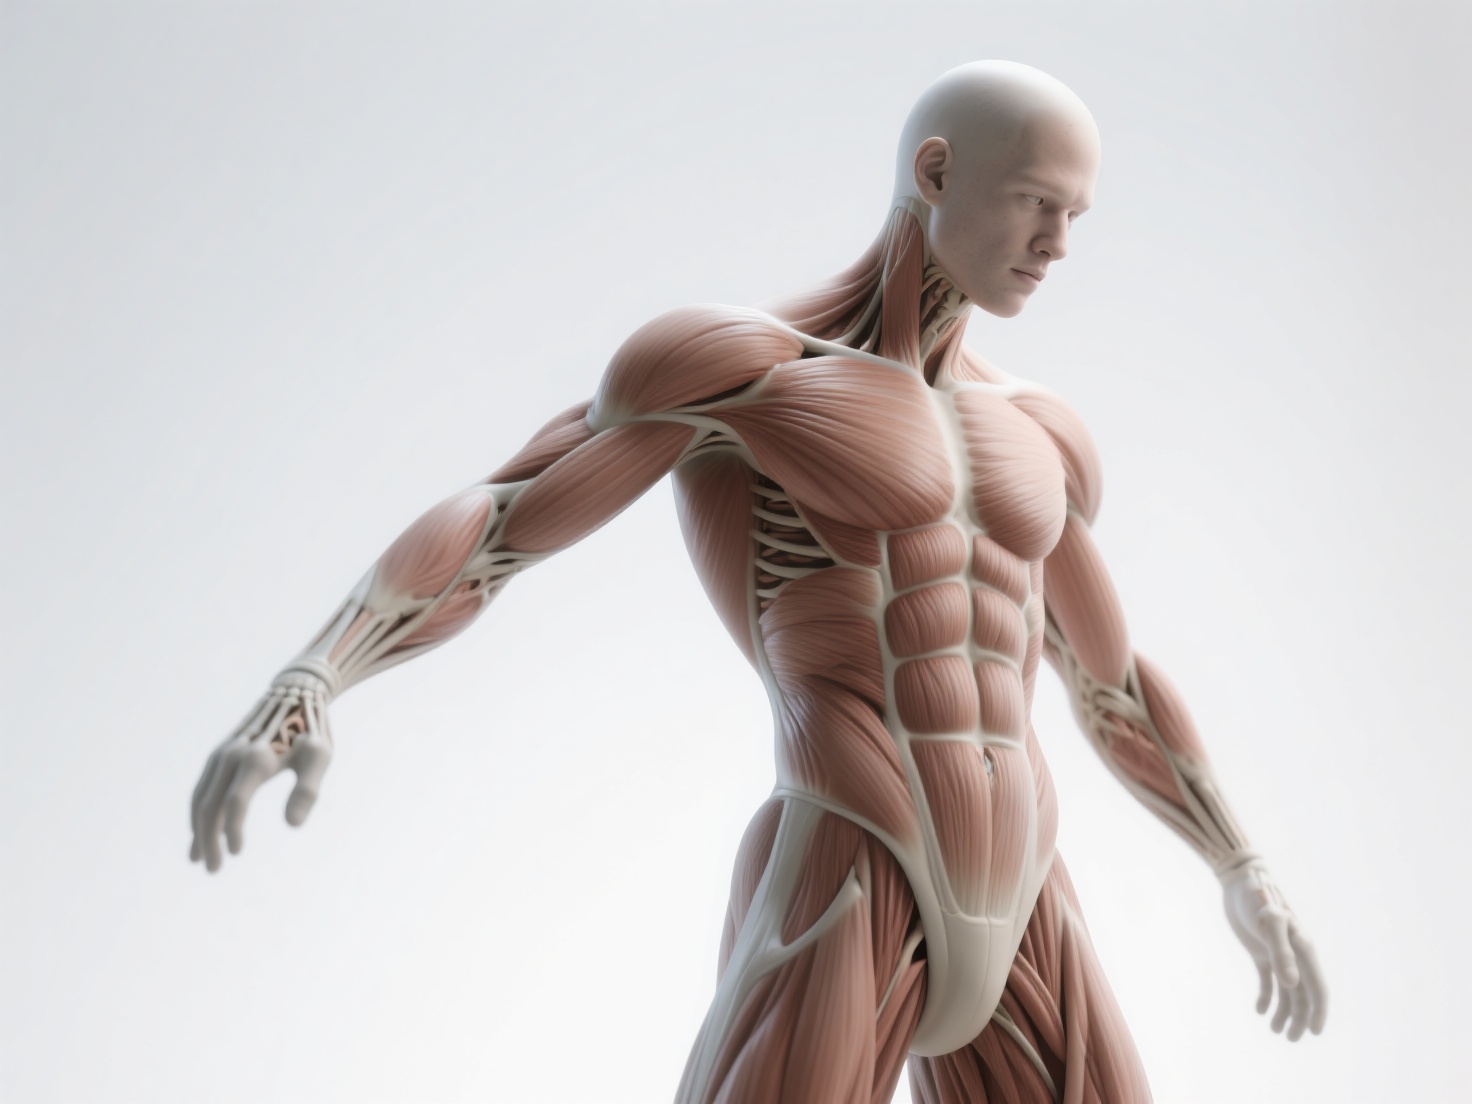
Digital sculpting is the process of manipulating a digital object as if it were made of real-life clay, using software brushes and tools to push, pull, smooth, and pinch the geometry to create highly detailed 3D assets.
Unlike traditional polygonal modeling—which relies on manipulating individual vertices, edges, and faces—sculpting allows artists to work organically. It is the go-to method for creating organic characters, intricate monsters, detailed clothing folds, and complex environmental assets.
- ZBrush, developed by Pixologic (now owned by Maxon), is a specialized digital sculpting and painting program that revolutionized the 3D industry with its proprietary “pixol” technology.
- Blender is a free, open-source 3D creation suite that covers the entirety of the 3D pipeline—modeling, rigging, animation, simulation, rendering, and of course, a rapidly improving digital sculpting toolset.
ZBrush vs Blender Sculpting: Core Features Compared
To make an informed decision, we must break down the core pillars of a digital sculptor’s workflow. Here is how the two heavyweights compare.
1. Performance and Polygon Count Limits
When it comes to handling dense geometry, ZBrush is the undisputed champion. Thanks to its unique engine, ZBrush can easily handle subtools with tens of millions of polygons on a standard computer without noticeable lag. This allows artists to sculpt microscopic details, like skin pores, wrinkles, and fabric textures, directly onto the mesh.
Blender, while vastly improved in recent updates, relies on traditional 3D space calculations. It can handle several million polygons comfortably, but pushing past the 10–15 million polygon mark often results in viewport lag and performance drops. For hyper-realistic cinematic character detailing, ZBrush holds a clear advantage.
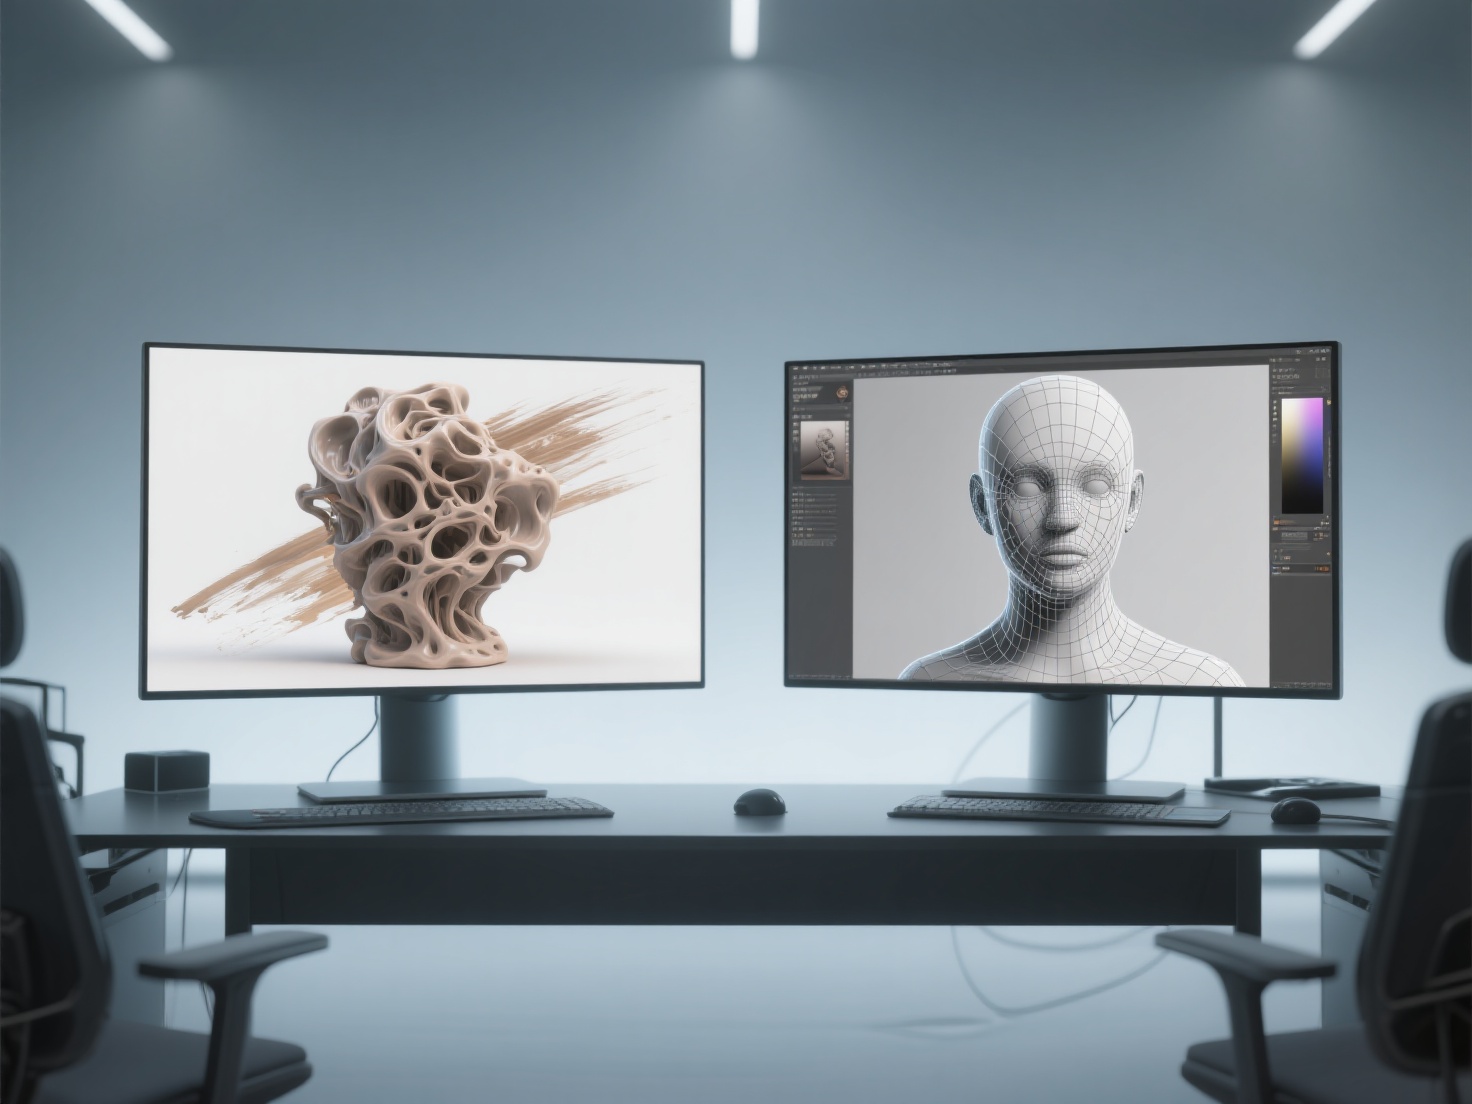
2. Brush Systems and UI
ZBrush offers a massive, highly specialized library of brushes. From Insert Multi-Mesh (IMM) brushes to complex curve tools, its sculpting toolset is unrivaled. However, ZBrush is notorious for its steep learning curve. The user interface is highly unconventional compared to standard 3D software, often frustrating beginners.
Blender features a more streamlined and intuitive sculpting UI. While its default brush library is smaller than ZBrush’s, it covers all the essential tools a sculptor needs (Clay Strips, Crease, Grab, Smooth, etc.). For users already familiar with standard 3D interfaces, Blender’s sculpting mode feels much more approachable and easier to master.
3. Remeshing and Topology Tools
Maintaining good topology while sculpting is crucial. ZBrush offers DynaMesh, which instantly recalculates topology to allow for infinite stretching and adding volume without tearing polygons. Additionally, ZRemesher is widely considered the industry standard for automatic retopology, generating clean, animation-ready quad loops with a single click.
Blender uses a Voxel Remesher, which works similarly to DynaMesh and is incredibly fast for blocking out shapes. For automatic retopology, Blender’s native Quadriflow is decent, but many professionals rely on third-party add-ons (like Quad Remesher) to match the efficiency of ZBrush’s native tools.
4. Texturing, Rendering, and Animation
This is where the tables turn entirely. ZBrush allows for high-detail painting directly on vertices via PolyPaint, but it is primarily a modeling tool. You cannot rig, animate, or render full, complex scenes natively with path-tracing accuracy inside ZBrush.
Blender is a complete 3D pipeline. You can sculpt a character, unwrap its UVs, paint realistic textures, rig it with an armature, animate it, and render it using Blender’s stunning Cycles (path-tracing) or Eevee (real-time) engines. For generalists and solo developers, Blender’s all-in-one ecosystem is unbeatable.
5. Pricing and Accessibility
Cost is a major deciding factor. ZBrush operates on a Maxon subscription model, which represents a significant ongoing financial commitment. It is priced for professionals and established studios.
Blender is completely free and open-source. There are no paywalls, subscription fees, or license management issues. This makes it the absolute best choice for students, indie developers, and hobbyists.
ZBrush vs Blender: Quick Comparison Table
| Feature | ZBrush | Blender |
|---|---|---|
| Primary Focus | Specialized digital sculpting & painting | Complete 3D creation pipeline |
| Max Polygon Count | 50M - 100M+ (Excellent performance) | 5M - 15M (Starts to lag at extreme highs) |
| Brush Variety | Massive, highly specialized library | Solid core set, intuitive |
| Retopology Tools | Industry-leading (ZRemesher) | Basic native (Requires add-ons for pro use) |
| Rendering/Animation | Basic rendering, no animation | World-class (Cycles/Eevee) + Full animation suite |
| Learning Curve | Very steep, unconventional UI | Moderate, standard 3D interface |
| Price | Paid Subscription (Maxon) | 100% Free |
Real-World Applications: Where Does Each Shine?
Understanding the best sculpting software means understanding your specific end goal.
- AAA Game Development & Hollywood VFX: ZBrush is the entrenched industry standard. Character artists working on high-fidelity cinematic assets or detailed normal maps for next-gen games rely almost exclusively on ZBrush for the high-poly detailing phase.
- Indie Game Development & Solo Freelancing: Blender is the darling of the indie scene. Because indie games rarely require 50-million polygon character sculpts, Blender’s sculpting tools are more than sufficient. Plus, keeping the entire workflow (sculpting, rigging, exporting to game engines) inside one software saves immense time.
- 3D Printing & Collectibles: Both are excellent, but ZBrush’s ability to handle Boolean operations flawlessly and manage dense meshes makes it a favorite among professional statue and tabletop miniature sculptors.
Best Practices: Choosing Your Tool and Hybrid Workflows
If you are a beginner, the best advice is to start with Blender. It costs nothing to download, allowing you to learn the fundamentals of digital clay without a financial commitment. If you eventually find yourself hitting polygon limits or needing highly specialized brushes for professional character work, you can confidently transition to ZBrush.
The Hybrid Workflow: The Best of Both Worlds
Many top-tier professionals don’t choose one over the other; they use both. A common pipeline involves creating base meshes and hard-surface block-outs in Blender, exporting to ZBrush for hyper-detailed organic sculpting, and bringing the optimized mesh back into Blender for texturing, rigging, and rendering.
Pro Tip: Accelerate Your Workflow with AI Base Meshes
Starting a sculpt from a blank sphere or a primitive cube can be time-consuming. Today’s smartest artists are leveraging AI to skip the tedious block-out phase.
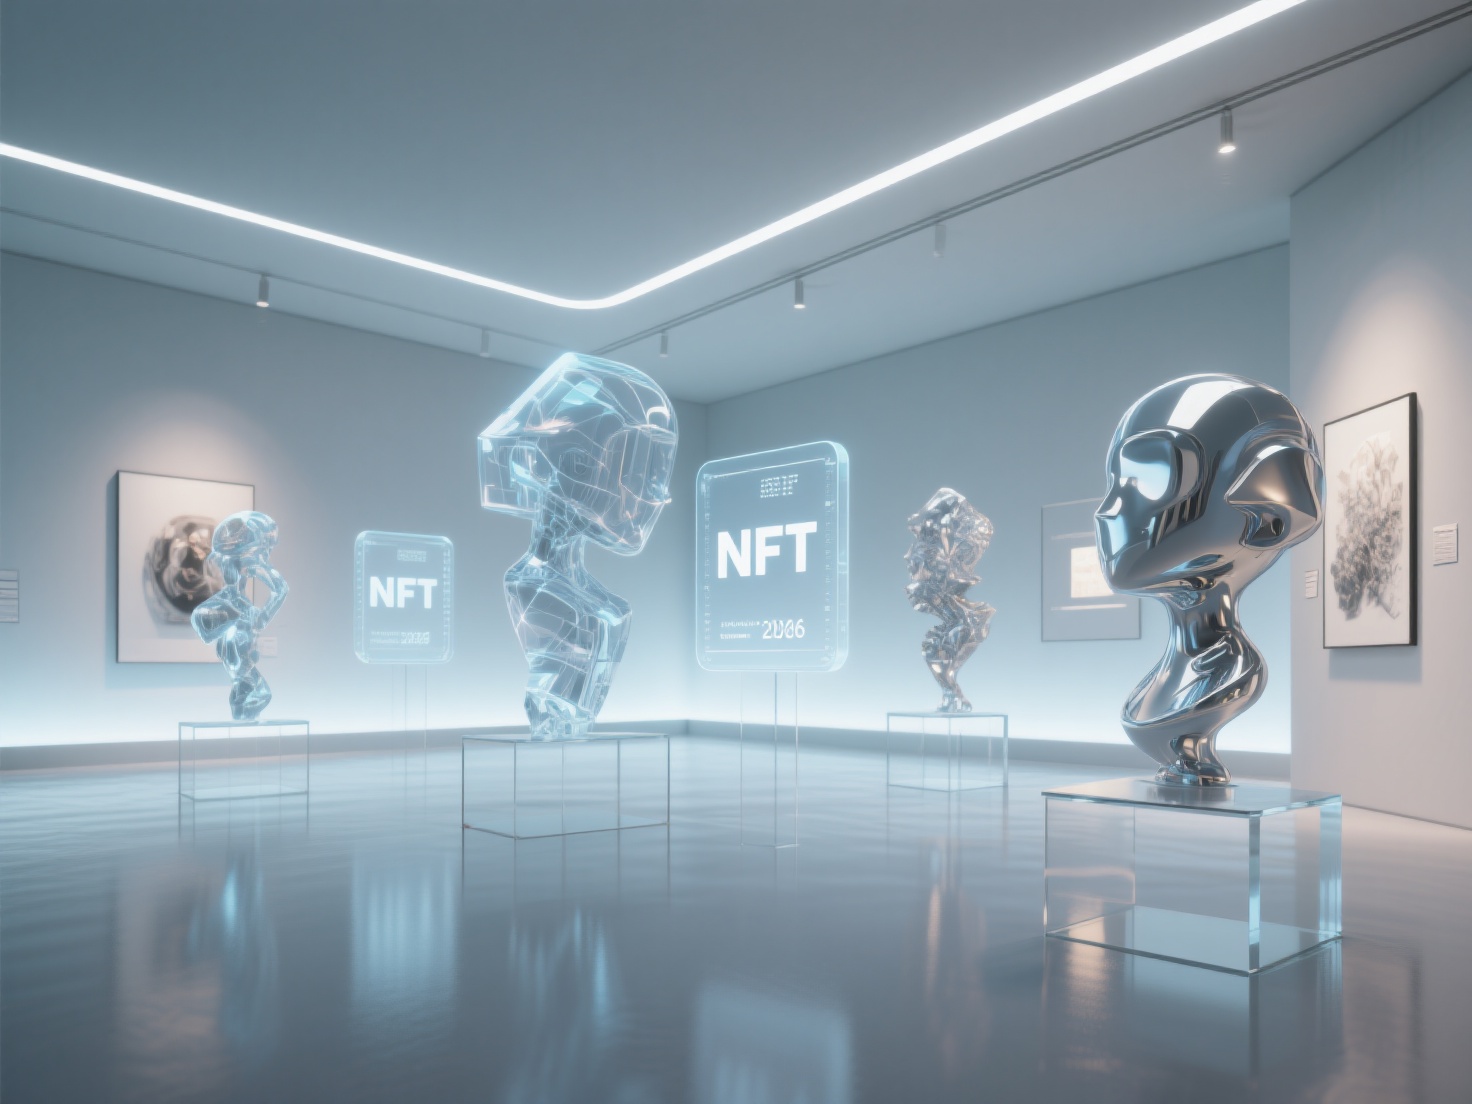
This is where Hitem3D seamlessly integrates into both ZBrush and Blender workflows. As a next-generation AI-powered 3D model generator, Hitem3D allows you to upload a single 2D concept art image and generate a production-ready 3D model in seconds.
Powered by the Sparc3D (high precision) and Ultra3D (high efficiency) models, Hitem3D goes beyond simple extrusion. Its proprietary Invisible Parts technology intelligently reconstructs hidden structures beyond the visible surfaces, giving you a complete, solid 3D volume.
Instead of spending two hours blocking out primary forms, you can use Hitem3D to generate a base mesh with clean geometry, export it as an OBJ or GLB, and instantly import it into ZBrush or Blender. From there, you immediately jump to the fun part: detailing, refining, and texturing. Furthermore, Hitem3D’s De-Lighted Texture feature removes baked-in lighting from the AI-generated textures, giving you true relightable PBR materials perfect for standard 3D rendering.
Conclusion: Which Should You Choose?
In the ultimate ZBrush vs Blender showdown, there is no single loser. If your goal is to become a specialized character artist at a AAA studio, mastering ZBrush is essentially mandatory due to its unmatched high-polygon performance and industry adoption. However, if you are a generalist, an indie developer, or an artist looking for an accessible, robust tool that handles the entire pipeline for free, Blender is the undisputed champion.
Ultimately, the best workflow is the one that gets your ideas out of your head and onto the screen as efficiently as possible.
Ready to dramatically speed up your sculpting pipeline? Stop starting from scratch. Let Hitem3D handle the heavy lifting of generating your base meshes, and save your creative energy for the high-end details. With resolutions up to 1536³ Pro (2M polygons) and seamless exports to standard 3D software and slicers, it’s the ultimate companion for your sculpting journey.
Create For Free -> https://www.hitem3d.ai/create
Frequently Asked Questions (FAQ)
Q1: Can Blender replace ZBrush entirely?
For general 3D work, stylized art, and indie game development, yes, Blender can easily replace ZBrush. However, for hyper-realistic cinematic characters that require sculpting ultra-fine micro-details (like individual pores) on massive polygon counts, ZBrush remains irreplaceable.
Q2: Which software is better for 3D printing?
Both are highly capable. ZBrush has excellent native tools like “Decimation Master” and “3D Print Hub” which make hollowing and preparing massive sculpts for printing very easy. Blender also has a robust 3D Print Toolbox add-on. If you pair either software with tools like Hitem3D (which offers print-ready geometry and one-click direct sends to Bambu Studio and OrcaSlicer), your 3D printing workflow becomes incredibly streamlined.
Q3: Is ZBrush harder to learn than Blender?
Generally, yes. ZBrush was built with a highly specific 2.5D philosophy, making its camera controls, file saving systems, and interface quite alien to users of traditional 3D software. Blender’s sculpting mode uses standard 3D navigation, making it much more intuitive for beginners to pick up.