Every 3D printing journey begins with a spark of imagination. You find or create an incredible digital model, send it to your printer, and wait eagerly—only to end up with a messy “spaghetti” of plastic. Sound familiar? If you are struggling with failed prints, the issue usually isn’t your hardware; it’s the translation between the digital file and the physical machine.
This critical translation phase is known as 3D printing slicing.
Mastering your slicer software and understanding core 3D print settings are what separate printing novices from experts. Whether you are looking to dial in the perfect layer height for a highly detailed miniature or find the optimal infill percentage for a durable functional part, getting your slicer settings right is essential.
In this comprehensive guide, we will break down what slicing is, explore the most critical settings you need to master, and share professional tips to optimize your workflow for consistently perfect prints.
What is 3D Printing Slicing?
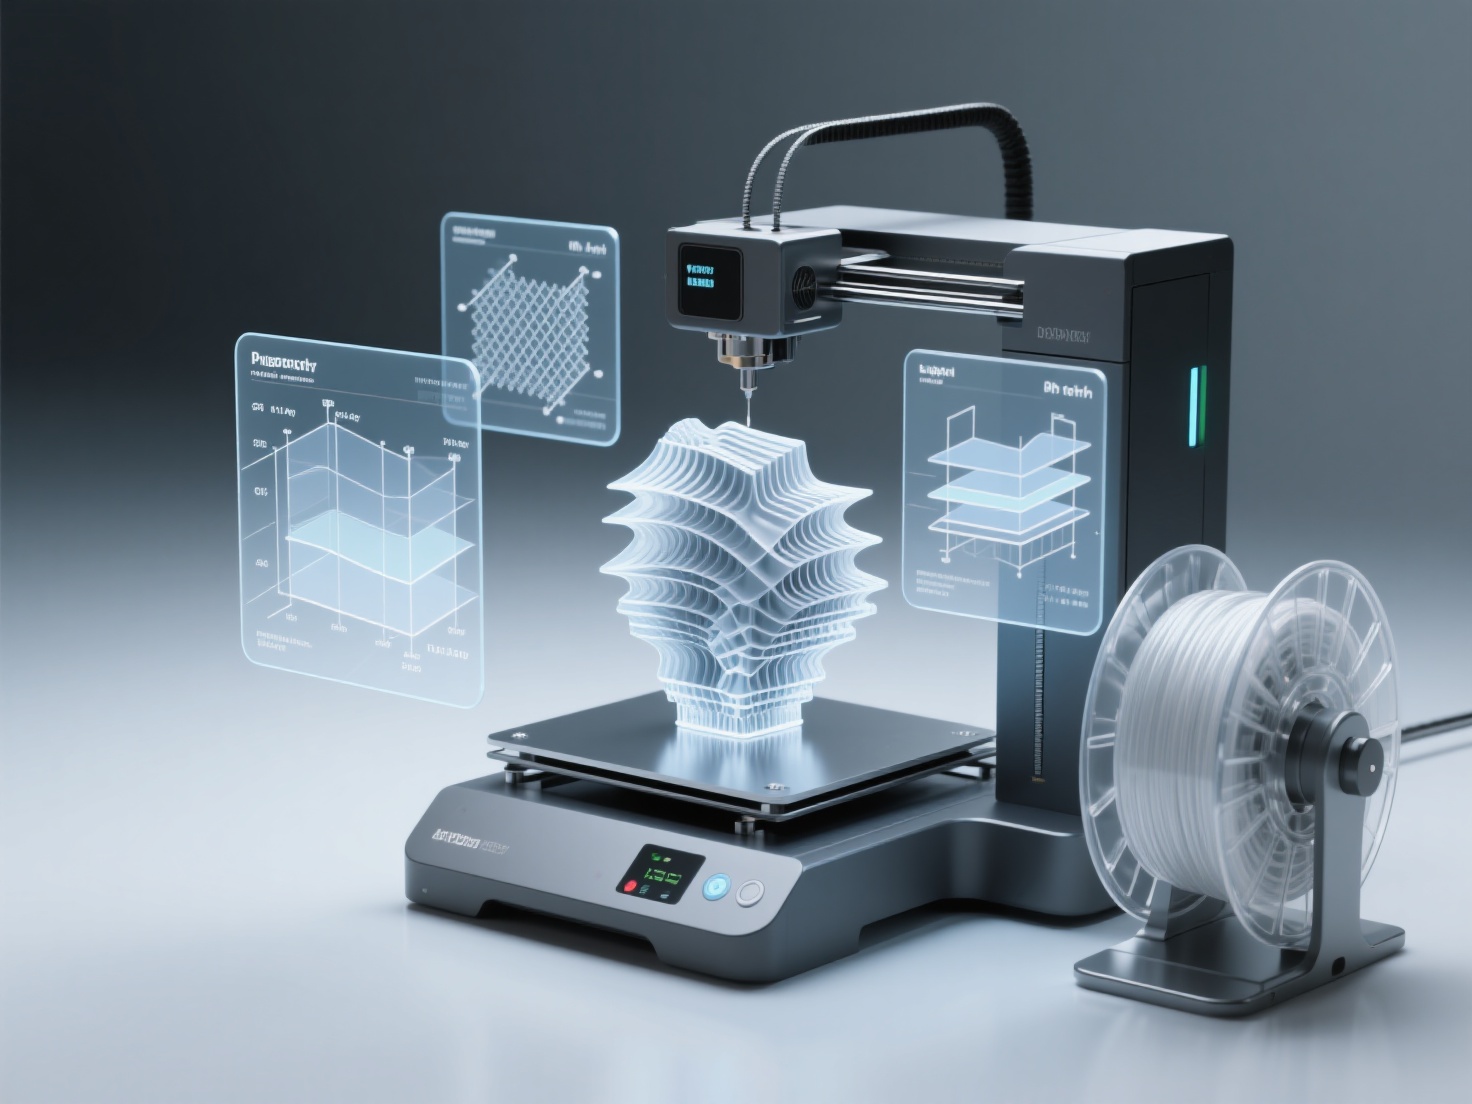
3D printing slicing is the process of converting a 3D digital model into machine-readable instructions by dividing it into hundreds or thousands of flat, horizontal 2D layers.
Think of it like slicing a loaf of bread. The 3D printer cannot digest the entire loaf (a 3D model like an STL or OBJ file) all at once. Instead, the slicer software cuts the model into thin slices and calculates the exact path the printer nozzle must take to deposit material layer by layer.
The output of this process is a file format called G-code. G-code is the literal programming language of your 3D printer, dictating everything from where the print head moves (X, Y, and Z axes) to how hot the nozzle should be, and how fast the cooling fans should spin.
Crucial 3D Print Settings in Your Slicer Software
When you first open a slicer, the sheer number of settings can feel overwhelming. However, focusing on a few foundational 3D print settings will solve 90% of your printing challenges.
1. Layer Height: The Balance of Quality and Speed
Layer height refers to the exact thickness of each individual slice of extruded plastic. This is the single most important setting for determining the surface resolution of your final print.
Small Layer Height (e.g., 0.08mm – 0.12mm):
Produces highly detailed models with smooth surfaces, making layer lines nearly invisible. The trade-off? It takes significantly longer to print because the printer has to trace many more layers.Standard Layer Height (0.20mm):
The sweet spot for most standard prints, offering a great balance between decent surface quality and acceptable print time.Large Layer Height (e.g., 0.28mm – 0.32mm):
Ideal for rapid prototyping, functional parts, or large structural objects where aesthetic smoothness is not a priority.
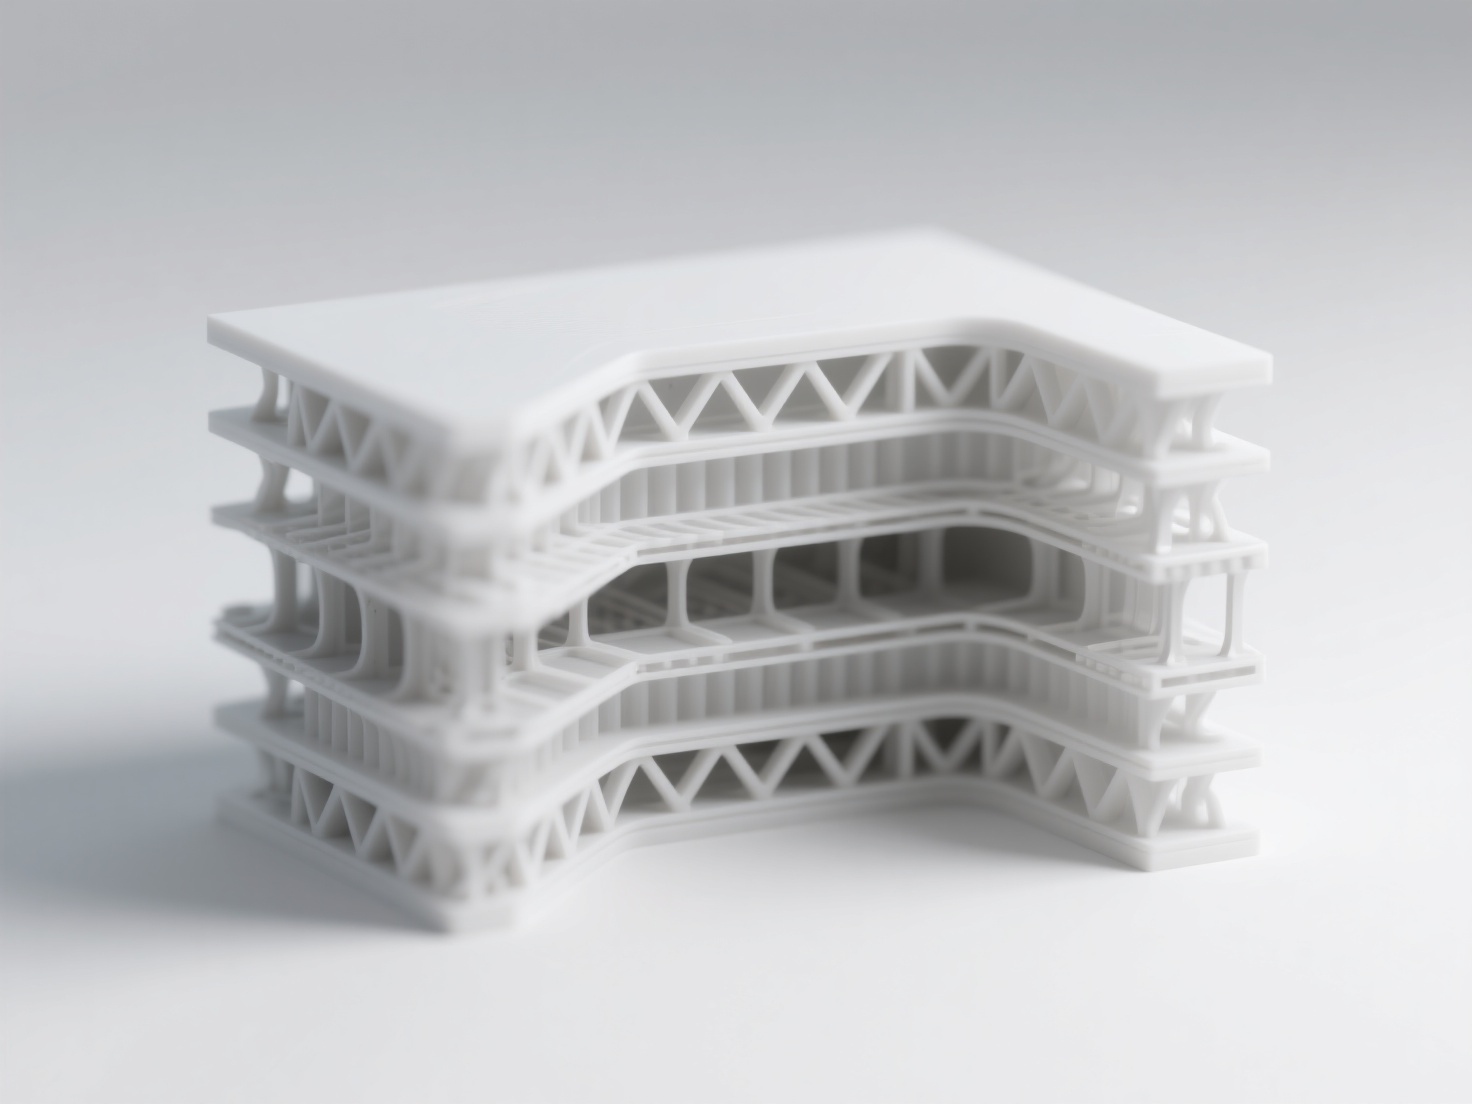
2. Infill Percentage and Pattern: Engineering the Inside
Unlike injection molding, 3D printed parts are rarely solid inside. Slicer software allows you to generate internal web-like structures called infill.
Infill Percentage:
Dictates how solid the inside of your model will be.- 0%: Completely hollow
- 10% – 20%: Standard range for display models and light-use parts; saves time and filament
- 50% – 100%: Used for mechanical parts that require maximum tensile strength and durability
Infill Pattern:
The geometric shape of the internal structure.- Grid or Lines: Fast and common
- Gyroid: Provides excellent strength in all directions and is highly recommended for load-bearing parts
3. Print Speed and Temperature
Speed and temperature go hand in hand. If you print too fast at a low temperature, the extruder will jam because the plastic cannot melt quickly enough.
Print Speed:
Measured in millimeters per second (mm/s). While modern Core-XY printers can achieve 300mm/s or more, slowing down the outer walls (e.g., 40–60mm/s) drastically improves visual quality.Temperature:
Always follow the filament manufacturer’s guidelines.- PLA: Nozzle temperature typically 190°C – 220°C
- Heated bed: Around 60°C to prevent warping
4. Support Structures: Defying Gravity
3D printers cannot print in mid-air. If your model has overhangs steeper than 45 degrees or completely suspended elements (like an outstretched arm), your slicer software must generate support structures.
- Pro Tip:
Look for Tree Supports or Organic Supports in your slicer. They use less material, print faster, and are much easier to remove than traditional grid supports.
5. Build Plate Adhesion: Anchoring Your Print
If a print doesn’t stick to the bed, it will fail. Adhesion settings help anchor the first layer:
Skirt:
An outline printed around the model to prime the nozzle and ensure filament is flowing properly.Brim:
A flat, outward extension from the base of the model. It increases surface area touching the bed, preventing corners from lifting (warping).Raft:
A thick grid printed underneath the entire model. Use this only for highly problematic prints with tiny footprints.
Choosing the Right Slicer Software
The 3D printing community relies on several powerhouse slicers, most of which are completely free. Choosing the right one depends on your workflow and machine.
| Slicer Software | Best For | Key Features |
|---|---|---|
| UltiMaker Cura | Beginners & Tinkerers | Massive plugin library, highly intuitive interface, profiles for almost every printer |
| PrusaSlicer | Advanced Users & Prusa Owners | Exceptional toolpath generation, painted-on supports, optimized preset profiles |
| OrcaSlicer / Bambu Studio | Modern High-Speed Printers | Built-in calibration tests, multi-color management, seamless Wi‑Fi integration |
Best Practices for Optimizing Your Workflow
Mastering 3D printing slicing isn’t just about tweaking numbers; it’s about adopting a strategic workflow.
The “Garbage In, Garbage Out” Rule
Your slicer can only do so much. If you import a 3D model with holes in its mesh, non-manifold edges, or paper-thin geometry, the slicer will struggle to calculate the toolpath, leading to inevitable failures. A perfect print always starts with a flawless, print-ready 3D model.
This is where integrating AI tools into your workflow pays huge dividends. Standard photogrammetry often leaves blind spots or messy artifacts. Using a professional AI 3D model generator ensures your base geometry is solid before it ever hits the slicer.
Run Calibration Tests
Don’t guess your settings.
- Print a Temperature Tower to find the perfect melting point
- Print a Retraction Test to eliminate stringing
Spending 30 minutes calibrating can save you days of frustration.
Adjust Settings Based on Intent
Never use a one-size-fits-all profile.
For a tabletop miniature:
Layer height 0.12mm, print speed 40mm/s, high coolingFor a headphone stand:
Layer height 0.28mm, infill 25% Gyroid, nozzle temperature +5°C for better adhesion
Conclusion: Perfecting the Path from Digital to Physical
Understanding 3D printing slicing is the ultimate key to unlocking the full potential of your 3D printer. By mastering essential 3D print settings like layer height, infill percentage, and support structures, you transition from simply downloading files to truly engineering physical objects.
However, slicing is only half of the equation. To minimize slicer adjustments and guarantee successful prints, you need high-fidelity, production-ready 3D models from the start.
Hitem3D is a next-generation AI-powered 3D model generator designed to bridge the gap between digital creation and physical printing. Built on proprietary Sparc3D (high precision) and Ultra3D (high efficiency) models, it reconstructs hidden structures beyond visible surfaces, delivering print-ready geometry with sharp edges—up to 1536³ Pro resolution (2M polygons).
For 3D printing enthusiasts, Hitem3D enables an unmatched workflow: generate a model from a single image, segment it into clean color regions for multi-color printing, and send it directly to Bambu Studio or OrcaSlicer with one click. A generous Free Retry system lets you regenerate without extra credits.
Stop fighting broken meshes. Start with perfect geometry.
Frequently Asked Questions (FAQ)
1. Do I need to slice a 3D model every time I want to print it?
Yes. Every 3D model (STL, OBJ, GLB) must be sliced and converted into G-code for your specific printer.
2. What is the best infill percentage for general 3D printing?
For most display items and light-duty parts, 15% – 20% infill is ideal.
3. Why is my 3D print taking so long, and how can I speed it up?
Increase layer height, reduce infill, or use faster infill patterns like Grid or Lightning.
4. Can my slicer fix a broken 3D model?
Only minor issues. Severe mesh problems require a clean, print-ready model generated by high-precision tools.