Welcome to the exciting world of additive manufacturing! If you are wondering how to start 3D printing, you have come to the right place. Turning a digital file into a physical object on your desk feels like pure magic, but the initial learning curve can sometimes feel overwhelming. From choosing the right machine to dealing with tangled filament and confusing software, taking that very first step can be daunting.
However, 3D printing for beginners does not have to be complicated. Whether you just unboxed your first printer or are still researching which one to buy, this comprehensive guide will give you a clear, jargon-free roadmap. By the end of this article, you will be fully prepared to set up your machine, slice your first file, and successfully complete your very first 3D print.
What is 3D Printing?
Simply put, 3D printing (or additive manufacturing) is the process of creating a three-dimensional solid object from a digital file by melting and depositing material layer by layer.
Unlike traditional manufacturing, which carves away material from a larger block, 3D printing only builds where material is needed. For beginners, the most common and user-friendly technology is FDM (Fused Deposition Modeling), which works much like a computer-controlled hot glue gun, melting plastic filament to build your desired shape from the bottom up.
Step-by-Step Guide: Making Your First 3D Print
Ready to dive in? Follow these foundational steps to go from an empty desk to a successful printing workflow.
Step 1: Choosing the Right 3D Printer and Material
If you have not purchased a printer yet, start with a beginner-friendly FDM printer. They are affordable, safe for indoor use, and highly reliable. When it comes to materials, you should always start with PLA (Polylactic Acid). PLA is a beginner-friendly, biodegradable plastic that melts easily, does not produce toxic fumes, and rarely warps during the printing process.
Step 2: Unboxing, Assembly, and Calibration
Once your printer arrives, follow the manufacturer’s manual carefully. Most modern beginner printers come semi-assembled, requiring only a few screws to attach the vertical frame to the base.
The most critical part of this step is bed leveling. If your print bed is not perfectly leveled, your first layer will not stick, leading to immediate failure.
- Manual Leveling: Use a piece of standard printer paper. Slide it between the nozzle and the print bed. You should feel a slight resistance or “scratch” as you move the paper.
- Auto-Leveling: Many modern printers do this automatically with a built-in sensor. Always run this calibration sequence before your first 3D print.
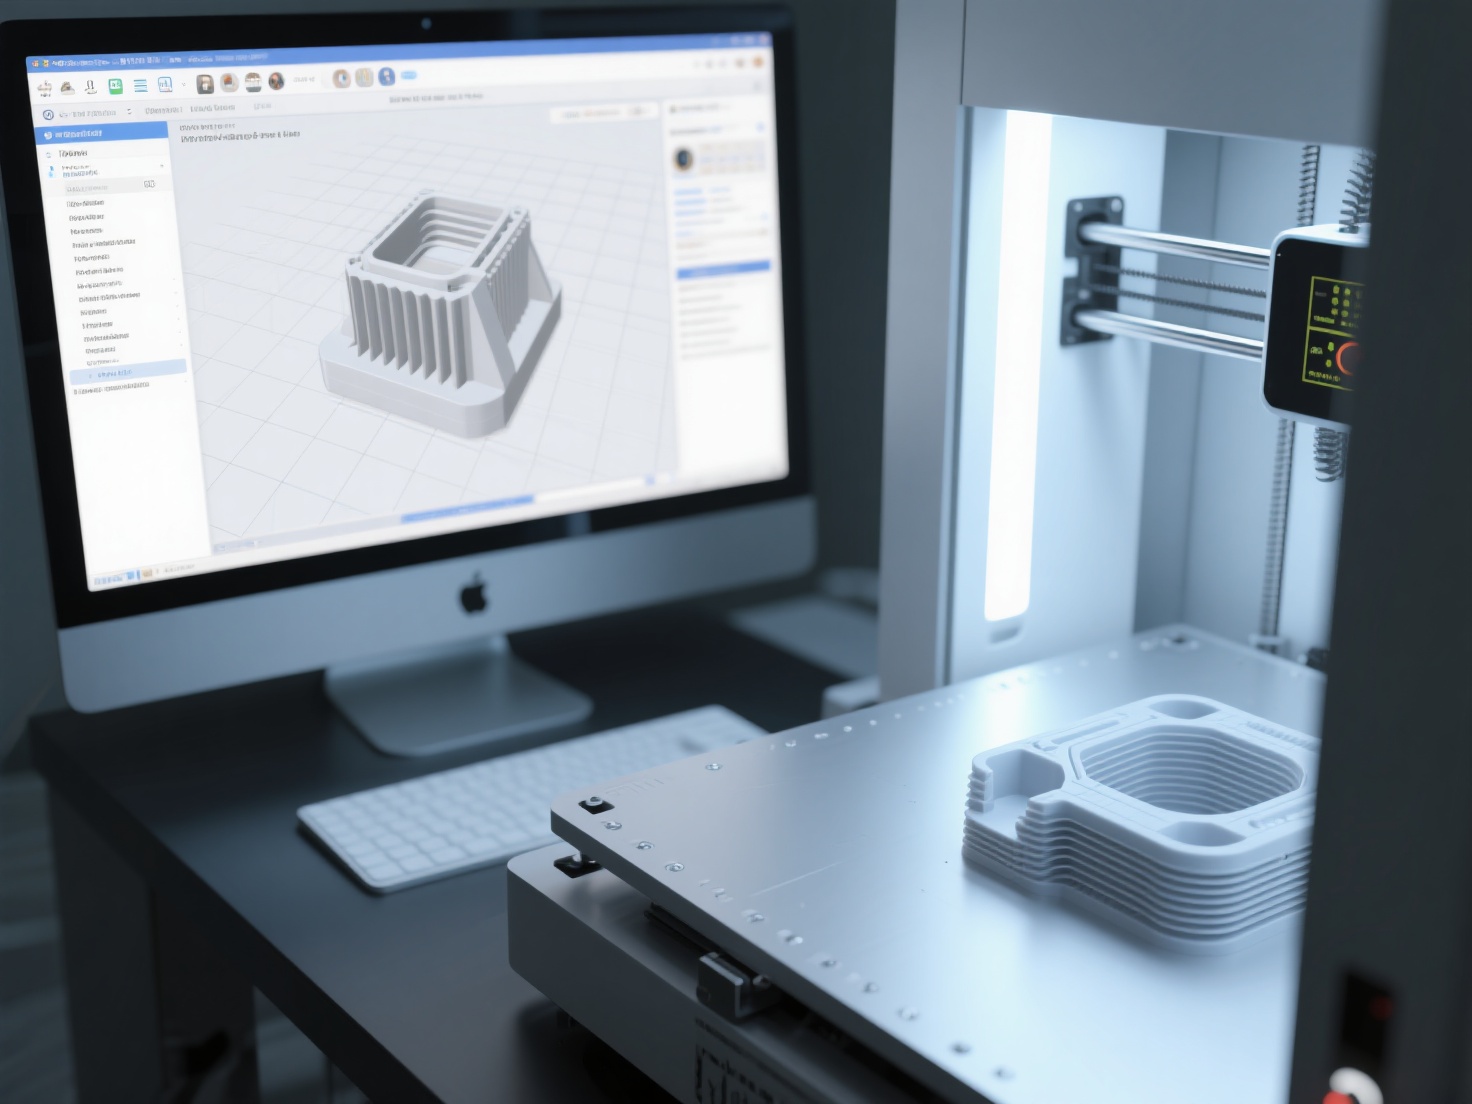
Step 3: Installing Slicer Software
A 3D printer cannot understand standard 3D files like STL or OBJ directly. It needs instructions. This is where a slicer comes in. Slicer software cuts your 3D digital model into hundreds of horizontal 2D layers and generates G-code — the exact path, temperature, and speed instructions the printer needs to follow.
Popular, free slicers for beginners include:
- UltiMaker Cura: The most widely used slicer with a massive community.
- PrusaSlicer: Known for clean interfaces and reliable profiles.
- Bambu Studio / OrcaSlicer: Excellent for modern, high-speed printers.
Step 4: Finding or Creating Your First 3D Model
You have your printer and slicer ready, but what are you going to print? You have two main options:
- Download Pre-made Models: Websites like Thingiverse, Printables, and MakerWorld offer millions of free, ready-to-print digital models.
- Generate Your Own with AI: Learning traditional CAD (Computer-Aided Design) software can take months. If you want to create custom models instantly without the steep learning curve, you can use Hitem3D.
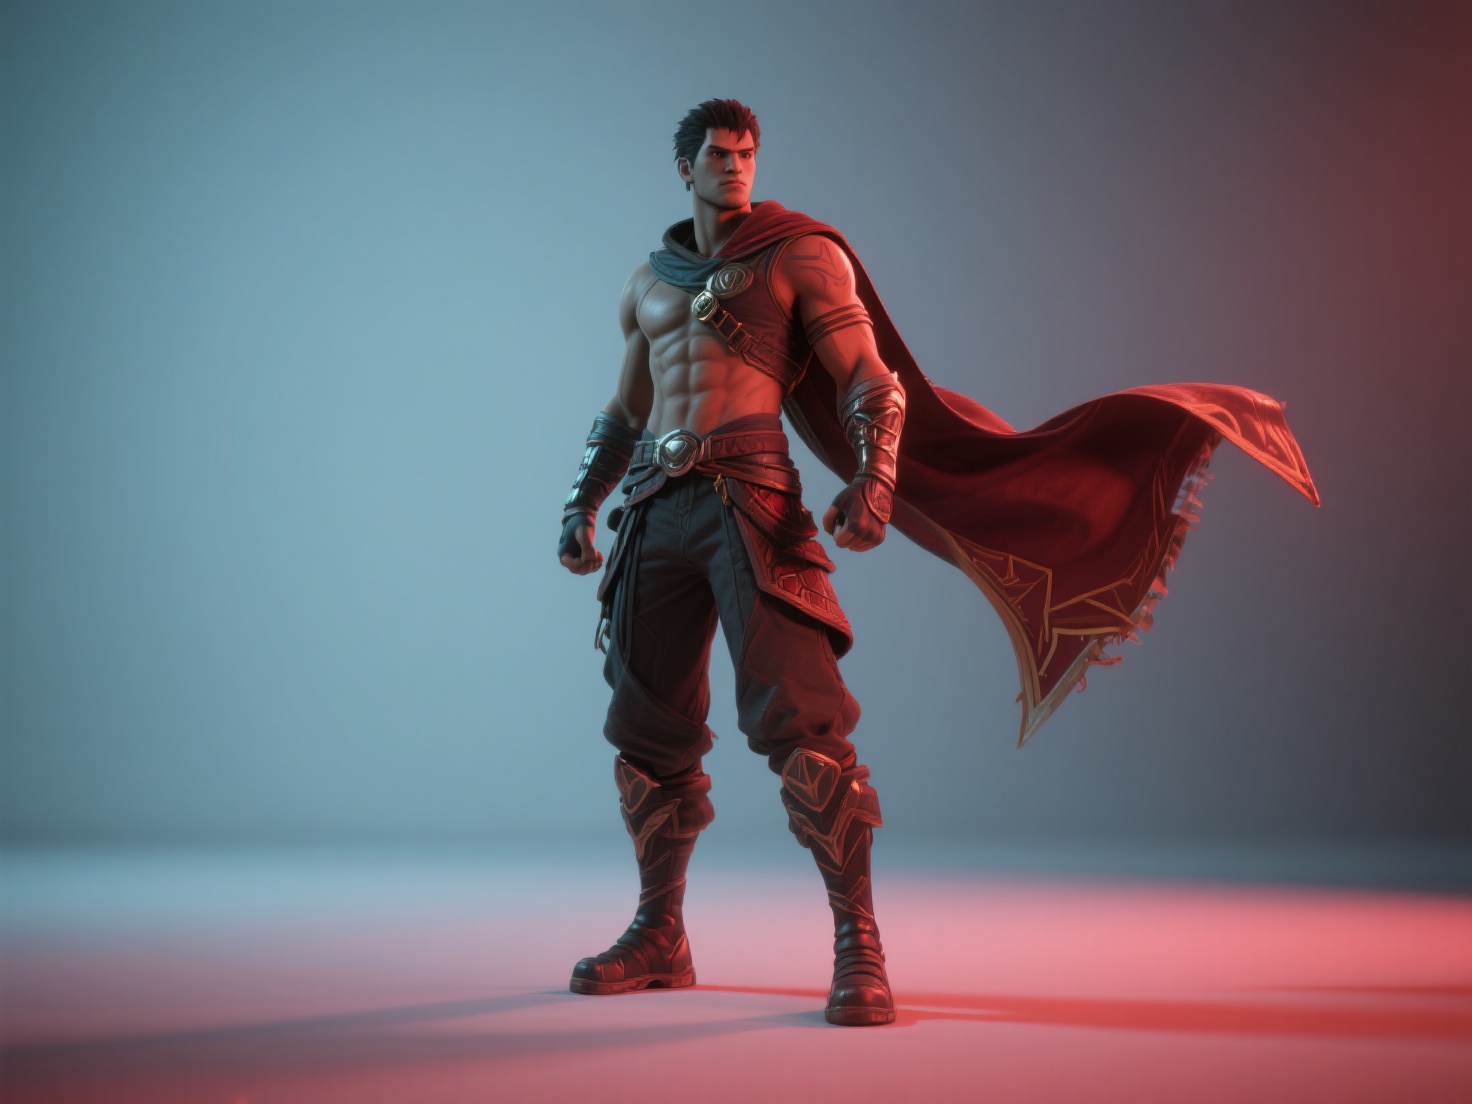
As a next-generation AI-powered 3D model generator, Hitem3D allows you to simply upload a single 2D photo and instantly transform it into a production-ready 3D model. Built on the high-precision Sparc3D model, it goes beyond the visible surface to reconstruct hidden structures perfectly. It generates print-ready geometry with sharp edges and offers one-click direct export to Bambu Studio and OrcaSlicer. This means you can bypass complex modeling entirely and go straight to printing high-quality STL or GLB files.
Step 5: Slicing and Printing
Open your downloaded or generated 3D model in your slicer software. For your first print, stick to the default “Standard” profile for PLA. Pay attention to these three core settings:
- Layer Height: 0.2 mm is the golden standard for a balance of speed and quality.
- Infill: 15% to 20% is perfect for decorative or light-use objects.
- Supports: If your model has overhangs (parts floating in mid-air), turn on “Generate Support.”
Click “Slice,” save the resulting G-code file to your SD card or USB drive, insert it into your printer, and hit “Print”!

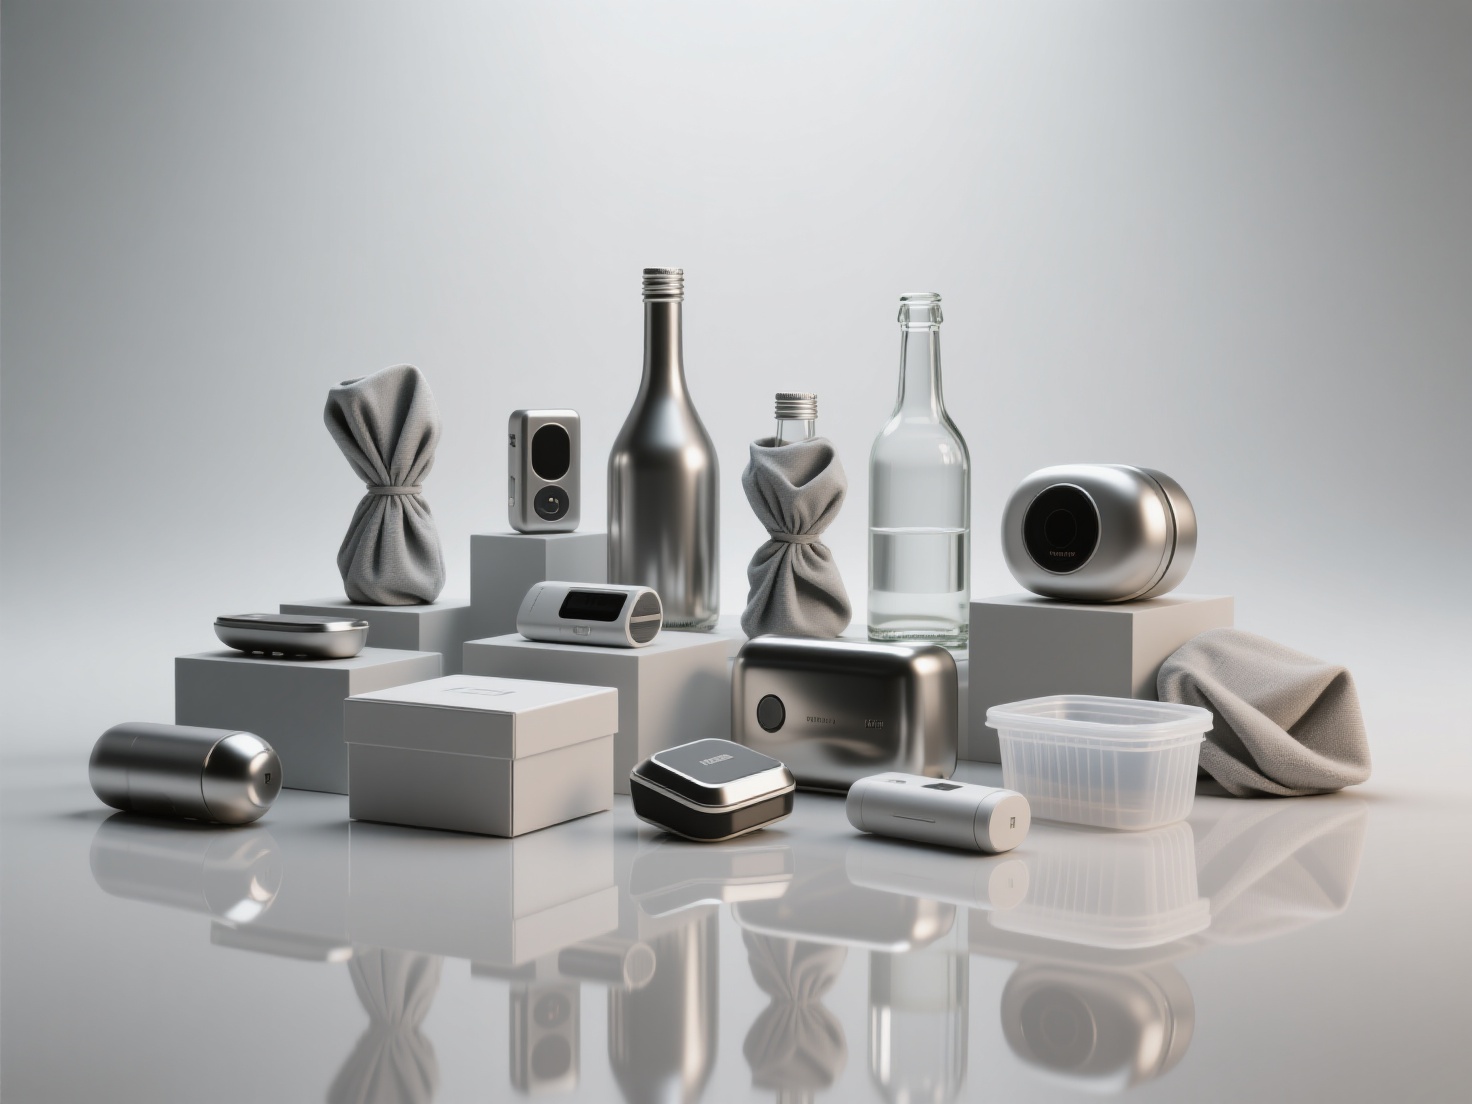
Real-World Applications: What Can Beginners Make?
Once you know how to start 3D printing, the possibilities are truly endless. Here are a few practical applications to get your creative juices flowing:
- Desk Organization: Custom pen holders, cable management clips, and phone stands.
- Household Fixes: Replacement parts for broken appliances, custom brackets, or doorstops.
- Tabletop Gaming: Miniatures, terrain pieces, and custom dice towers.
- Art and Sculpture: Using tools like Hitem3D’s 3D Relief feature, you can convert your favorite family photos into layered, textured bas-relief sculptures to print and display.
Best Practices and Troubleshooting
Every maker experiences failed prints — it is a normal part of the learning process. Here are some actionable best practices and solutions to common beginner pitfalls.
| Common Problem | What It Looks Like | How to Fix It |
|---|---|---|
| Poor Bed Adhesion | The print detaches from the bed mid-print and turns into a plastic mess (“Spaghetti”). | Clean the bed with isopropyl alcohol. Re-level the bed so the nozzle is slightly closer. |
| Stringing | Fine, spiderweb-like strings of plastic covering the printed object. | Lower the printing temperature slightly (by 5°C) and increase the “Retraction Distance” in your slicer. |
| Warping | The corners of the print curl upwards away from the print bed. | Ensure there are no cold drafts in the room. If using PLA, ensure the heated bed is set to 60°C. |
Pro Tip: Always watch your first layer. If the first layer goes down smoothly and evenly, there is a 90% chance the rest of the print will succeed. If the first layer is messy, stop the print immediately, clean the bed, and start over to save time and filament.
Conclusion: Your 3D Printing Journey Starts Here
Getting started 3D printing is one of the most rewarding technical hobbies you can pursue. By taking it one step at a time — choosing the right machine, mastering bed leveling, learning your slicer software, and leaning on smart AI tools to bypass the CAD learning curve — you will be printing like a pro in no time. Remember, patience and experimentation are your best friends in this journey.
If you are eager to print custom objects but feel intimidated by complicated 3D modeling software, let artificial intelligence do the heavy lifting for you. Hitem3D allows you to turn standard images into highly accurate, 3D printable files with just a few clicks. With its Free Retry system and seamless integration with popular slicers, there is absolutely no risk in bringing your unique ideas to life.
Ready to create your very first custom 3D model for printing?
Frequently Asked Questions (FAQ)
1. How much does it cost to get into 3D printing?
It is more affordable than ever. A highly capable beginner FDM 3D printer usually costs between 150 and 300. A standard 1 kg spool of PLA filament costs around 15 to 20 and can print dozens of medium-sized models.
2. Is 3D printing hard to learn for someone with no technical background?
Not at all! Modern 3D printers are incredibly user-friendly, featuring automatic bed leveling and intuitive touchscreens. While designing models from scratch used to be difficult, AI tools now allow anyone to generate highly detailed 3D files without any prior technical experience.
3. How long does a typical 3D print take?
Print times vary drastically based on the size of the object and the print speed of your machine. A small keychain might take 15 minutes, while a life-sized wearable helmet could take over 48 hours. Most beginner prints, like phone stands or small figures, typically take between 2 to 4 hours.