For independent filmmakers, YouTubers, and digital creators, shooting on location isn’t always feasible. Whether you want to place your actors on a distant alien planet, inside a high-tech laboratory, or simply in a professional studio you don’t actually own, the solution is green screen compositing.
However, pulling a clean key and making the final shot look realistic can be a frustrating process for newcomers. Uneven lighting, jagged edges, and mismatched backgrounds can instantly ruin the cinematic illusion.
Welcome to the ultimate green screen tutorial. In this comprehensive guide, we will break down the fundamentals of chroma key VFX, walk you through the essential shooting workflow, and share post-production techniques to seamlessly integrate your subjects into stunning digital environments.

What is Green Screen Compositing?
Green screen compositing (also known as chroma keying) is a post-production technique that isolates a specific color in a video—typically bright green or blue—and makes it entirely transparent, allowing creators to replace that transparent area with a new digital background.
By effectively “keying out” the background color, editors can combine multiple visual elements from different sources into a single, cohesive image. This technique is the backbone of modern Hollywood chroma key VFX, television weather forecasts, and engaging YouTube setups.
The Core Workflow: Compositing for Beginners
Achieving a flawless final shot requires a combination of meticulous on-set preparation and careful software manipulation. Here is a step-by-step breakdown of the green screen compositing process.
Step 1: Choosing Your Screen (Fabric vs. Paint)
The first step is setting up your physical green screen. You generally have two main options:
- Fabric Backdrops: Muslin or pop-up fabric screens are highly portable and budget-friendly. However, they are prone to wrinkles, which can cause shadows and ruin your key. Always iron or pull the fabric completely taut.
- Painted Cycloramas (Cyc Walls): For permanent studio setups, painting a smooth wall and the floor with specialized chroma key green paint provides a seamless, infinite background. This is ideal for full-body shots but requires dedicated space.
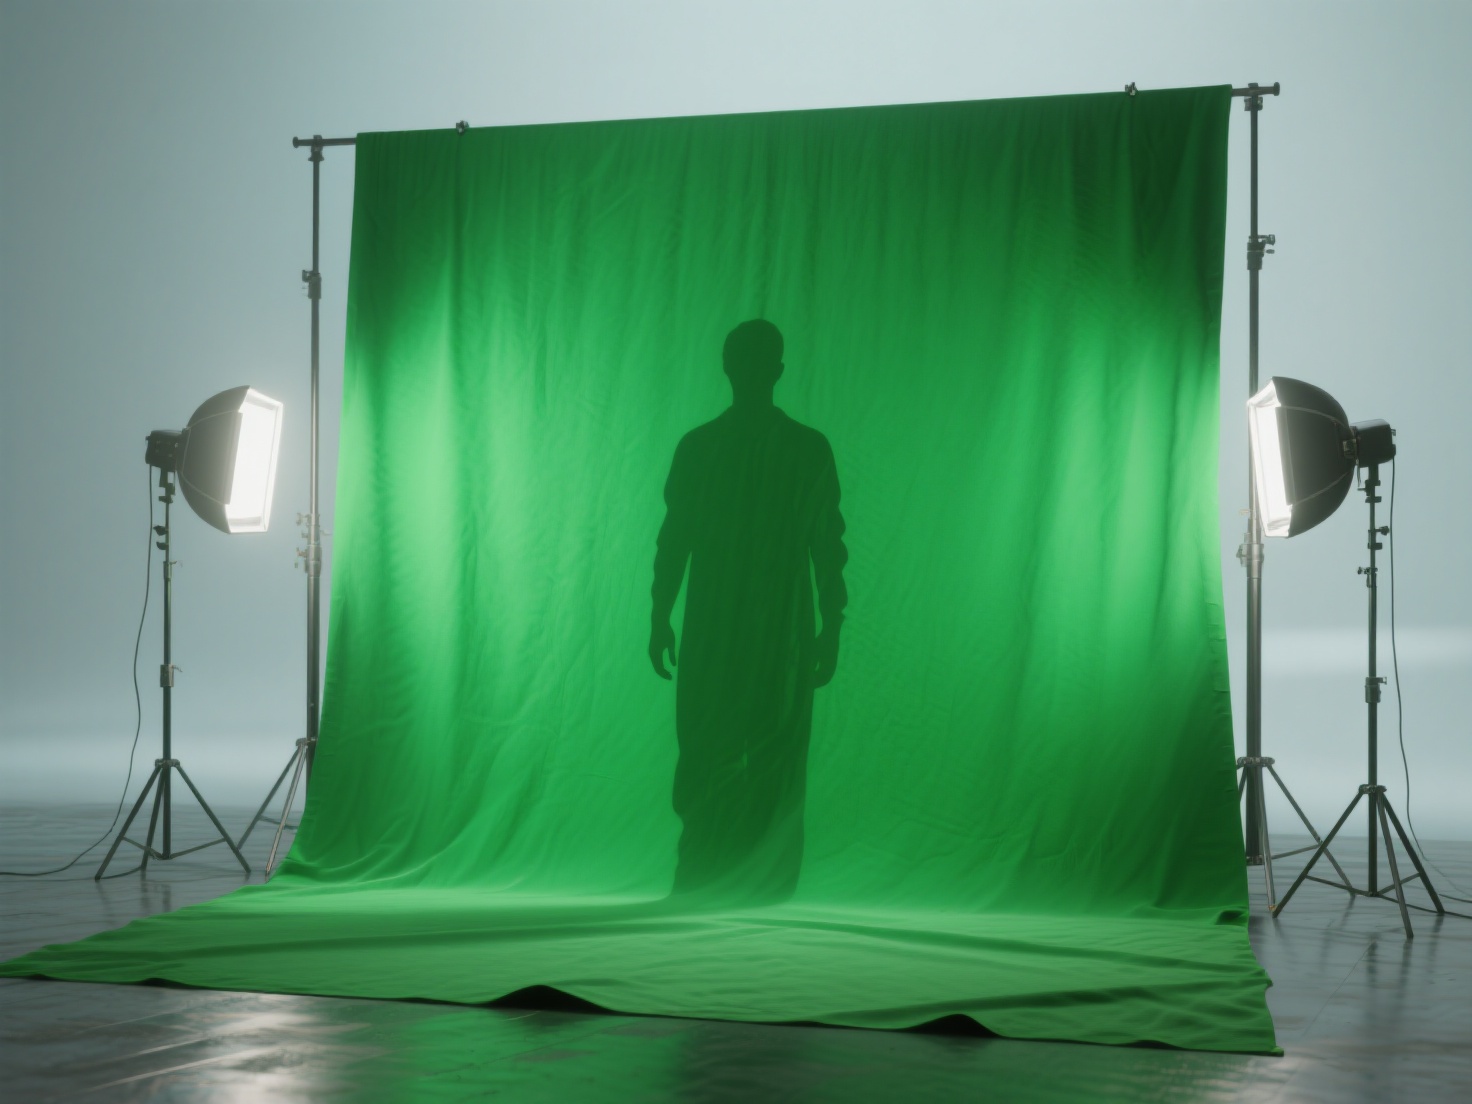
Step 2: Lighting the Screen
The secret to seamless compositing for beginners is not in the software, but in the lighting. Your green screen must be lit as evenly as possible.
- Use Soft Light: Harsh lights create hotspots and shadows. Use large softboxes or diffusion panels to wash the screen in a smooth, flat light.
- Separate Screen and Subject Lighting: Never use the same lights to illuminate your subject and your screen. Light the green screen first, ensure exposure is even across the frame, and then set up your subject’s lighting.
Step 3: Positioning Your Subject
A common rookie mistake is placing the actor too close to the screen.
- Maintain Distance: Keep your subject at least 6 to 10 feet away from the green backdrop. This prevents shadows from falling on the screen.
- Avoid Color Contamination: Distance also prevents the bright green light from bouncing back onto the subject’s skin and clothes, a problem known in the industry as “green spill.”
Step 4: Software and Post-Production
Once your footage is shot, you will bring it into a visual effects or non-linear editing (NLE) program. Industry standards include:
- Adobe After Effects: Uses the powerful Keylight effect. It is layer-based and excellent for motion graphics and standard compositing.
- DaVinci Resolve: Utilizes the node-based Delta Keyer within its Fusion page, offering incredible precision for professional chroma key VFX.
- The Foundry Nuke: The ultimate node-based compositor used in Hollywood, utilizing tools like Primatte and Keylight for the most complex shots.
Troubleshooting Common Chroma Key VFX Problems
Even with a perfect setup, you might encounter issues during post-production. Here are the most common challenges and how to fix them.
Dealing with Green Spill
Green spill happens when light bounces off the green screen and tints the edges of your subject’s hair, shoulders, or clothing.
Solution: Most modern keying software includes a “Spill Suppressor” tool. This tool automatically identifies green pixels on the subject and neutralizes them, usually by desaturating them or shifting them toward magenta (the opposite color on the color wheel).
Fixing Hard Edges and Color Fringing
If your final key looks like a cheap cardboard cutout, you have edge issues.
Solution: Use the “Screen Shrink/Grow” (or edge choke) setting to slightly eat into the edge of your subject, removing the thin green halo. Then, apply a very slight “Screen Softness” or feathering to blend the edge naturally into the new background.
Handling Motion Blur and Hair
Fast-moving objects and fine strands of hair are notoriously difficult to key because they naturally blend with the green background.
Solution: Avoid shooting fast-action sequences at a standard shutter speed. Increase your camera’s shutter speed to reduce motion blur. For hair, use a secondary “core matte” (a hard key for the solid parts of the body) and an “edge matte” (a softer, highly tweaked key exclusively for the hair).
Creating Convincing Background Environments
Successfully removing the green screen is only half the battle. The true art of chroma key VFX lies in what you put behind your subject.
To make a composite look realistic, the background must match the foreground in several key areas:
- Perspective and Camera Angle: The focal length and height of the camera used to shoot the background must match the camera used to shoot the green screen subject.
- Depth of Field: If your subject is in sharp focus, a background that is miles away should likely have a slight optical blur to simulate a real camera lens.
- Lighting Matching: This is the most critical element. If your subject is lit from the left with warm light, your background environment must also feature a warm light source coming from the left.
Finding the perfect stock photo or video for your background can be exhausting. Increasingly, VFX artists are turning to 3D software (like Blender, Unreal Engine, or Cinema4D) to build custom digital environments and props tailored exactly to their scene’s requirements.
Elevating Your VFX with AI-Generated 3D Assets
Building 3D environments from scratch for your green screen shots can be highly time-consuming and technically demanding. Whether you need a futuristic vehicle, a mystical statue, or background clutter for a virtual set, creating these assets manually slows down your post-production workflow.
This is where Hitem3D becomes an invaluable tool for VFX artists and digital creators.
Hitem3D is a next-generation AI-powered platform that transforms 2D images into high-fidelity, production-ready 3D models. By leveraging its in-house Sparc3D (high precision) and Ultra3D (high efficiency) models, you can rapidly generate background assets to populate your composited scenes.
- Invisible Parts Reconstruction: If you find an image of a prop you want in your scene, Hitem3D’s Image to 3D technology intelligently reconstructs the hidden geometry beyond the visible surface. This allows you to rotate and place the object anywhere in your 3D environment.
- De-Lighted Textures for VFX Matching: One of the biggest challenges in 3D compositing is dealing with baked-in lighting on downloaded models. Hitem3D offers De-Lighted Textures—intelligently removing baked-in shadows and highlights so you receive true relightable PBR materials. You can drop the model into your software and light it to perfectly match your green screen subject.
- High-Resolution Output: With support for up to 1536³ Pro resolution (up to 2M polygons) and 4K PBR textures, the assets hold up beautifully even in high-definition video composites.
You can easily export your generated assets in standard formats like GLB, OBJ, or FBX, drop them into Blender or Unreal Engine, and render out the perfect background for your chroma key VFX workflow. And with a Free Retry system, you can regenerate results without wasting credits if the asset isn’t exactly what you need.
Conclusion
Mastering green screen compositing opens up a world of limitless creative possibilities. By ensuring your physical screen is evenly lit, keeping your subject at an appropriate distance, and utilizing professional software techniques to suppress spill and refine edges, you can achieve Hollywood-quality results from your own studio.
Remember that compositing for beginners is a process of trial and error. The more attention you pay to lighting and background matching, the more realistic your final shot will be. And as you advance into building custom 3D environments for your scenes, leverage the power of AI to accelerate your workflow.
Ready to populate your virtual sets with stunning, relightable 3D props in seconds?
Frequently Asked Questions (FAQ)
Q1: Should I use a green screen or a blue screen?
Green is most commonly used because digital camera sensors are highly sensitive to green, making it easier to pull a clean key. It also requires less light than blue. However, you should use a blue screen if your subject is wearing green clothing, or if you are shooting dark, night-time scenes, as blue spill is easier to hide in shadows.
Q2: Can I do green screen compositing on a smartphone?
Yes! While desktop software like After Effects offers the most control, mobile apps like CapCut, LumaFusion, and Kinemaster have surprisingly robust built-in chroma key tools that are perfect for quick YouTube or TikTok videos.
Q3: What is a “Garbage Matte”?
A garbage matte is a rough mask drawn around your subject in your editing software. It tells the software to ignore everything outside that mask (like light stands, the edge of the green screen, or studio walls), meaning you only have to key the green area immediately surrounding your actor.
Q4: Why does my composite look fake even after a clean key?
This usually comes down to mismatched lighting and black levels. If the darkest shadow on your subject is pitch black, but the darkest shadow in your background is milky gray, the viewer’s eye will instantly recognize it as fake. Use color correction to match the black and white points of your foreground and background layers.