You’ve spent hours refining your geometry — clean topology, precise proportions — but the model’s story isn’t finished yet. Texture is the final step that gives it personality and life. Without it, even the most carefully crafted 3D model feels incomplete, flat, and hard to share.
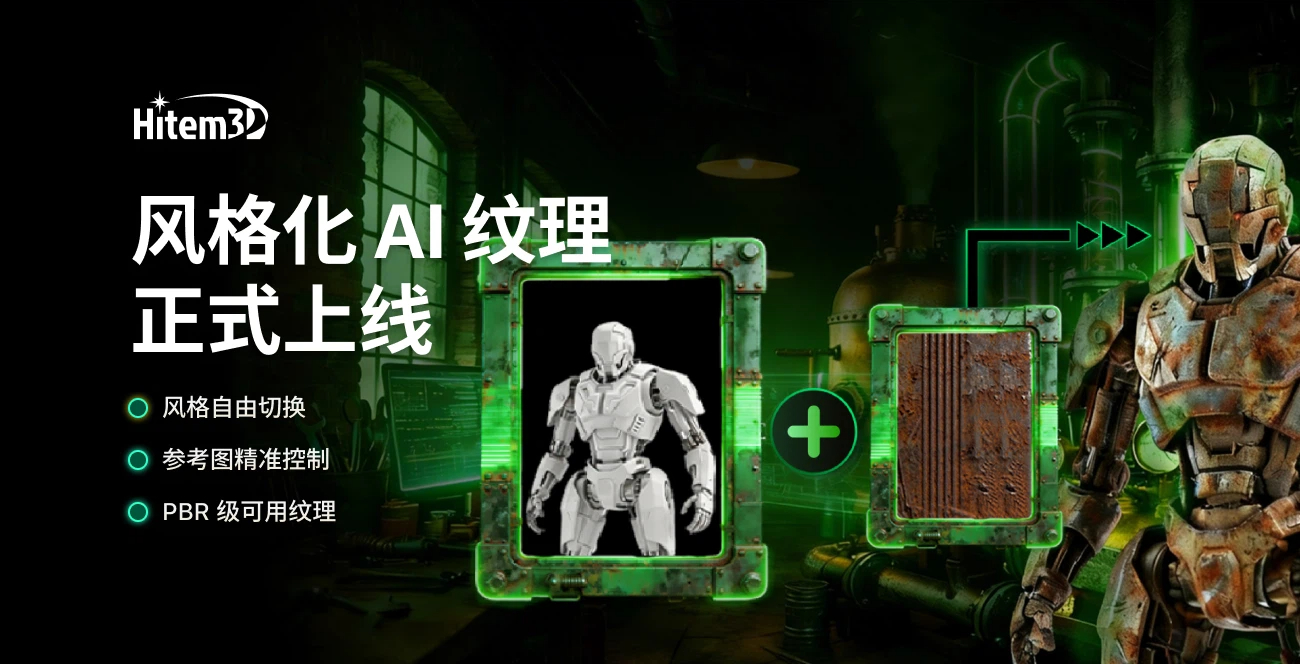
Whether you want to quickly dress your model in a finished surface, or explore the same geometry across a dozen different looks — wood, metal, cyberpunk, ink wash, and beyond — Hitem3D AI Texture delivers results in minutes. Every generation is a new possibility, making the process of exploration feel effortless.
img_v3_0210c_f8226314-07ae-4b55-8cf1-2ae6a9b1663g.jpg
What Is Hitem3D AI Texture?
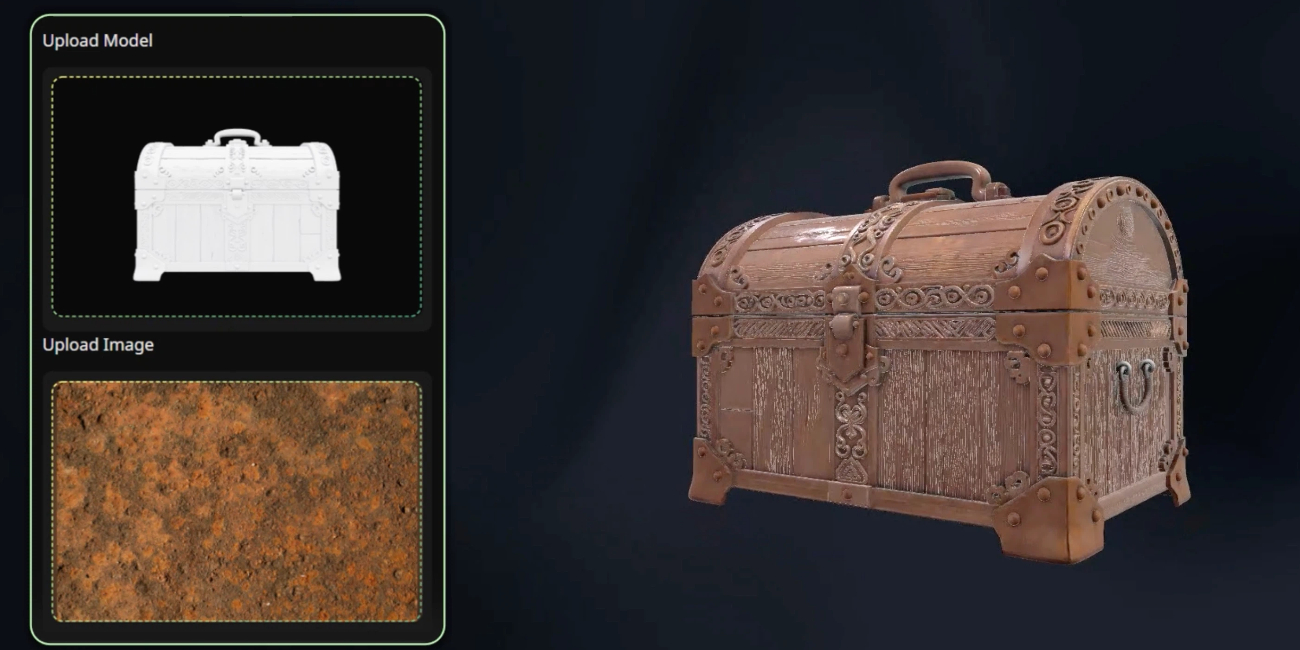
Hi3D AI Texture is an AI-powered texturing tool that takes a geometric 3D model and generates high-quality surface textures for it automatically. Rather than manually painting UV maps or sourcing texture packs, you simply provide a geometry model, optionally supply a reference image for style, and let the AI do the rest.
The result is a fully textured 3D model ready for preview, export, animation, or sharing — complete with support for PBR (Physically Based Rendering) materials that respond realistically to light.
At its core, the workflow is elegantly simple: geometry in, textured model out. But underneath that simplicity is a flexible pipeline that accommodates both quick, one-click generation and highly customized, style-driven creation.
Key Features
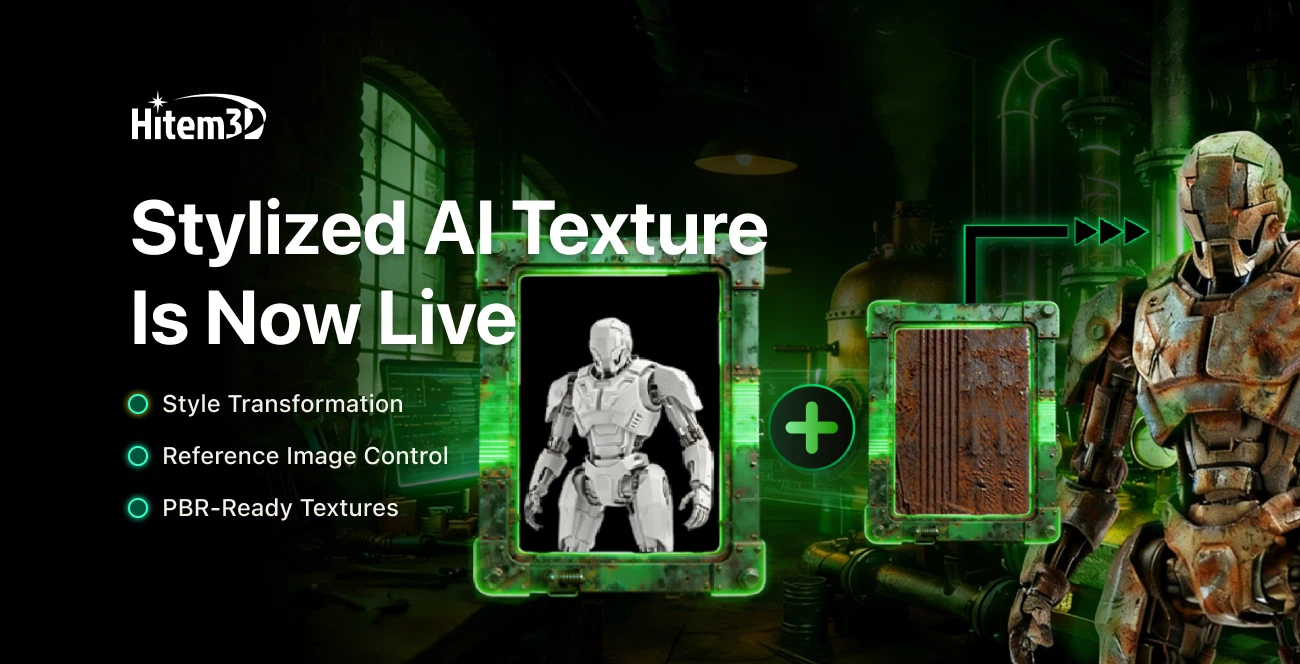
Stylized Texture Generation is the headline capability. By uploading any reference image — a photograph, illustration, or mood board — you can guide the AI to match colors, materials, and overall aesthetic. This is ideal for creative projects where visual consistency and artistic intent matter.
PBR Support means your textures aren’t just flat color maps. With PBR enabled, the AI generates materials that interact with lighting in physically accurate ways, producing results that look convincing in real-time engines, rendering software, and interactive viewers alike.
Shadow Removal Control lets you adjust the de-lighting intensity applied during texturing. This is especially useful when your reference image or source model has baked-in lighting that you want to neutralize before applying a clean texture.
Upload Your Own Geometry gives you full flexibility over the input. Rather than being limited to models generated within the platform, you can bring in externally created or refined meshes and apply AI texturing to them directly.
Progress Visibility keeps you informed throughout the generation process. A progress bar with percentage display means you always know where your task stands — important when you’re running multiple assets in a session.
Step-by-Step: How to Use AI Texture
Getting started is straightforward regardless of whether you’re a first-time user or a returning creator.
Begin by navigating to the AI Texture tool. You’ll find it accessible from two entry points: the Creative Space, where a dedicated Feature slot surfaces the capability prominently, and the model detail page of any geometry model, where the texturing option appears inline with the model’s information.
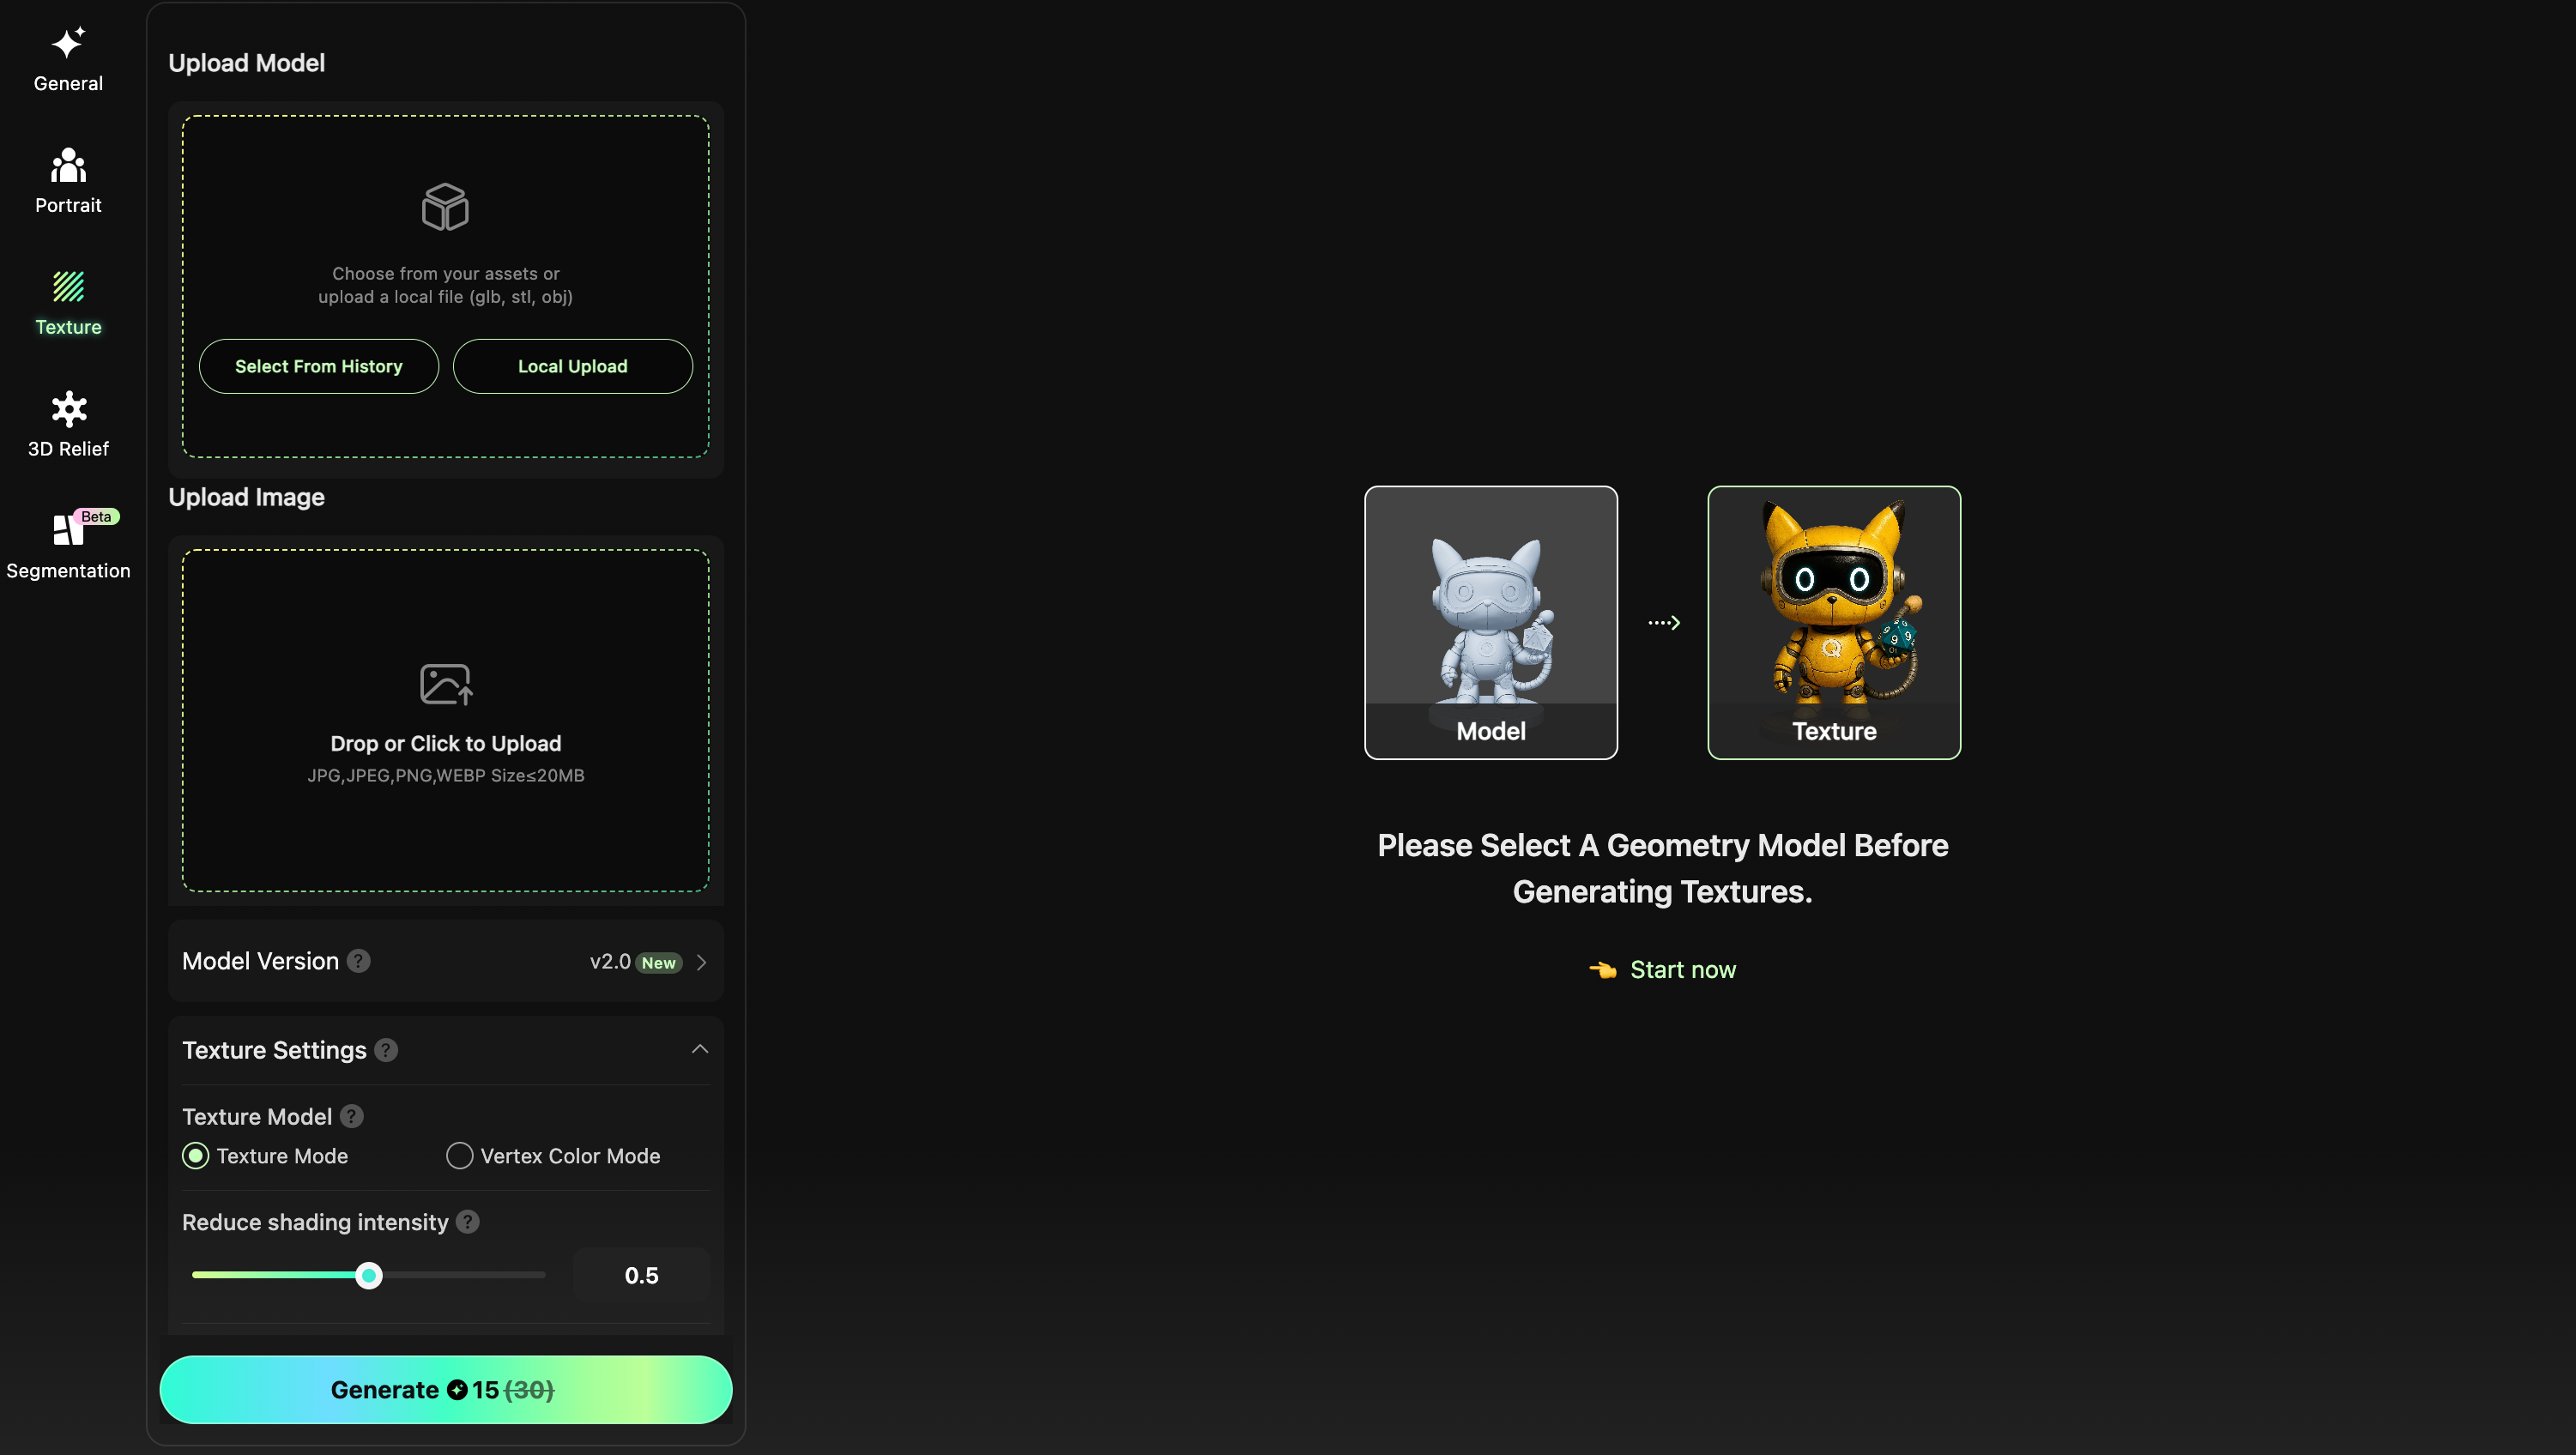
Once inside the Texture workspace, the left panel is your input module. Start by uploading or selecting your geometry model. If you’re doing stylized texturing, upload your reference image here as well. Then configure your generation parameters: choose your texturing model version (v1.5 or v2.0), decide whether to enable PBR, and set your de-lighting strength if needed.
With your inputs set, click Generate. The system creates a texturing task and begins processing. Watch the progress bar as the AI works, and when complete, your newly textured model will appear in the 3D viewer — synchronized with the same display standards as other models on the platform.

From there, you can rotate and inspect the model from all angles, compare it against your reference, and either export it or generate again — with up to three additional generations included at no extra cost — iterating until the result is exactly what you’re looking for.
FAQ
Can I upload a model I built in external software?
Yes. The geometry upload feature is specifically designed to support externally created meshes, including high-poly models refined in tools like Blender, ZBrush, or Maya. Just make sure your file meets the supported format and size requirements shown in the upload panel.
What kind of reference image works best for stylized texturing?
Clear, well-lit images with distinct color and material information tend to produce the strongest results. The AI extracts style cues from the reference, so images with strong visual identity — a specific material finish, a consistent color palette, a recognizable artistic style — give it more to work with. Avoid heavily compressed or very low-resolution images, and aim for references that clearly represent the surface quality you’re targeting.
Should I enable PBR?
If your intended use involves a real-time engine, a physically based renderer, or any context where lighting realism matters, PBR is worth enabling. For simpler use cases — quick previews, social sharing, or stylized outputs where artistic look takes precedence over physical accuracy — the non-PBR option is faster and more cost-effective.
What does the de-lighting control do, and when should I adjust it?
De-lighting removes baked shadows and lighting from the texture generation process, producing a cleaner, more neutral surface. If your source model or reference image has strong directional lighting baked in, increasing the de-lighting intensity helps prevent those artifacts from appearing in the final texture. For reference images shot in flat, even lighting, the default setting is usually sufficient.
What if the texture doesn’t match my reference style closely enough?
Try refining your prompt using the LLM-assisted input, or experiment with a different reference image that more directly captures the material or color you’re targeting. Adjusting the de-lighting intensity can also help if the source model has strong baked shadows interfering with the output. AI Texture is designed for iteration — each generation takes just a few minutes, so exploring a few variations is a natural part of the workflow.
Can I apply AI Texture to any geometry model, or only ones generated on Hitem3D?
Both. Models generated within Hitem3D can be textured directly, or you can return to the Texture workspace, select a previously generated geometry, and apply a new reference image for a fresh round of texturing. You can also upload geometry files created externally — AI Texture works regardless of where your modeling happens.
If you’re ready to see your 3D models truly come alive, now is the perfect time to try Hitem3D and experience how effortless AI-powered texturing can be: Hitem3D